STILL WAITING! On parts actually, well the money to obtain them… With the amount I owe in taxes it had put a huge “dent” into the speed I am able to purchase the required parts to finish the Vanagon. Guess that is what happens when your ass-hole employer makes you fill out a 1099 form *argh*
I don’t want to tear down the engine until I am ready to send the heads off and I only have been getting a couple of hours of time to myself lately so I had to find something to fit that time frame, even my Assembly studies have been hard to focus on so I decided to undertake another mini project that will take a couple of weeks to complete with my 1 and 2 hour timeblocks, dressing up the engine bay.
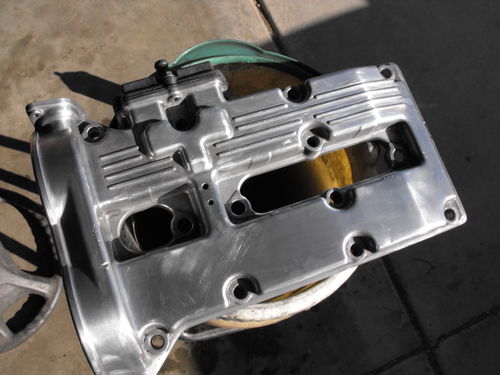
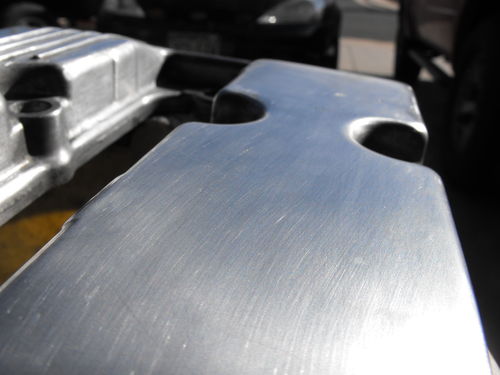
I started with a valve cover, with the help of air tools it really cuts down on the total time that you are sanding but really either way hours of sanding are inevitable. Luckily, this surface is flat and doesn’t contain much in the way tight corners and other small areas so polishing was easier than in most other situations. The above picture shows what it looks like just after using the air compressor, the rest of the sanding must be taken care of my hand. After sanding with air, I moved on to 400 grit sandpaper, this is what it looks like after I spent 1.5 hours on it:
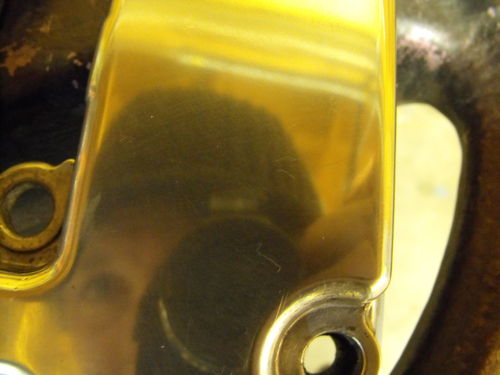
After sanding with 400, 800, then 1000 (I had no 1500 handy at the time) I decided to go ahead and attempt to buff the valve cover. I haven’t been able to allocate an extra $200 for a polishing machine so I bought a buffer pad put a bolt through it and attached it to my high speed drill and voila! Homemade buffer, at the time I did the valve cover I didn’t have any polishing compound either, so I used some GOJO hand cleaner instead. I know that sounds like something from the hillbilly mechanic’s handbook but in all reality the results speak for themselves:
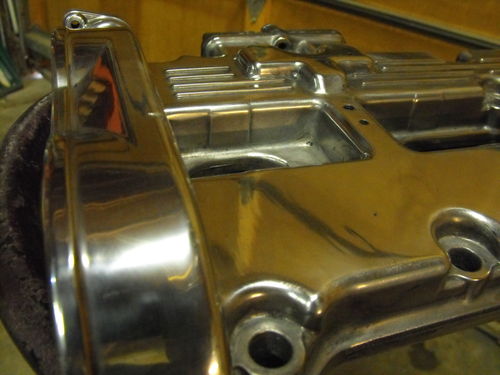
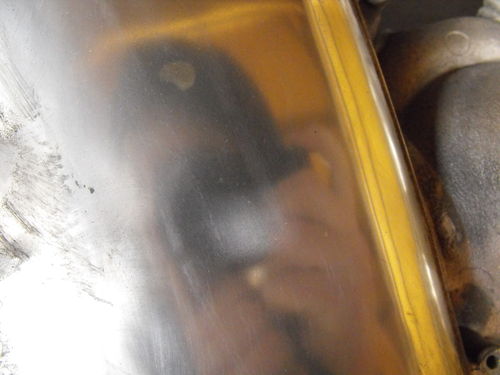
You can tell that more sanding needs to be done, since I didn’t have the 1500 you can actually still see the very fine scratch marks / fogginess from the 1000 grit. That’s okay because I made a trip to the hardware store 🙂 It actually took me 2 weeks to complete this valve cover spending a total of 4.5 or 5.5 hours on it, and I actually plan on doing some of it over to remove the lines on the top section to match what you’re about to see below..
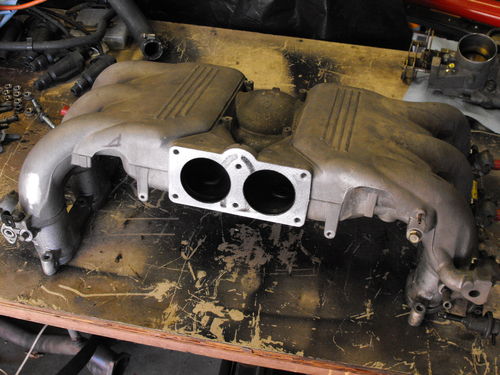
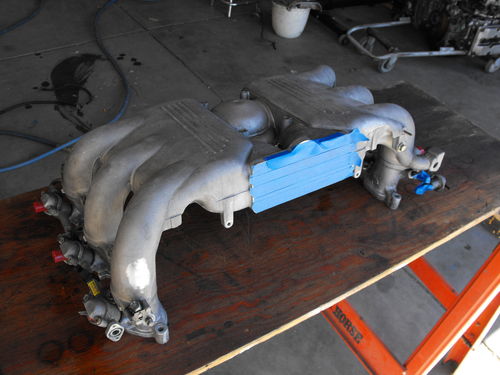
After I completed the one valve cover I was impressed with the results for how little time I spent. Then I got to thinking, “If these are going to dress up the engine bay a ton then I wonder what a polished intake manifold would look like.” Well, originally I wasn’t planning on polishing it because it requires disassembly of the wiring harnesses / vacuum lines which are all brittle from the 30-60K Miles the engine has lived. However, because the Subaru dealer ordered the wrong harness I now had the correct wiring harness to complete this job. So I figured why not so I pulled apart and cleaned the manifold:
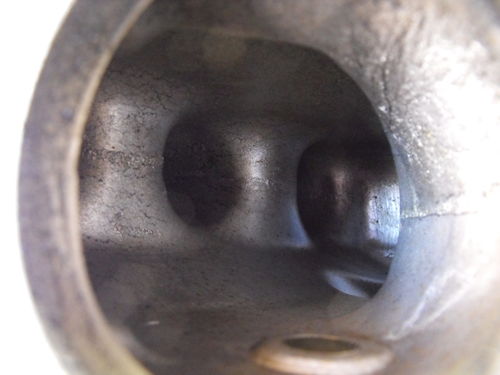
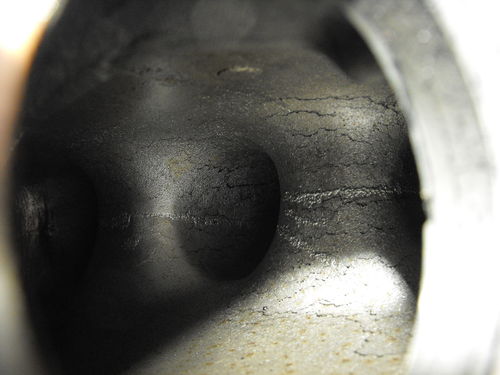
I decided to snag some pictures of what the ports / inside of the manifold look like, pretty clean in there! Here is the driver’s side cyl bank: (passenger side in the Van)
Of course I took a picture of the opposite side:
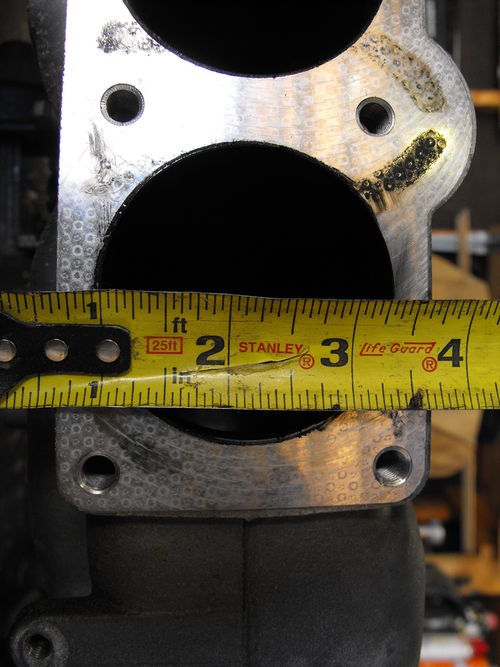
Throttle Body openings measure out at 2 1/4″ per side, that is some pretty good flow!
All masked up and ready to rock:
Shaved some lines, oh my this is going to be shiny!
Now it’s called sand off the textured finish anywhere the whizzy wheel will reach into, the rest must be accomplished my hand:
Just being shiny in comparison to the other side gets me excited, actually at this point I decided I wanted to see a small portion shiny just to see what it would look like:
I actually sanded with 400, then briefly 800 and then 1000 and a quick buff all took place over the course of 15 minutes, I just wanted to see myself I guess lol.
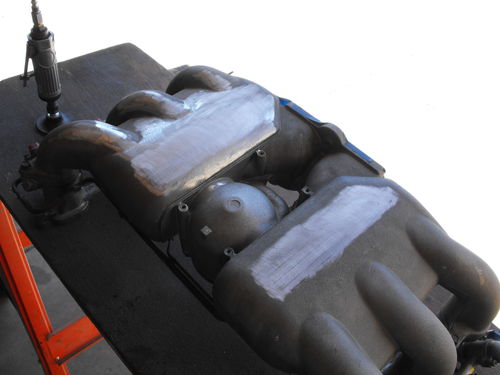
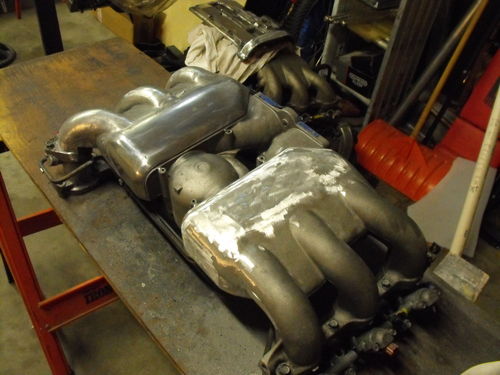
Started hand sanding the polished side and then started using the air compressor on the other side to take off the initial finish. I completed them in this offset style to I can tag team hand sanding while waiting for the air compressor or giving the compressor a rest:
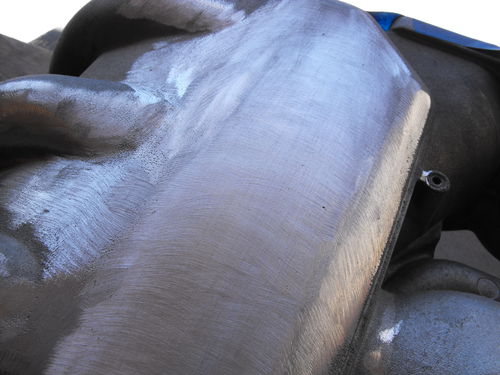
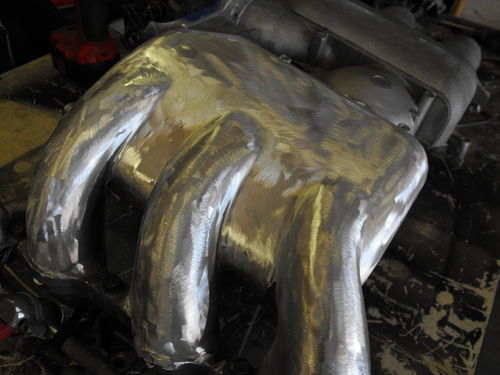
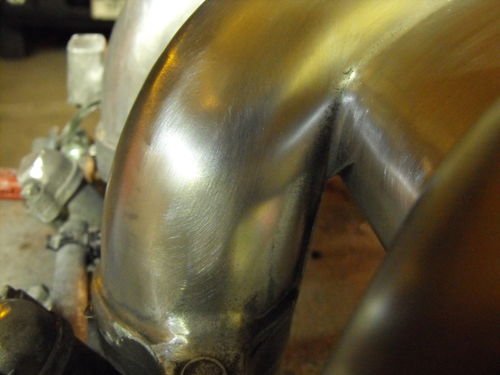
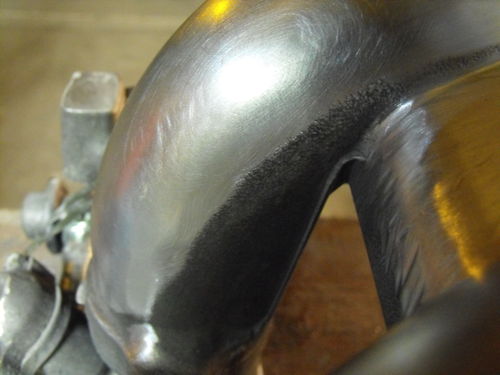
This example shows an area that I have hand sanded:
This is the runner next it which looked identical before I started sanding, so this makes a great before picture:
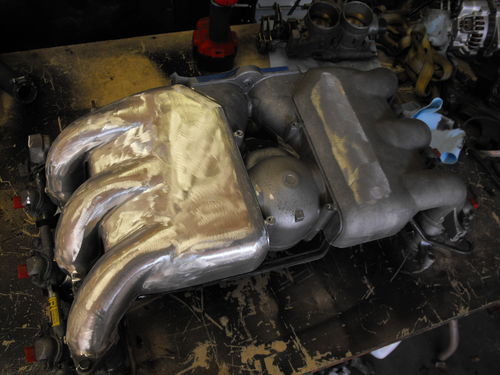
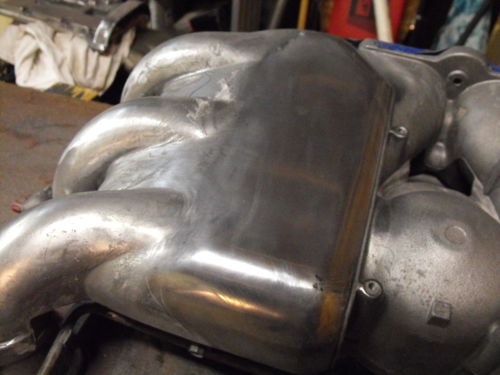
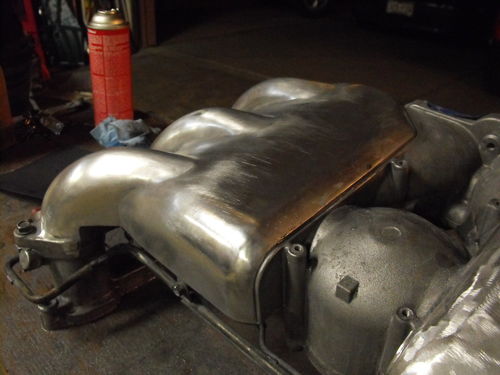
This is as far as I have made it on the intake manifold, having only worked on it yesterday and today I would call this progress!
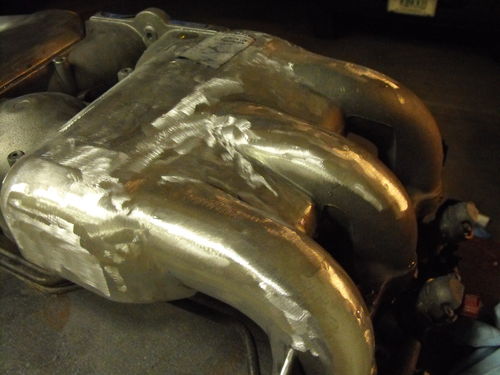
Here is the other side so you can see how far I got with the compressor:
Other than that I have ordered the water pump, as well as the other engine wiring harness. That leaves Timing belt, rollers, headgasket and bolt-set, and knock sensors, and fuel pump as the only remaining things to be purchased before I consider the engine ready to be driven. The transmission still hasn’t come back yet and am waiting very patiently as the engine isn’t really done anyway.
I don’t have time to proof-read so if I typoed my apologies :p

