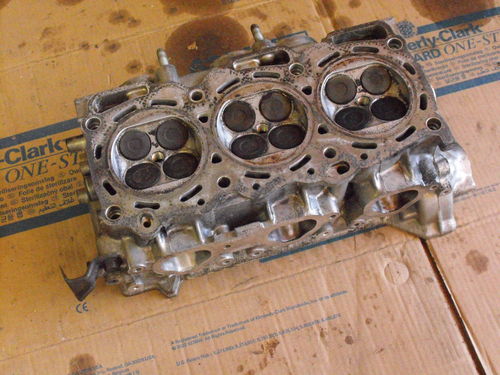
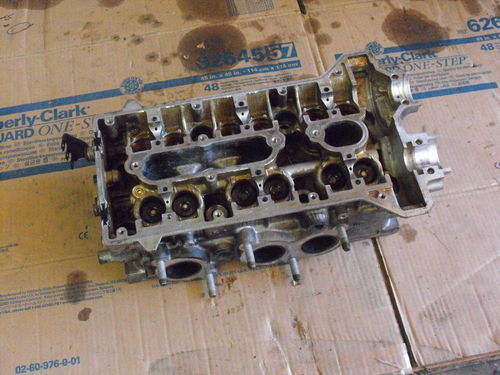
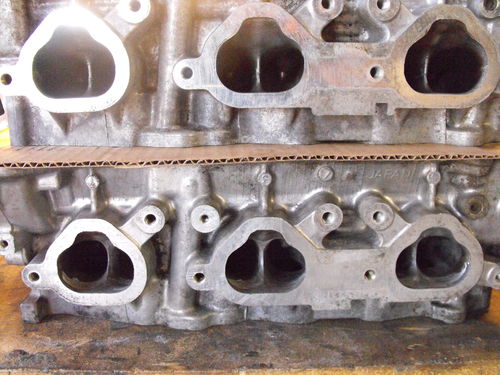
Much more progress on the engine, I cleaned the heads which will also get jet-washed again at the machine shop. They were pretty cruddy before but they did come out nice and clean:
Overall very clean:
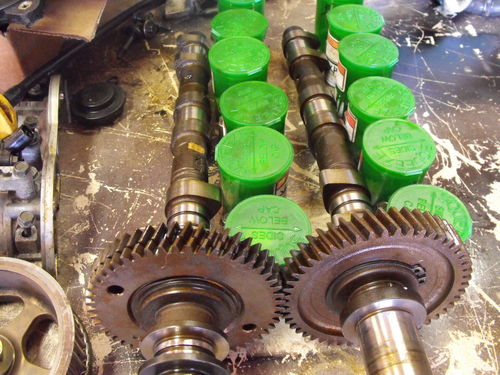
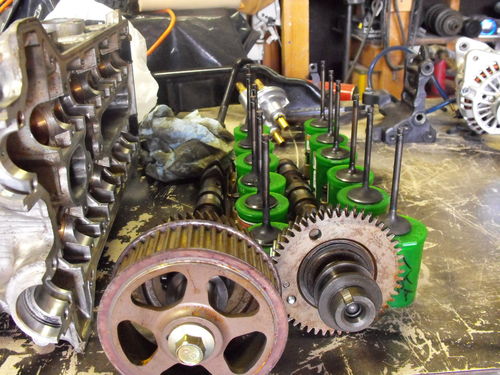
I had a whole bunch of these green jars laying around the house, so I decided to use 24 of them to contain all the valve train components:
Then the valves, I am being taught how to hand lap them in so I will start doing this process on every engine I take apart from now on:
I was also talked into doing some porting. From what I understand, polishing doesn’t make much of a difference so after I removed material I just sanded everything really well with 220 and the surface was better than the factory casted finish for sure. I started with Knife Edging which is the head on the bottom, shows a good difference:
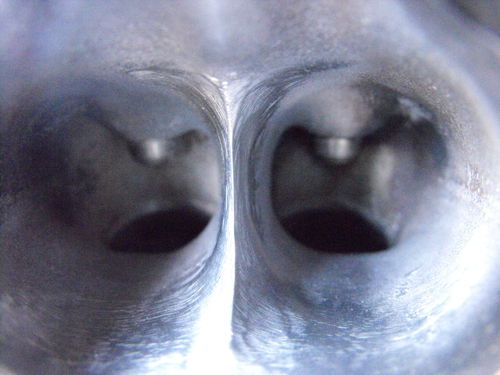
This is the finished knife edged port, Notice that I didn’t remove any other material really other than just the center. This wasn’t what I was talked into doing, but when I was just sitting there looking at the heads it most definitely looked like an air disturbance to me:
For the porting that was suggested to me, the material to be removed that makes any “real” difference is located on the “inner radius” of the port. Basically where the port turns just before the valve opening you want to take some off the inside of the turn, but not take any out of the valve bowl. From what I understand you are removing .050″ max material, and I am completely un-sure how to do it. Luckily, the person who recommended to me is going to lend me a hand and show me how to properly port my head and I will finish the 5 remaining ports with his coaching! What a great opportunity to learn how to correctly do something. According to my buddy I will pick up roughly 5 or 6 horsepower just by spending 10 minutes on the inner radius of each port, and he said that I didn’t even need to sand it down! I plan to anyway and will take very detailed notes and pictures, this makes me really wish I would have dynoed the old motor for a baseline but when you start with a different block with 90,000 less miles that really invalidates the results. (Different compression from ring wear, casting revision, etc) Ultimately this is the money shot that in the end will showcase the progress, so here is before:
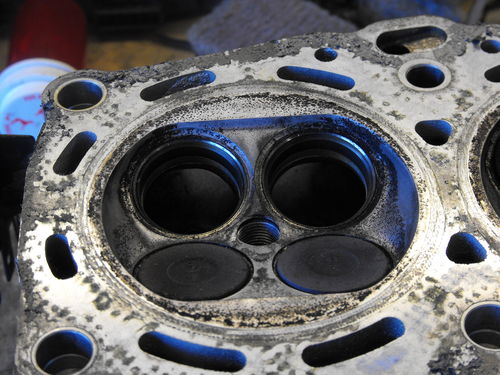
I will get a better before shot as well, you can actually see completely through the port creating that “standup” effect, imagining material being removed from the inner part makes it apparent that the effect will stand the port up even more. 100% ideal flow out of a poppet valve is when the the port is completely vertical, of course this is somewhat of a challenge because the valve spring components, lifters, etc are almost always in the way. (i’ve thought of a cool design but it would amount to a HUGE head) I was only sold on this because this is the only porting trick that you can “feel” a difference from, (so he says, and he also said it makes the largest CFM gains on the flowbench) I’m skeptical but love to experiment, but hey if the guy put in the better part of 8 years at NASCAR I think I have a thing to two to learn from him about airflow.
Next time I will have enough for a full writeup on the matter, I even have another set up heads and 3rd party access to a flowbench so sometime this summer I will get some numbers 😀
All of this going on because I lack the funds to race to the finish line. I am still hunting for a good machine shop as the one I go to is moving buildings and will be down for some undetermined amount of time. My goal of making it to the KBPI car show June 13th is fading fast, and I’m not going to sacrifice quality for anything at this point. I am only going to do this on this van 1 time.

