
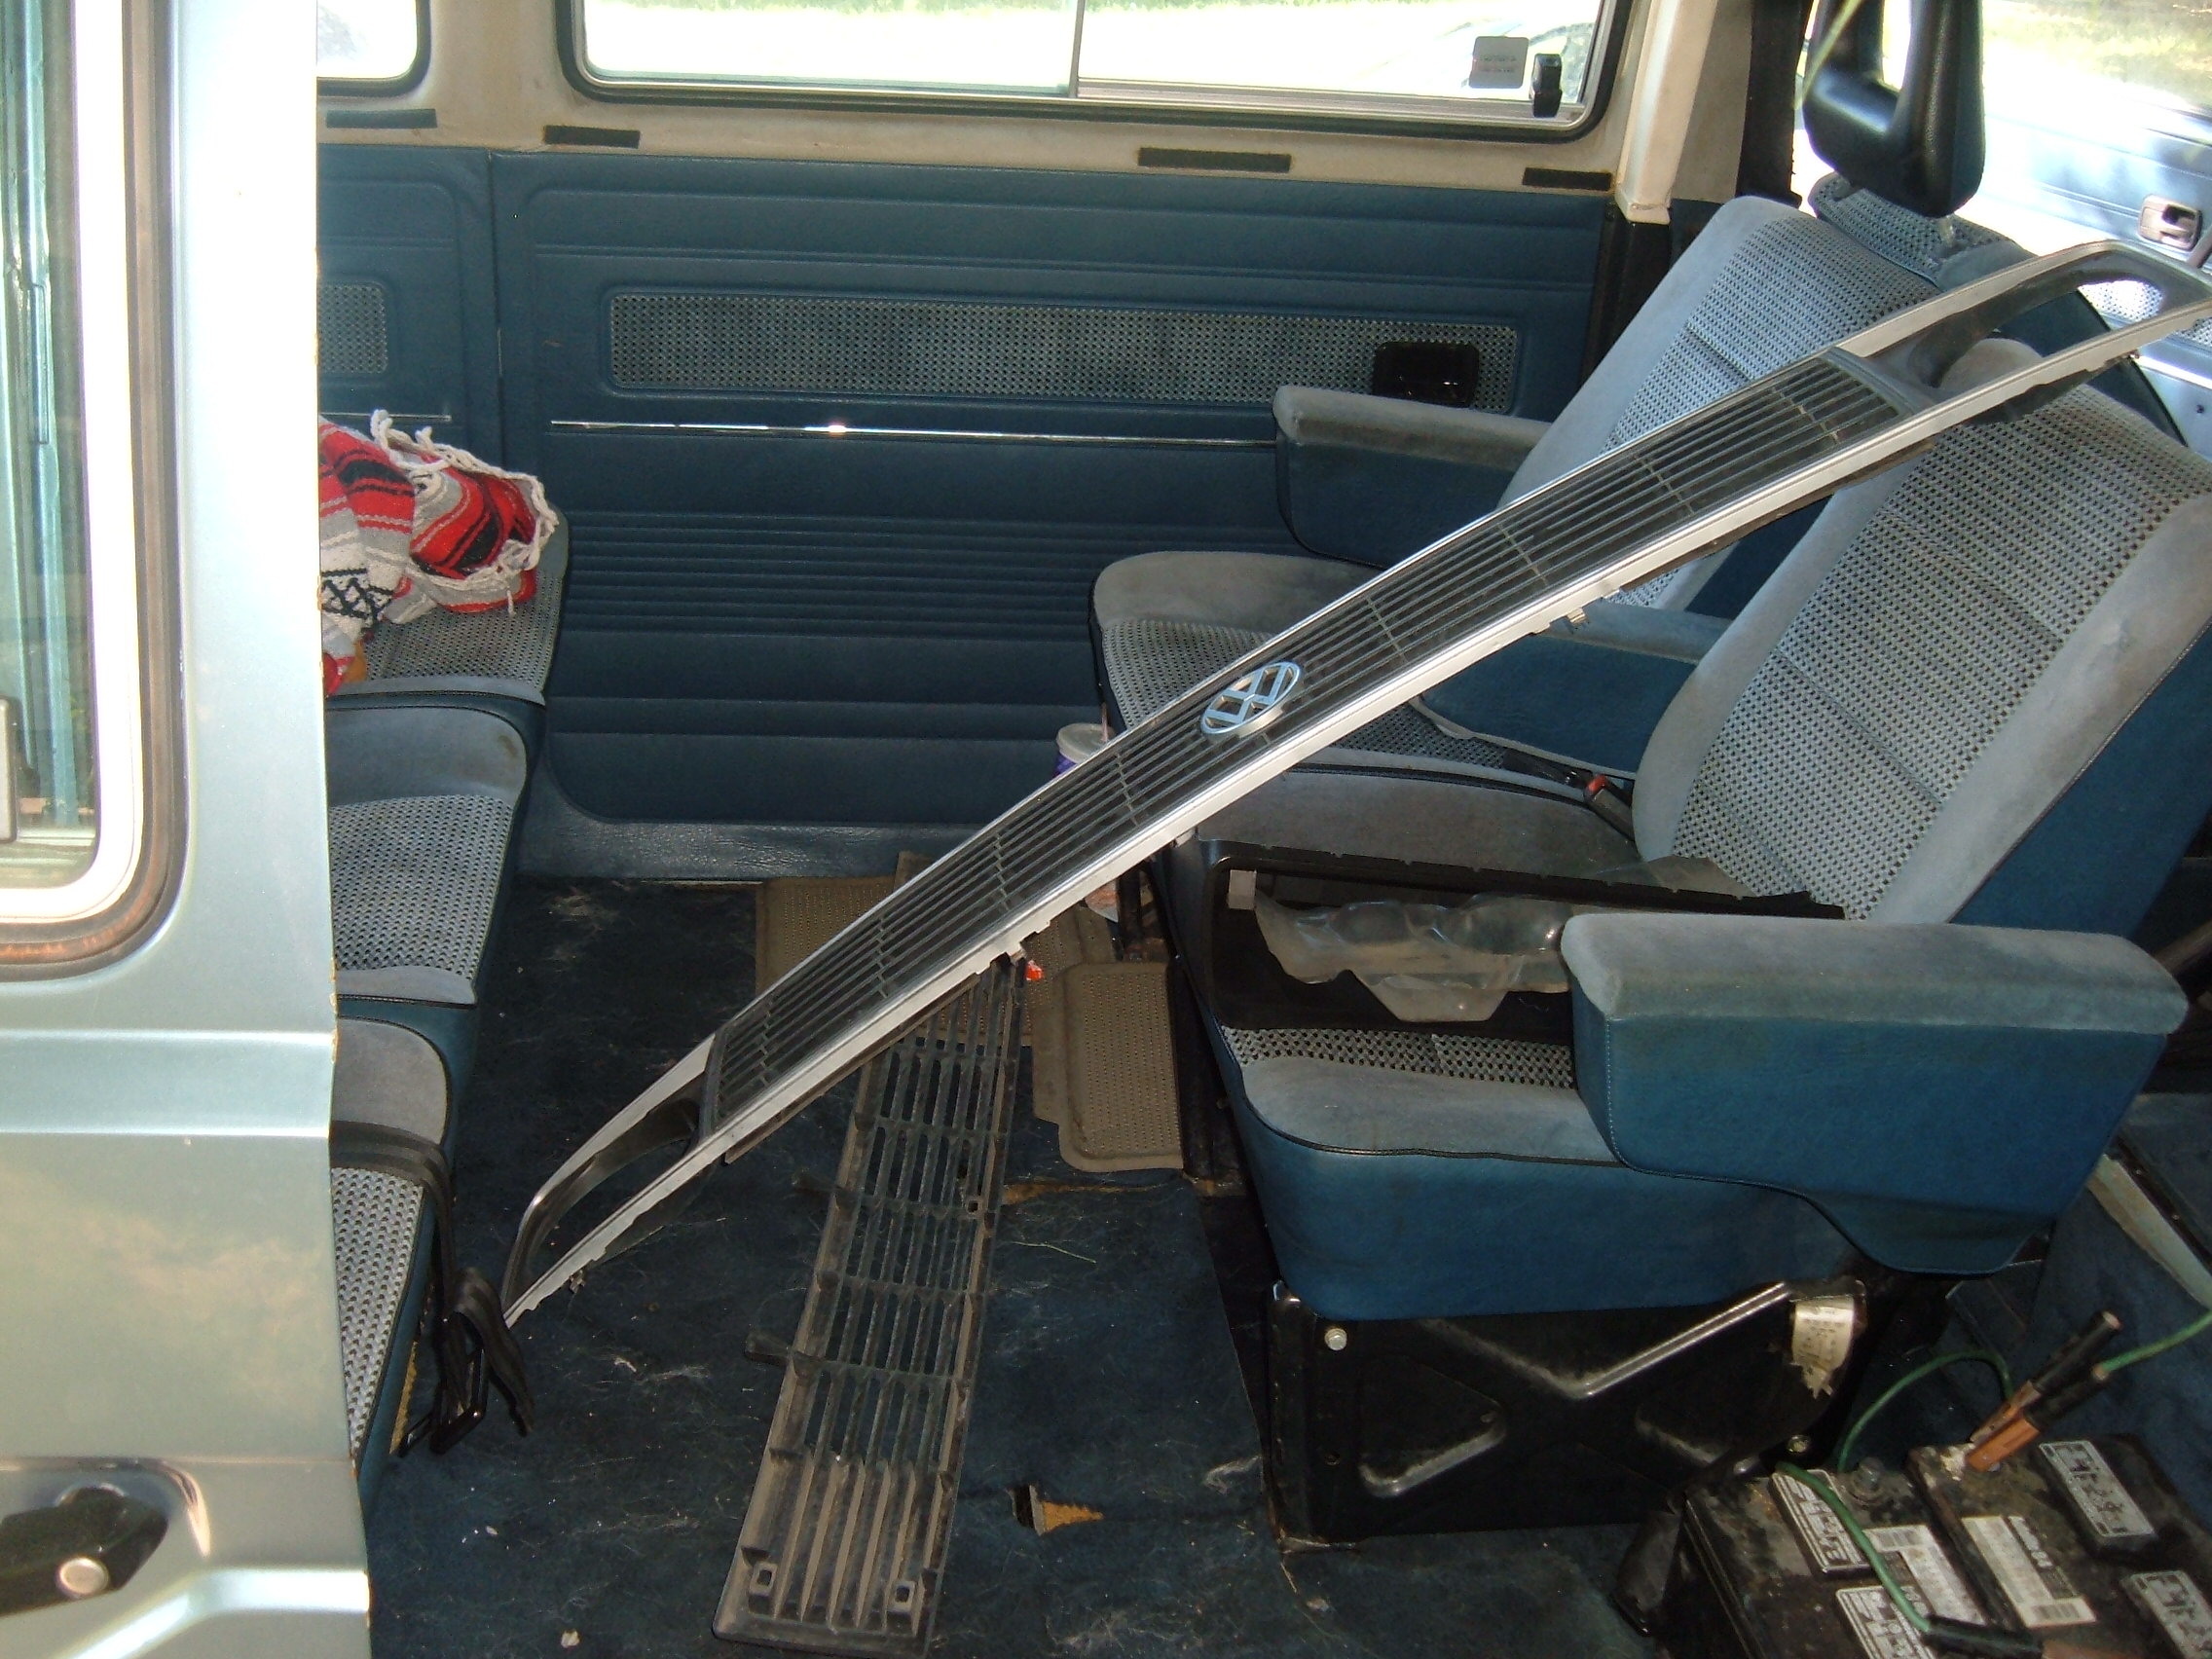
After loading up Albert and carting him to my house on a trailer the deep cleaning process started. The seats were incredibly dirty from all the car parts that were piled inside, I decided to completely remove the interior and inspect the body underneath. After looking up from underneath I was really impressed with how little rust there is everywhere. I have found some surface spots here and there I have noticed that all vanagons seem to bubble up from underneath.
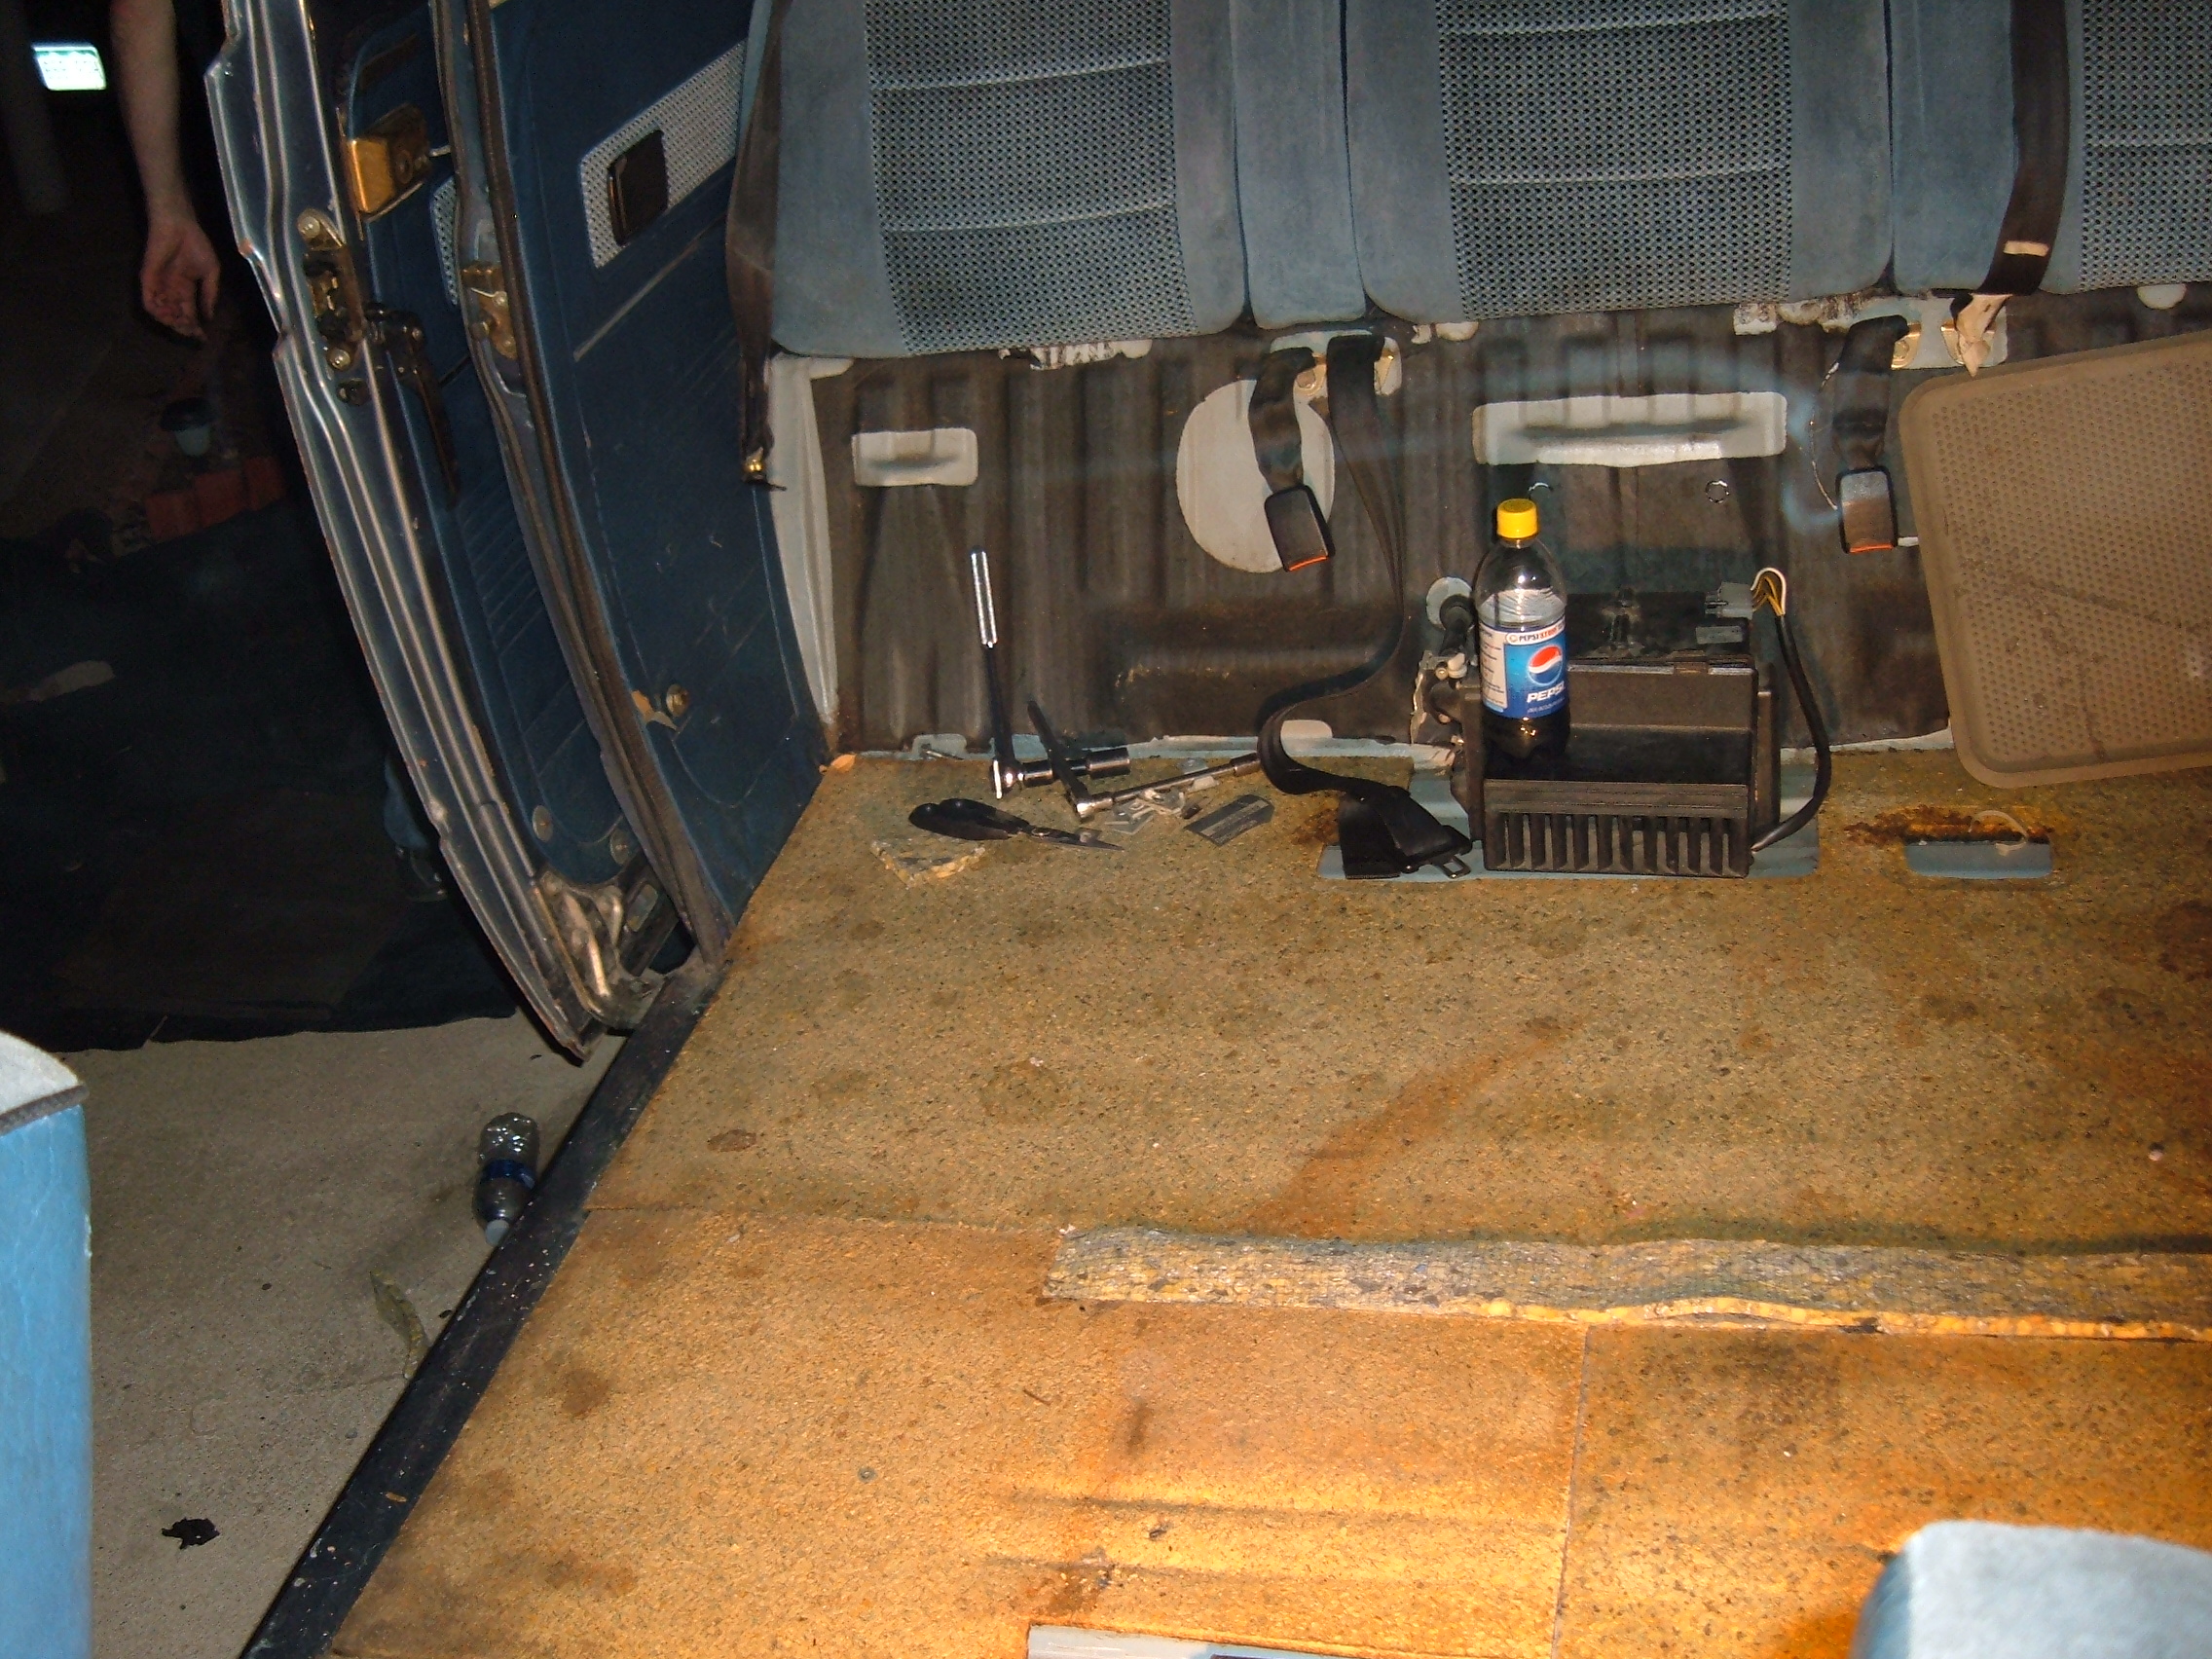
Got all the carpet out gotta love years of spilled drinks, food, grease, etc.
The only rust inside was near the accelerator pedal. It’s actually the rivets that are rusty and it made a mess on the padding.


Blasting the carpets, while the improvement was some 1000x over what it was, it still wasn’t enough. That’s okay, it’s really too much blue for me anyway.

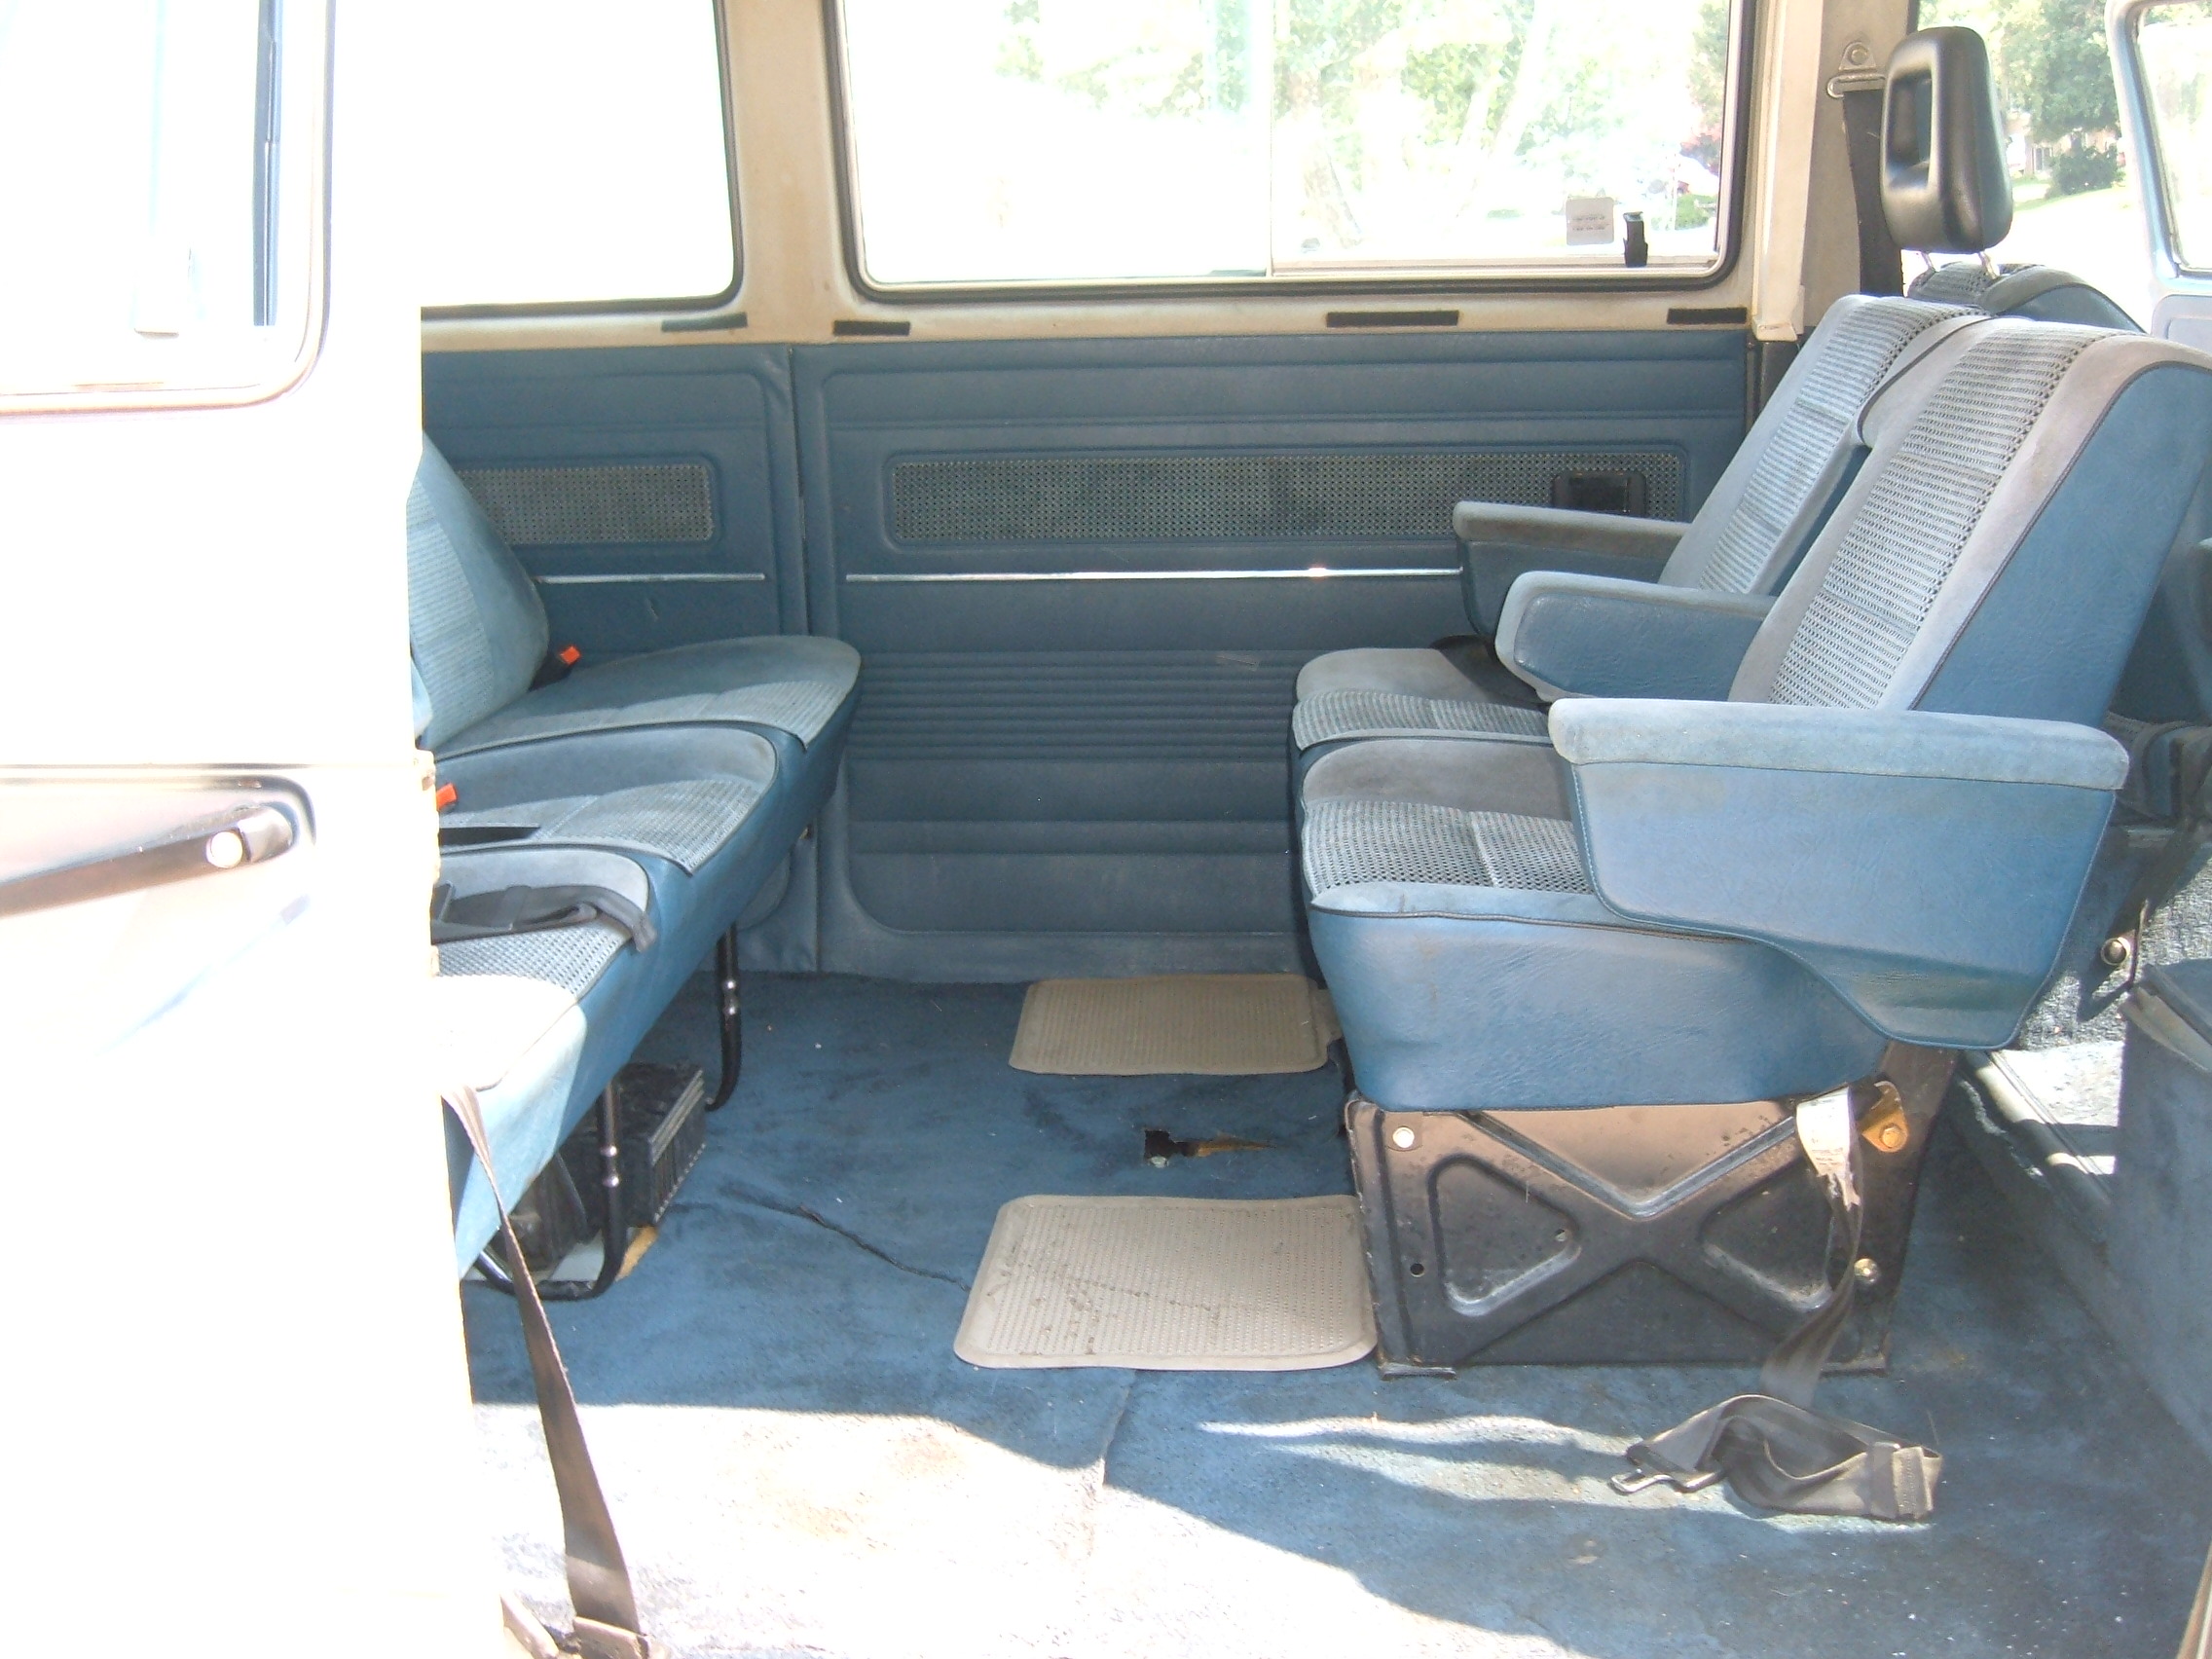
Back seats after cleaning:

The carpet looks dirty but the seats came out awesome:
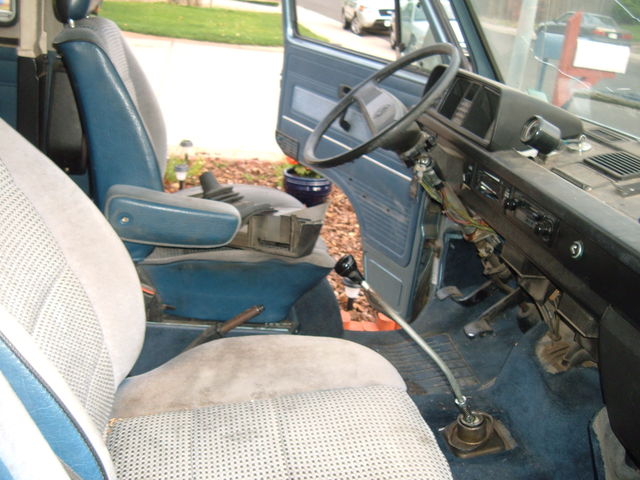
With the initial cleaning out of the way I decided to start with the interior, the carpet had outright irritated me so I figured for better overall motivation I should just address this first. I started by removing the remaining ECU and harness for the old 1.9 Waterboxer, they were returned to renegade composites to be re-united with their engine.
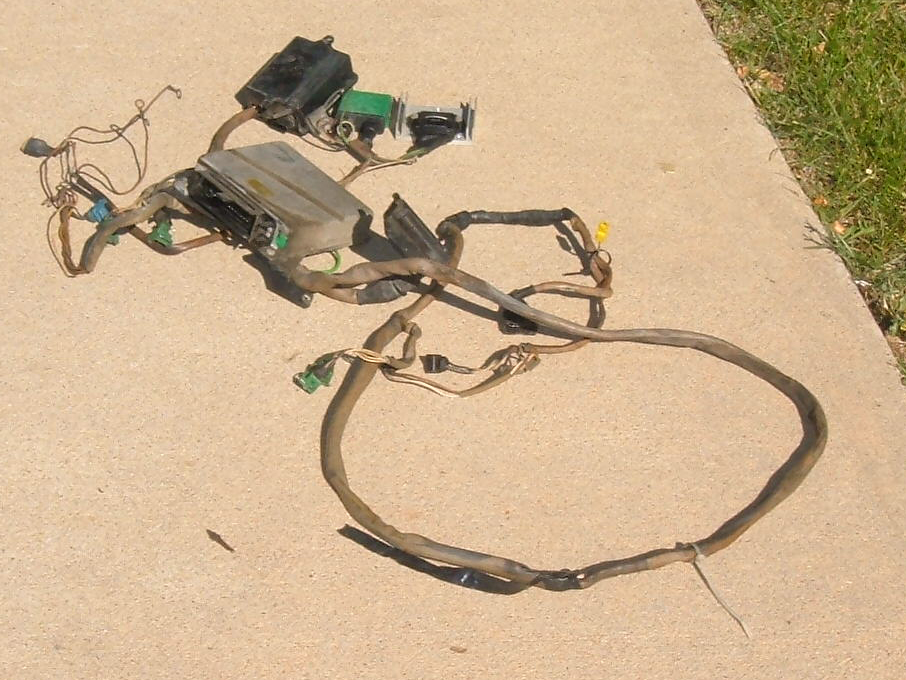
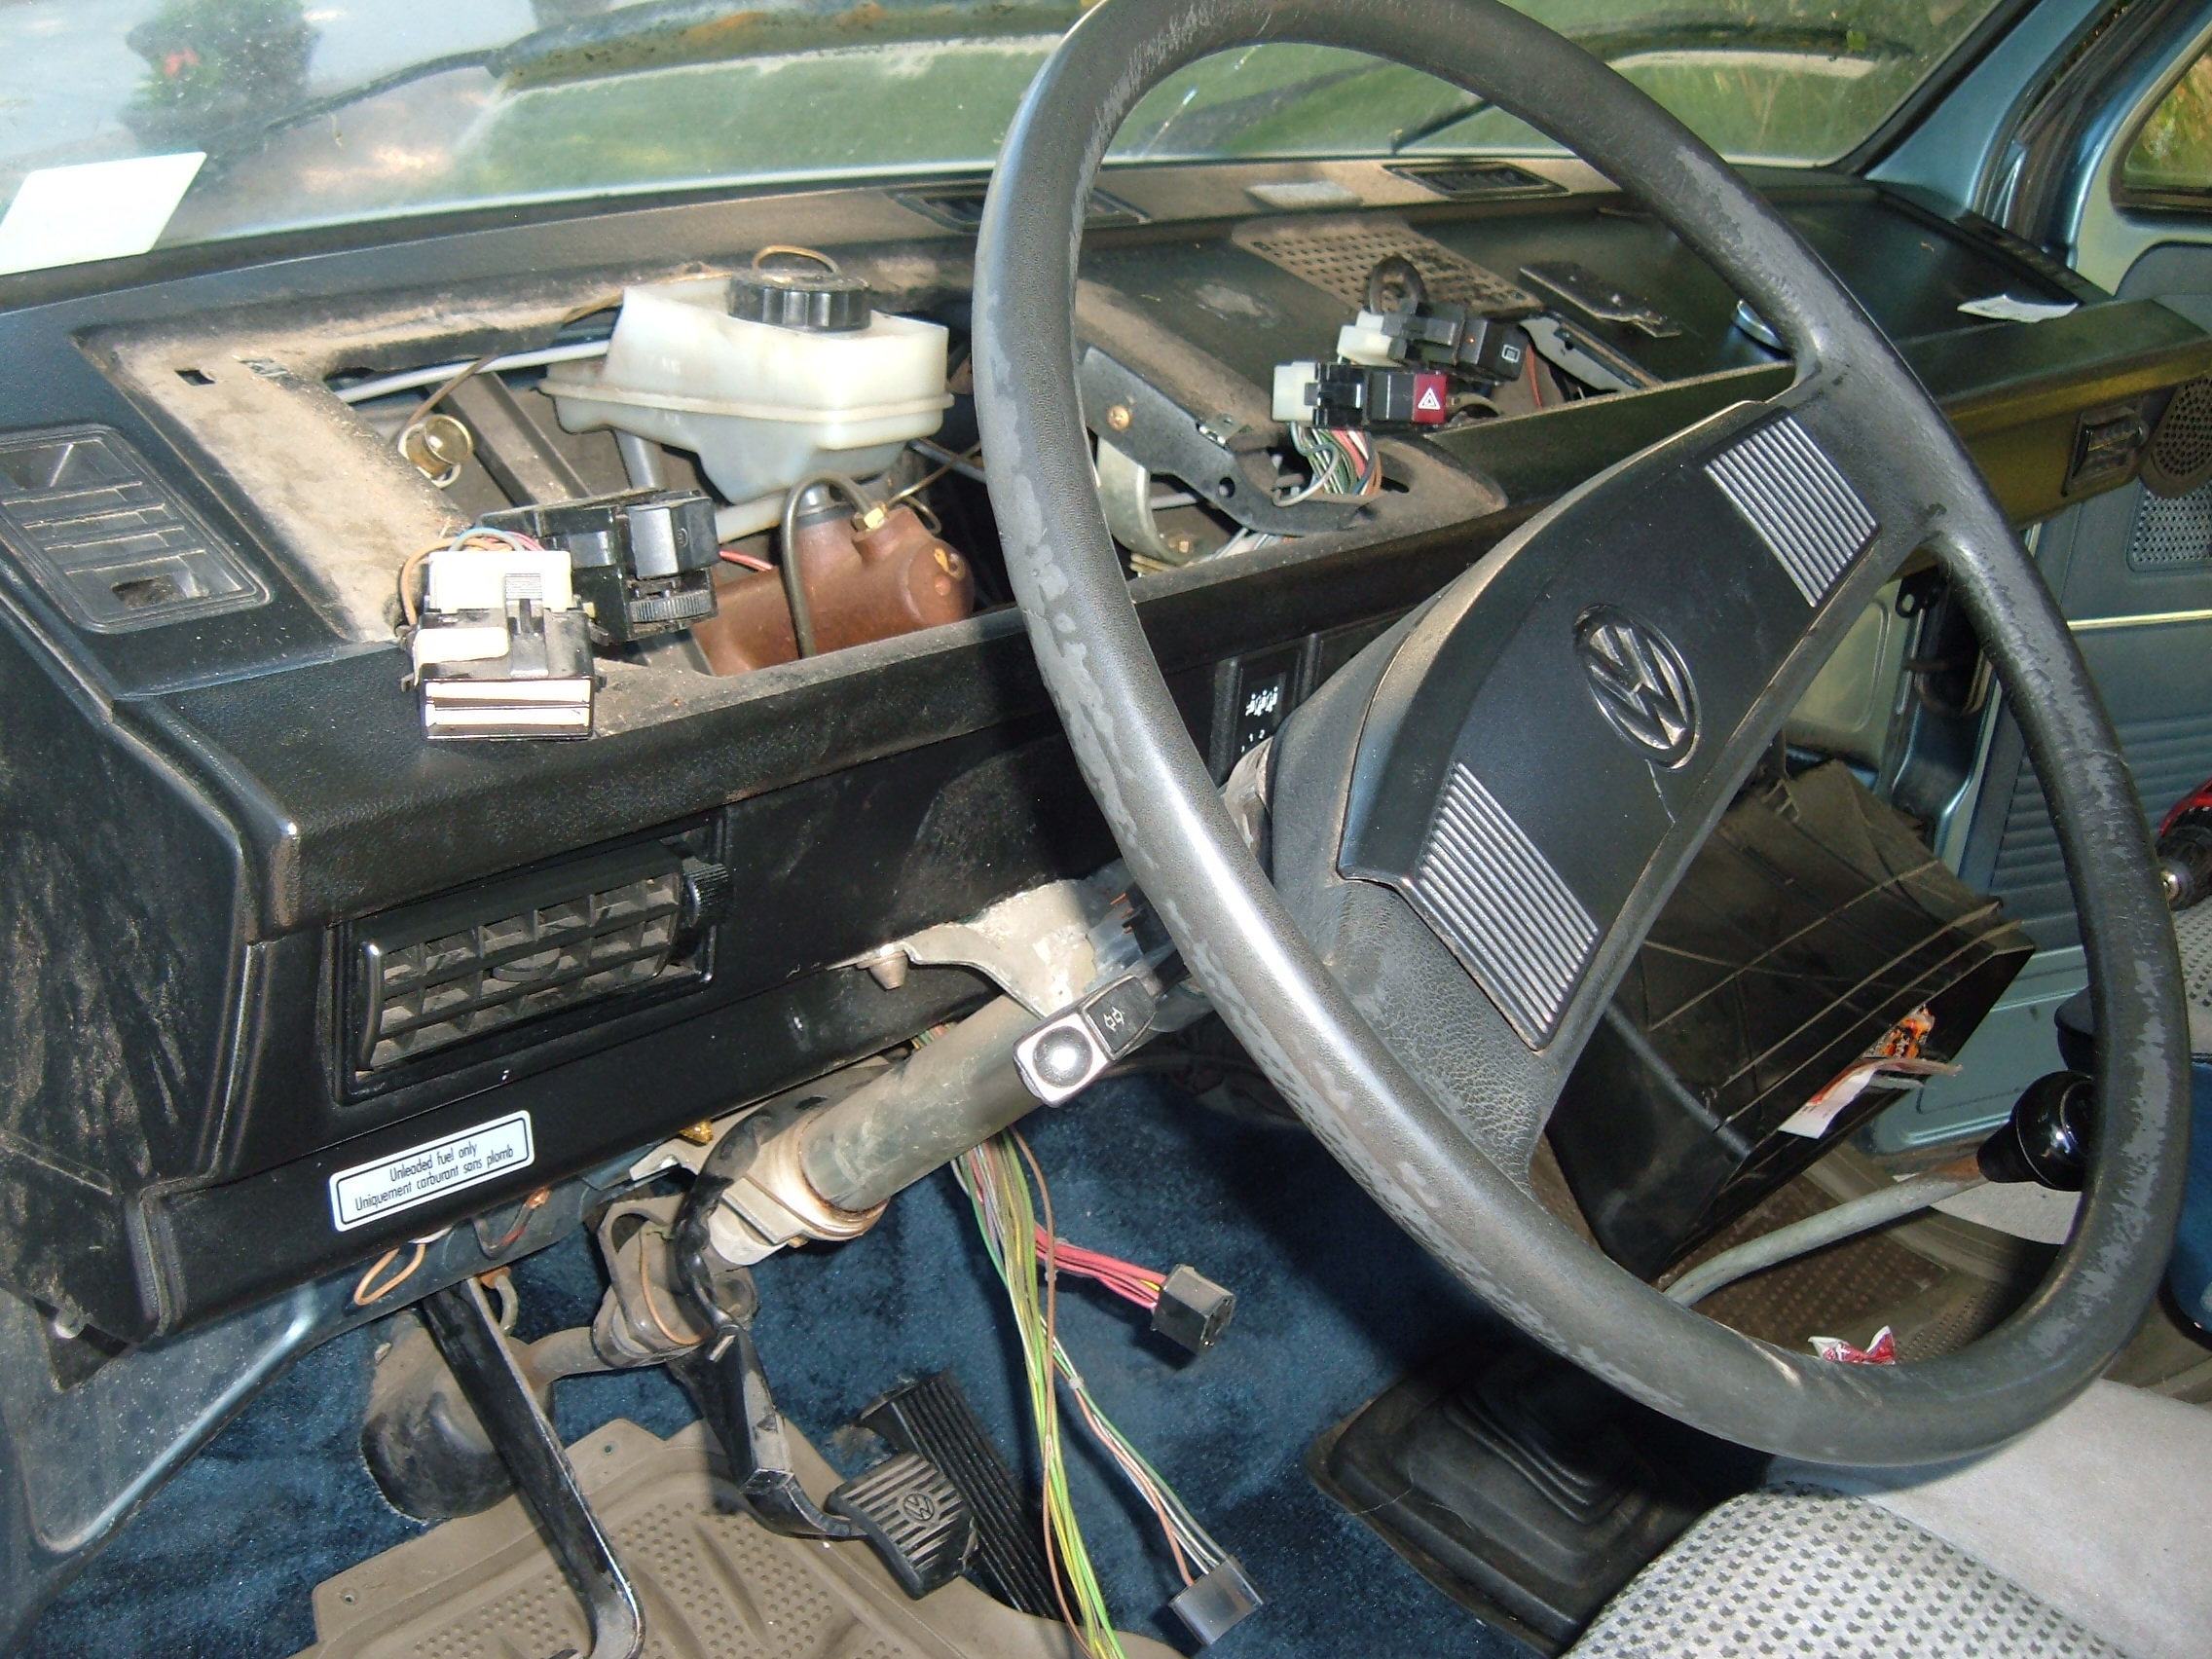
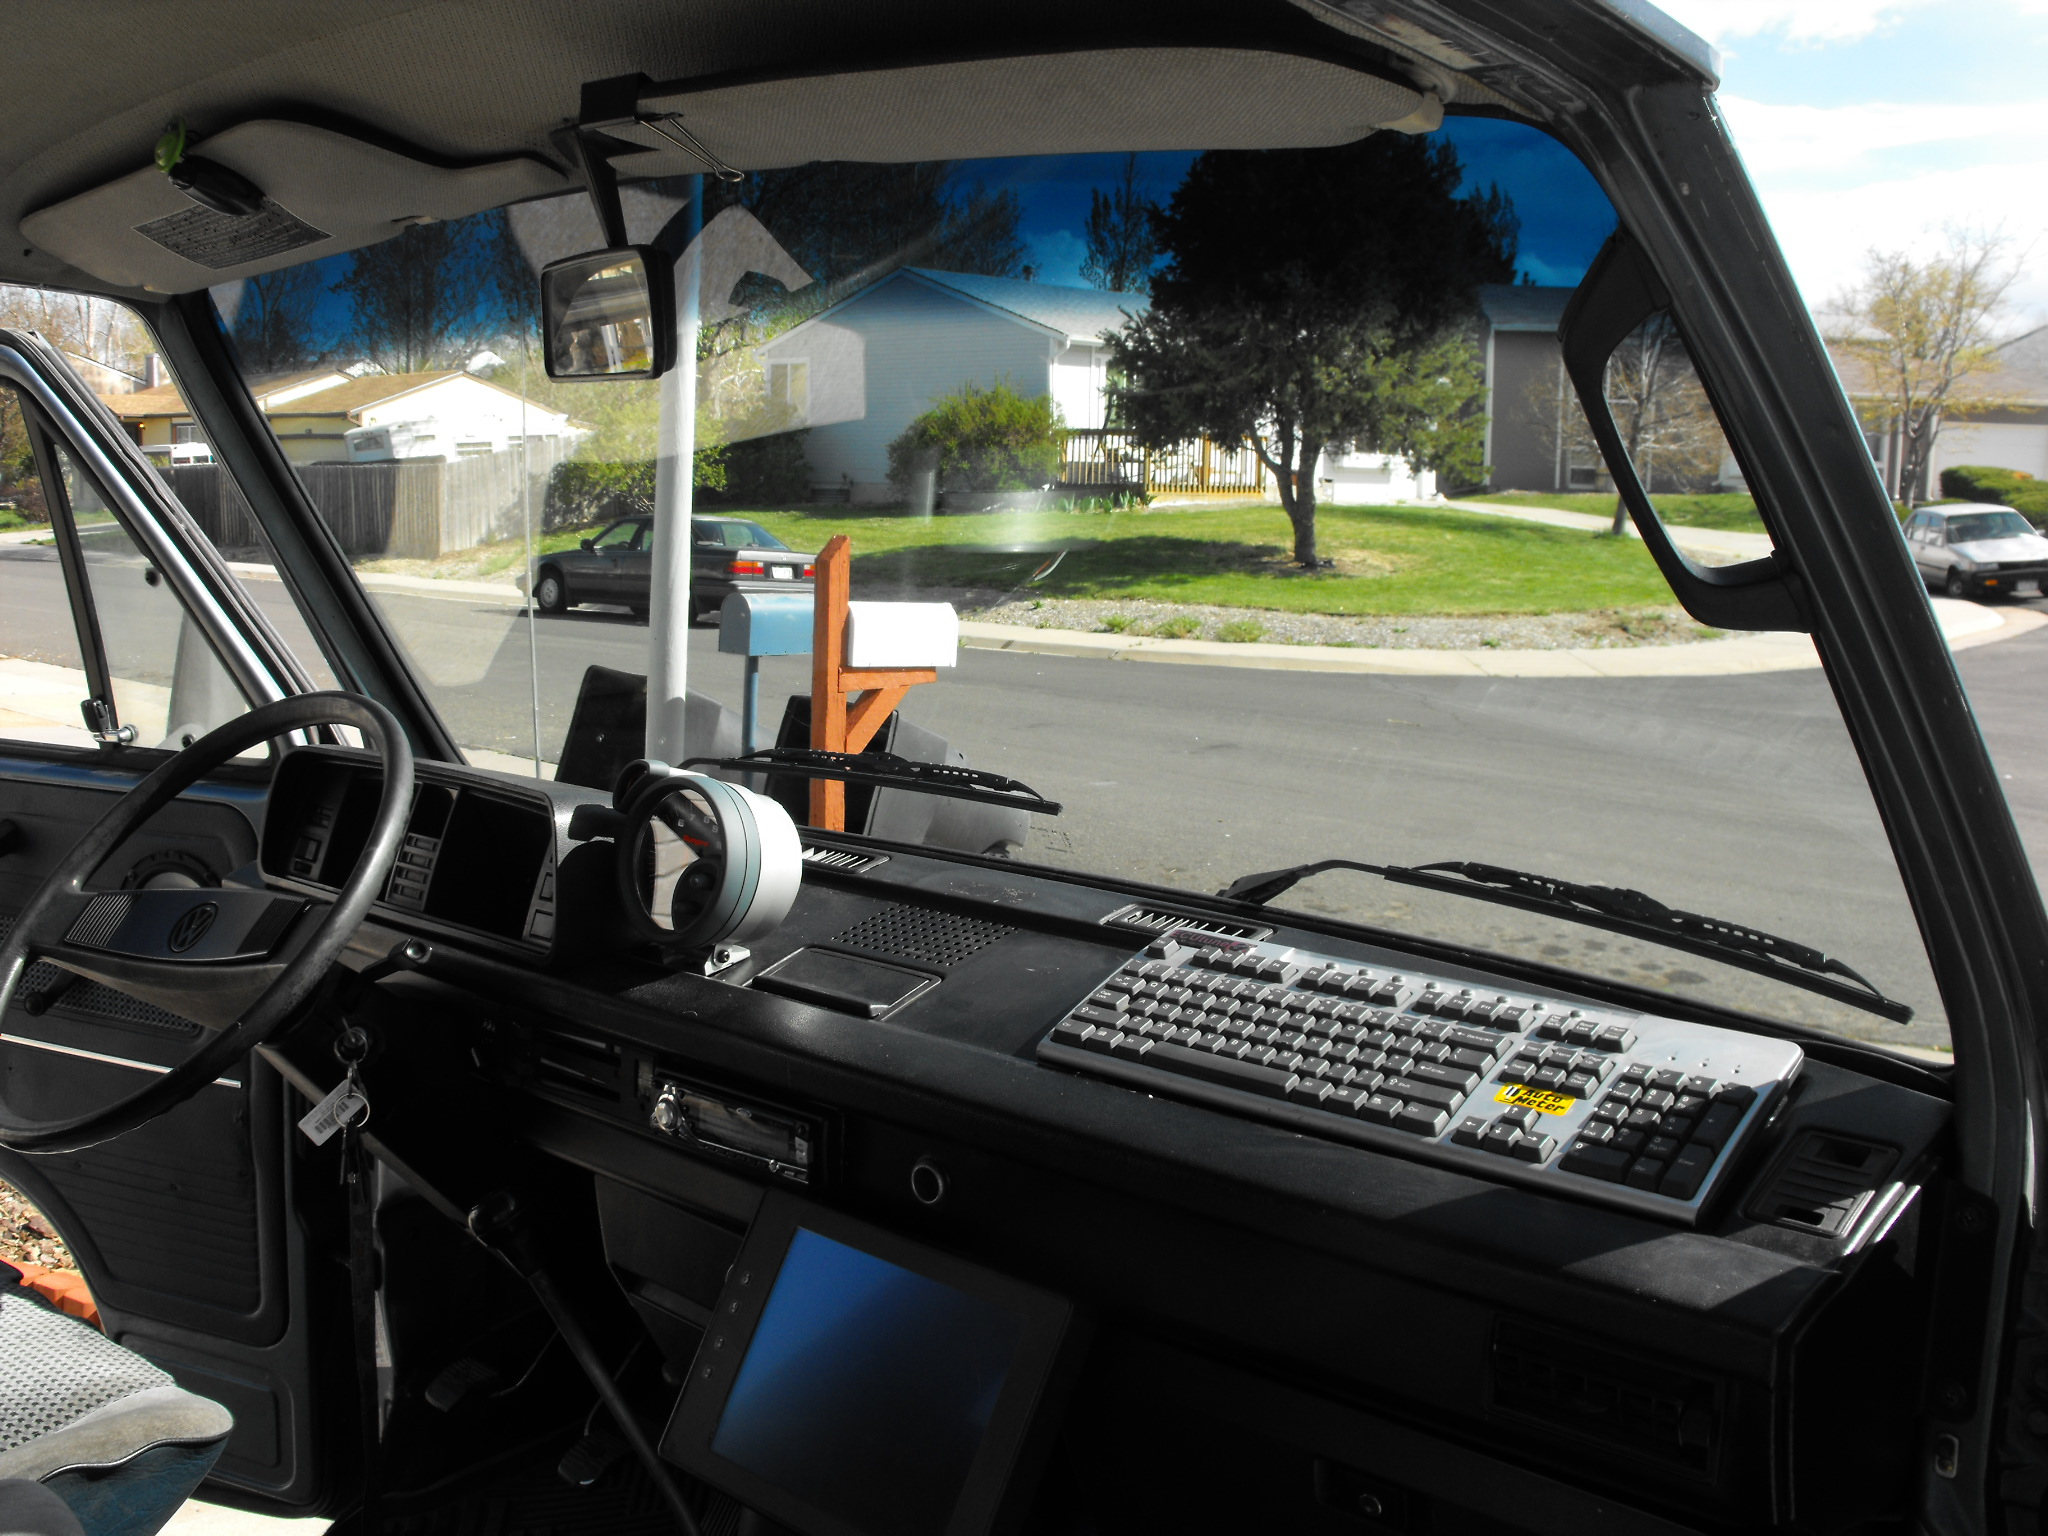
I also removed the dash for deep cleaning and to take a better look at the main wiring harness all of which were in excellent shape. One extremely cool feature is the dash on these are metal so they aren’t going to crack.
I like that I won’t have to freeze if I ever need to add brake fluid 😉

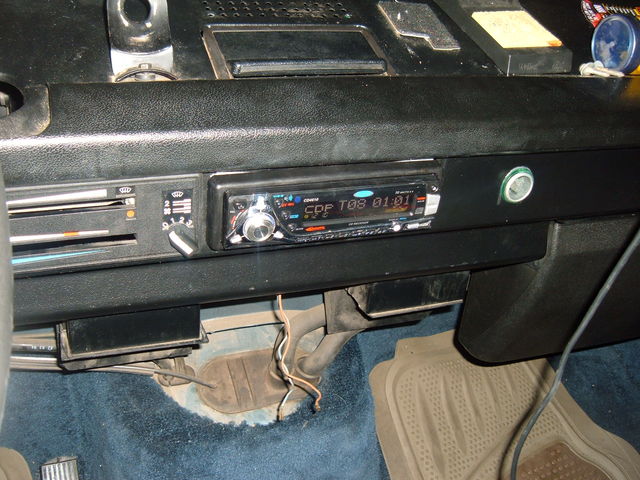
Got the stereo installed, this head unit sucks, but that’s okay because I don’t plan on using the CD player or radio functions, the radio works great but I get annoyed with CD’s, more on that later.
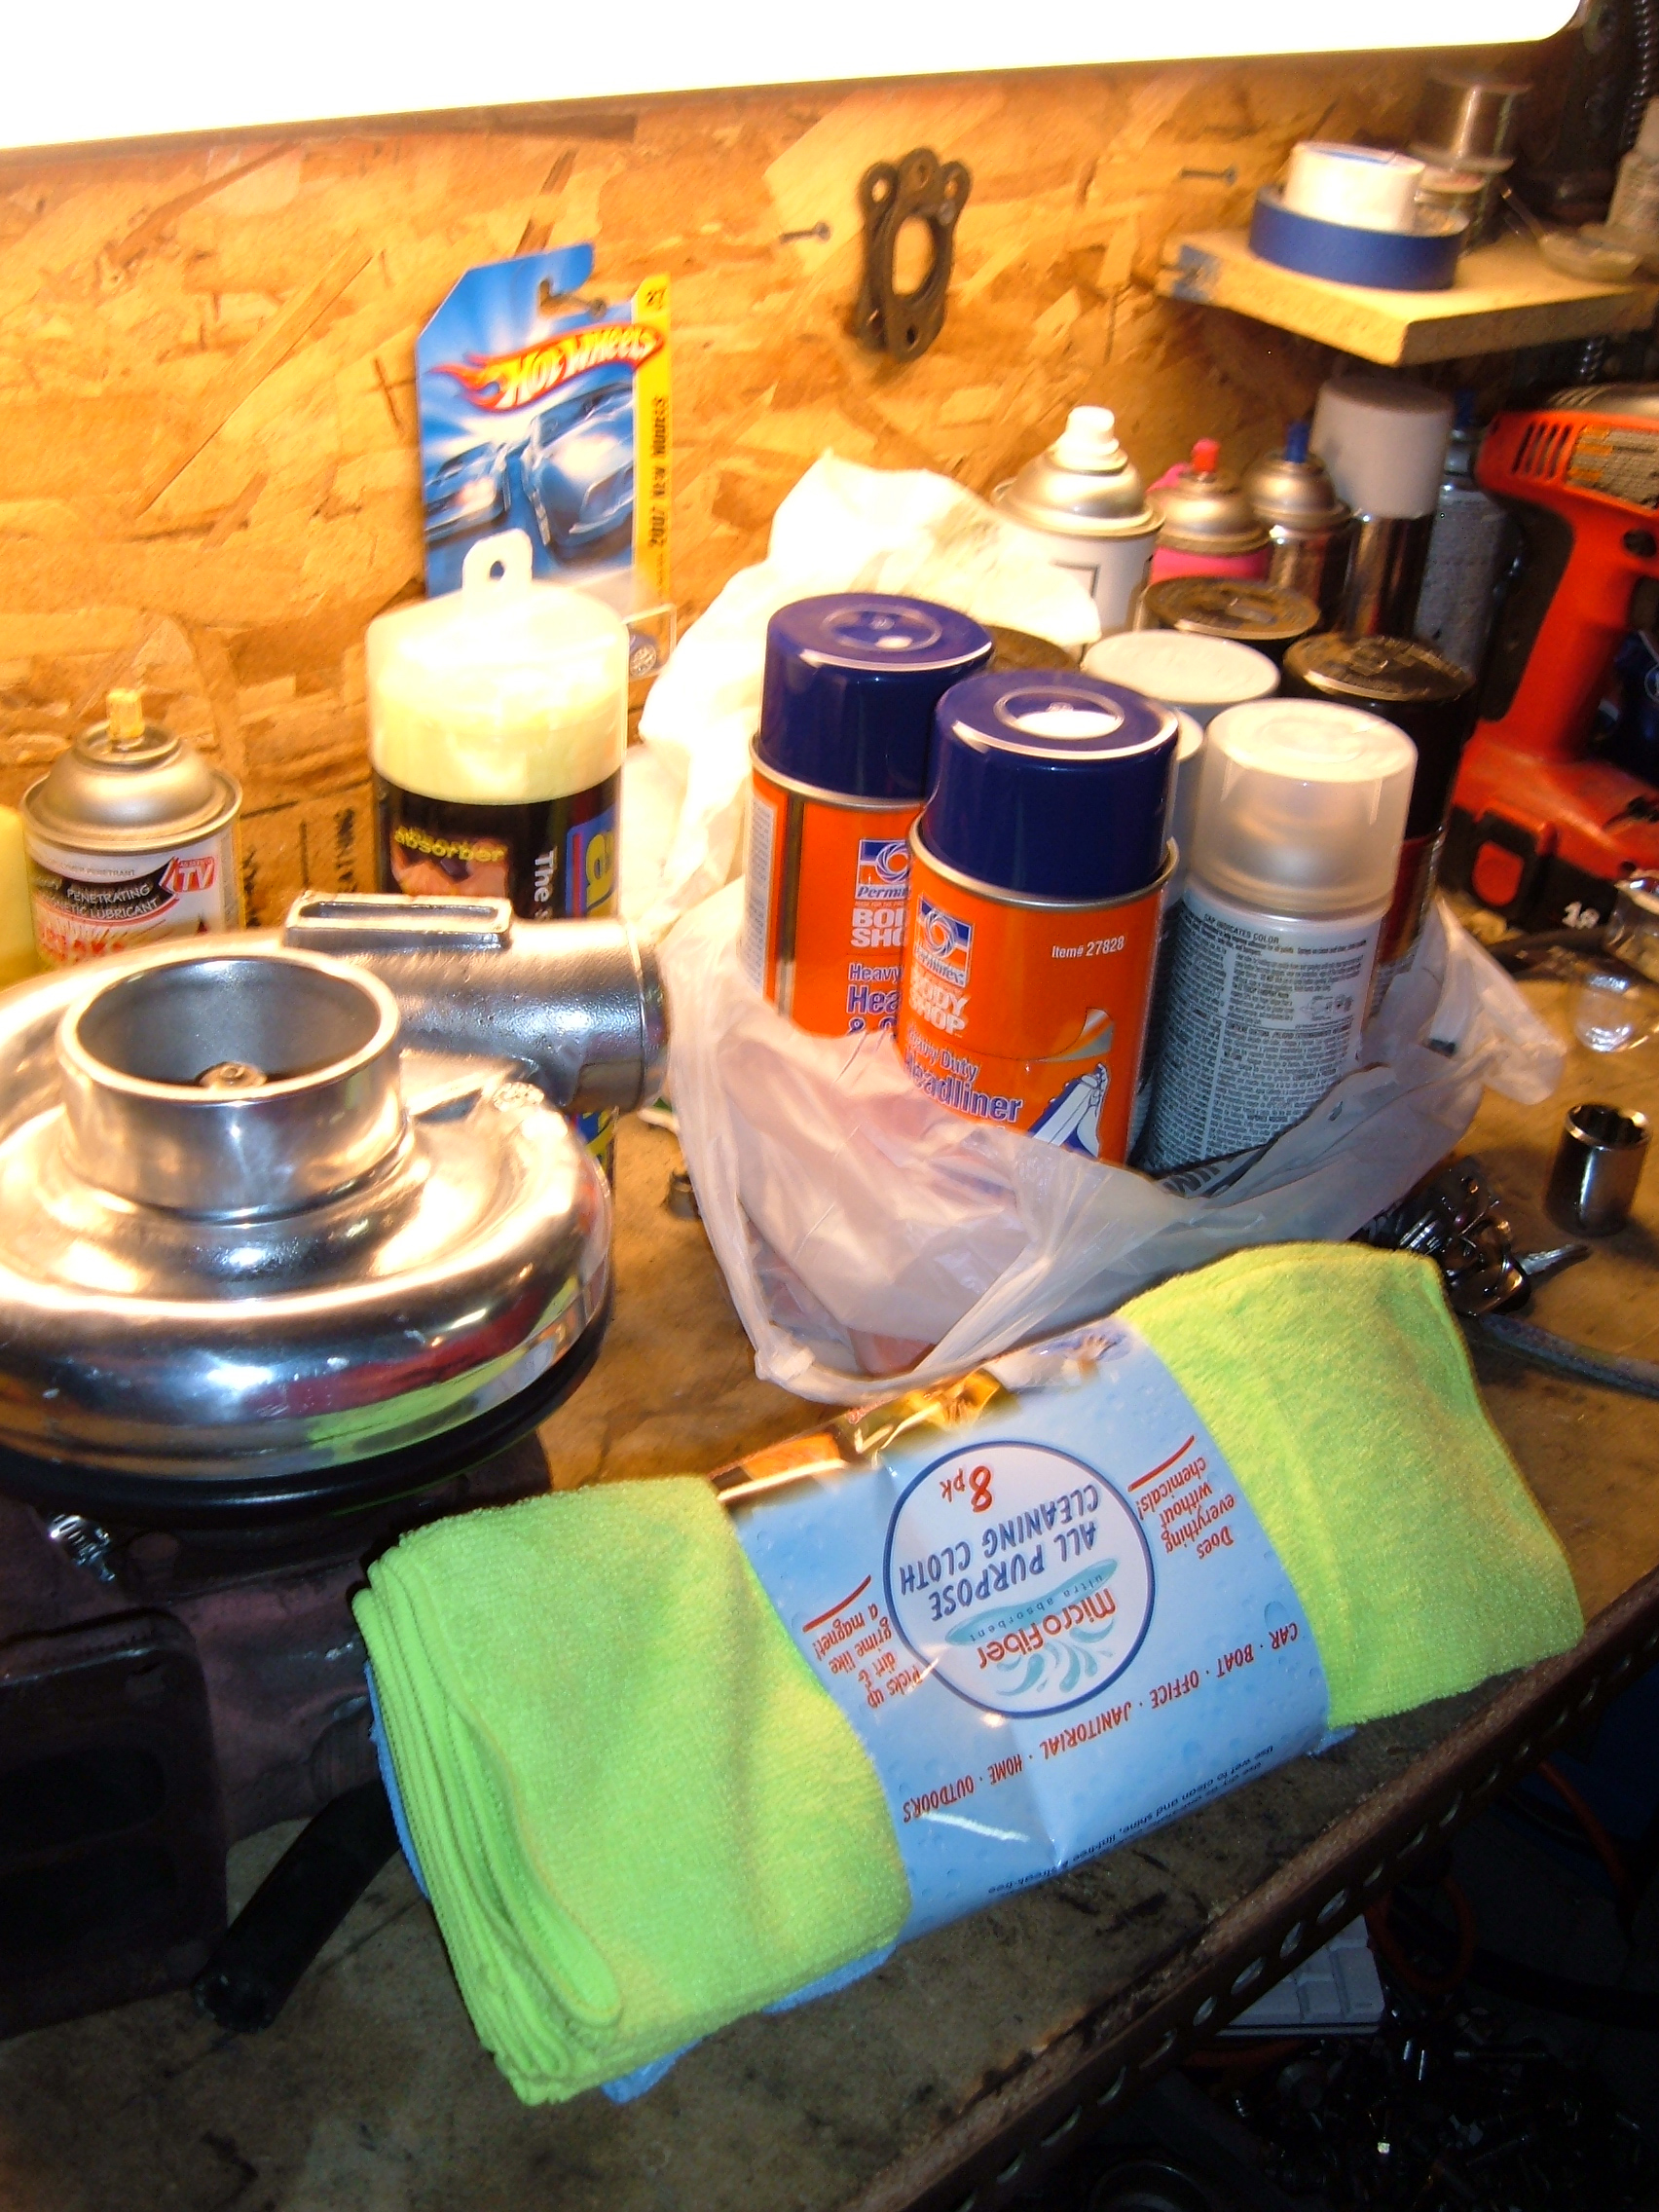
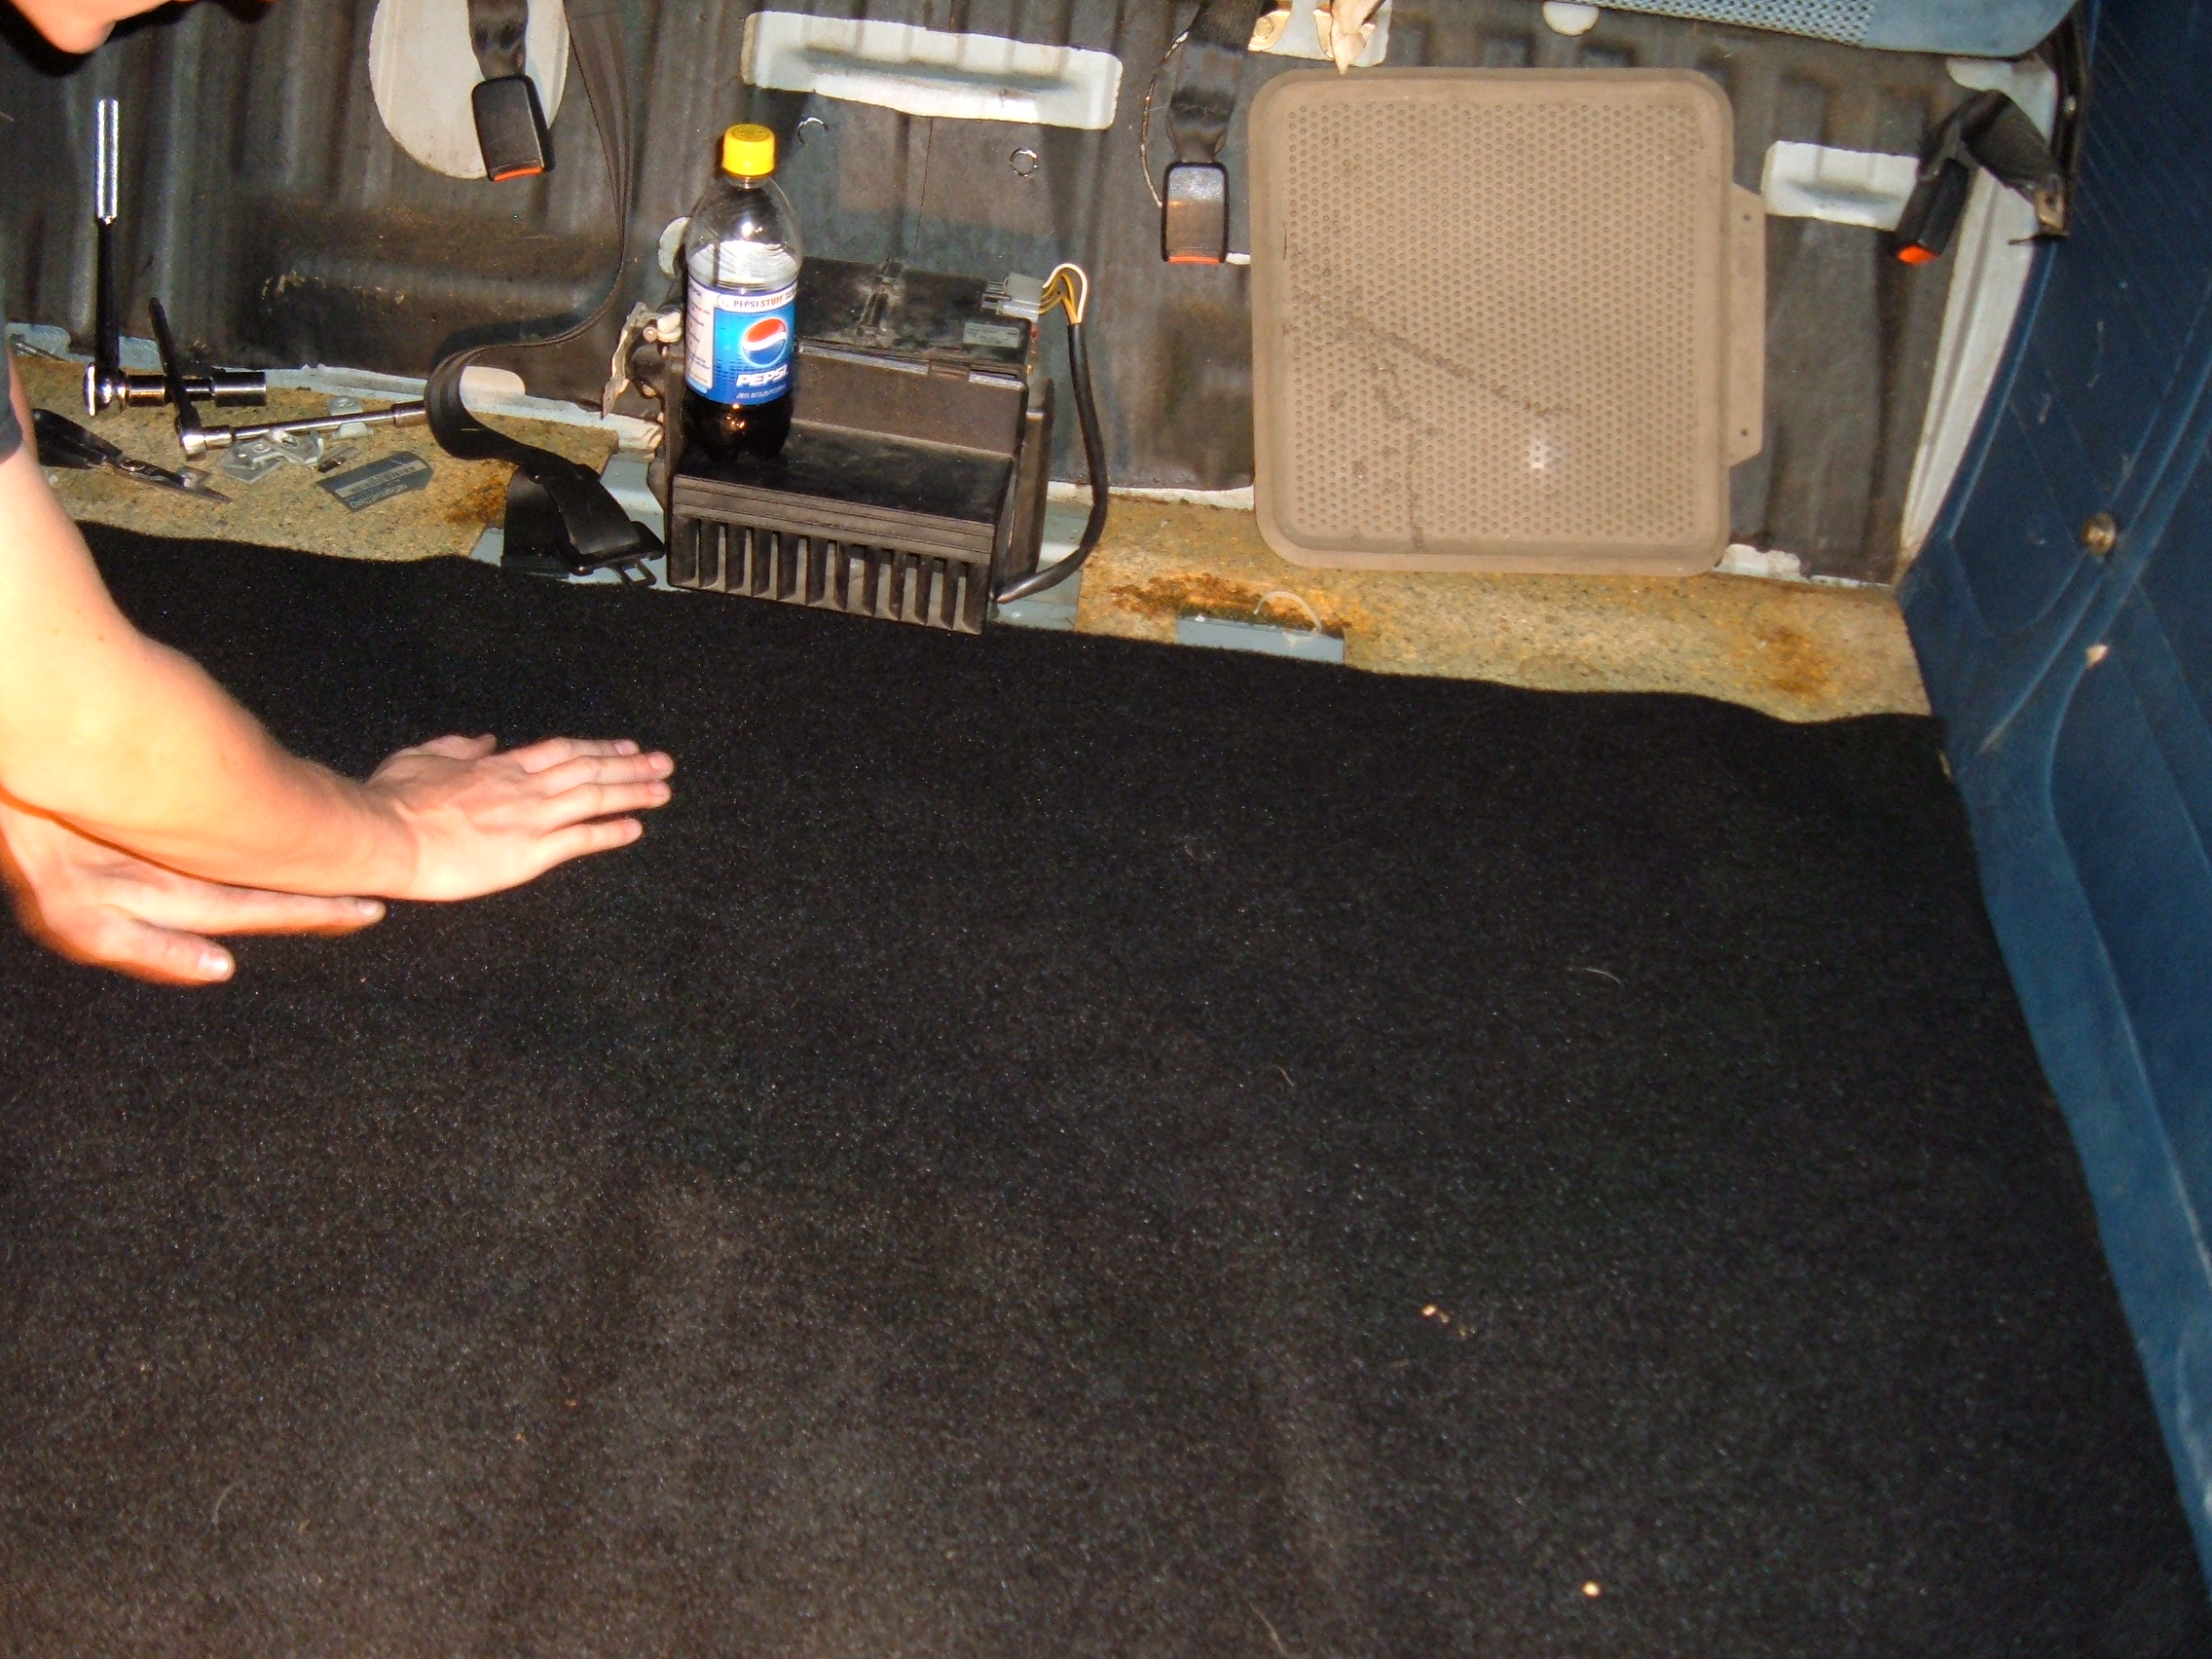
After a quick trip to the auto parts store I picked up some adhesive for the carpet and got to work.
First I laid down the carpet padding that is factory, I actually plan on dynomatting the entire vehicle in the near future.
The results were immediately clear, just what I needed.
It took a week for this thing to unroll to a flat shape:

Here is a closeup of the interior after returning from the window tint shop. I opted for 5% rear and 15% on the front two windows:

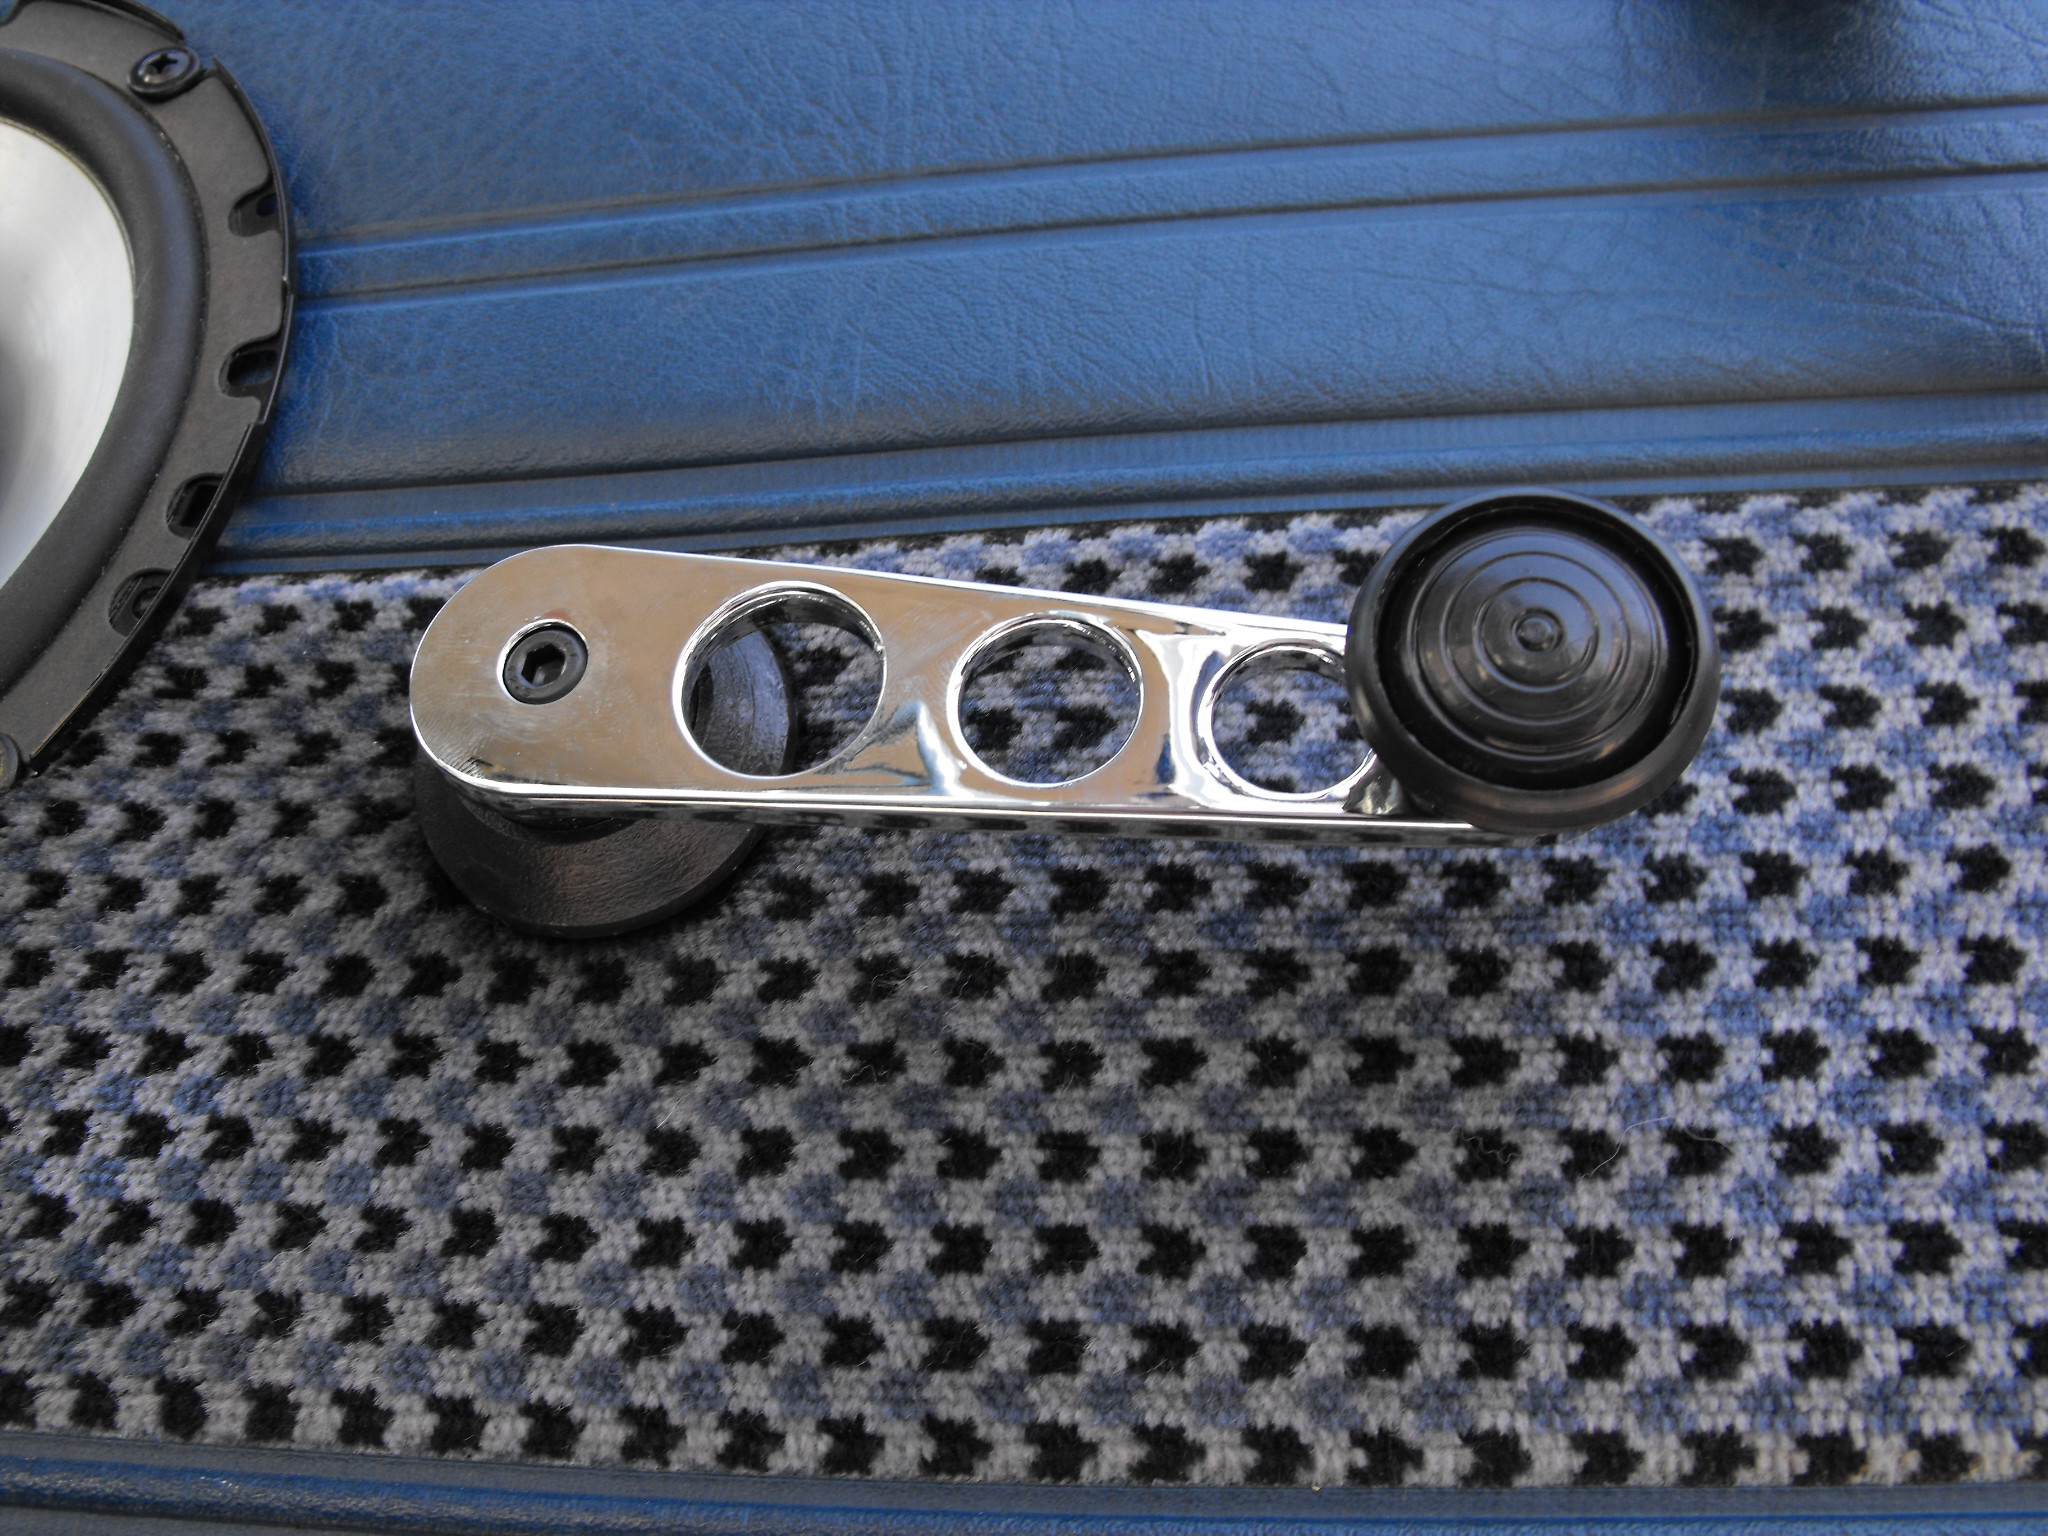
Installed some nice window crank handles, these include spacers for use with aftermarket speakers:
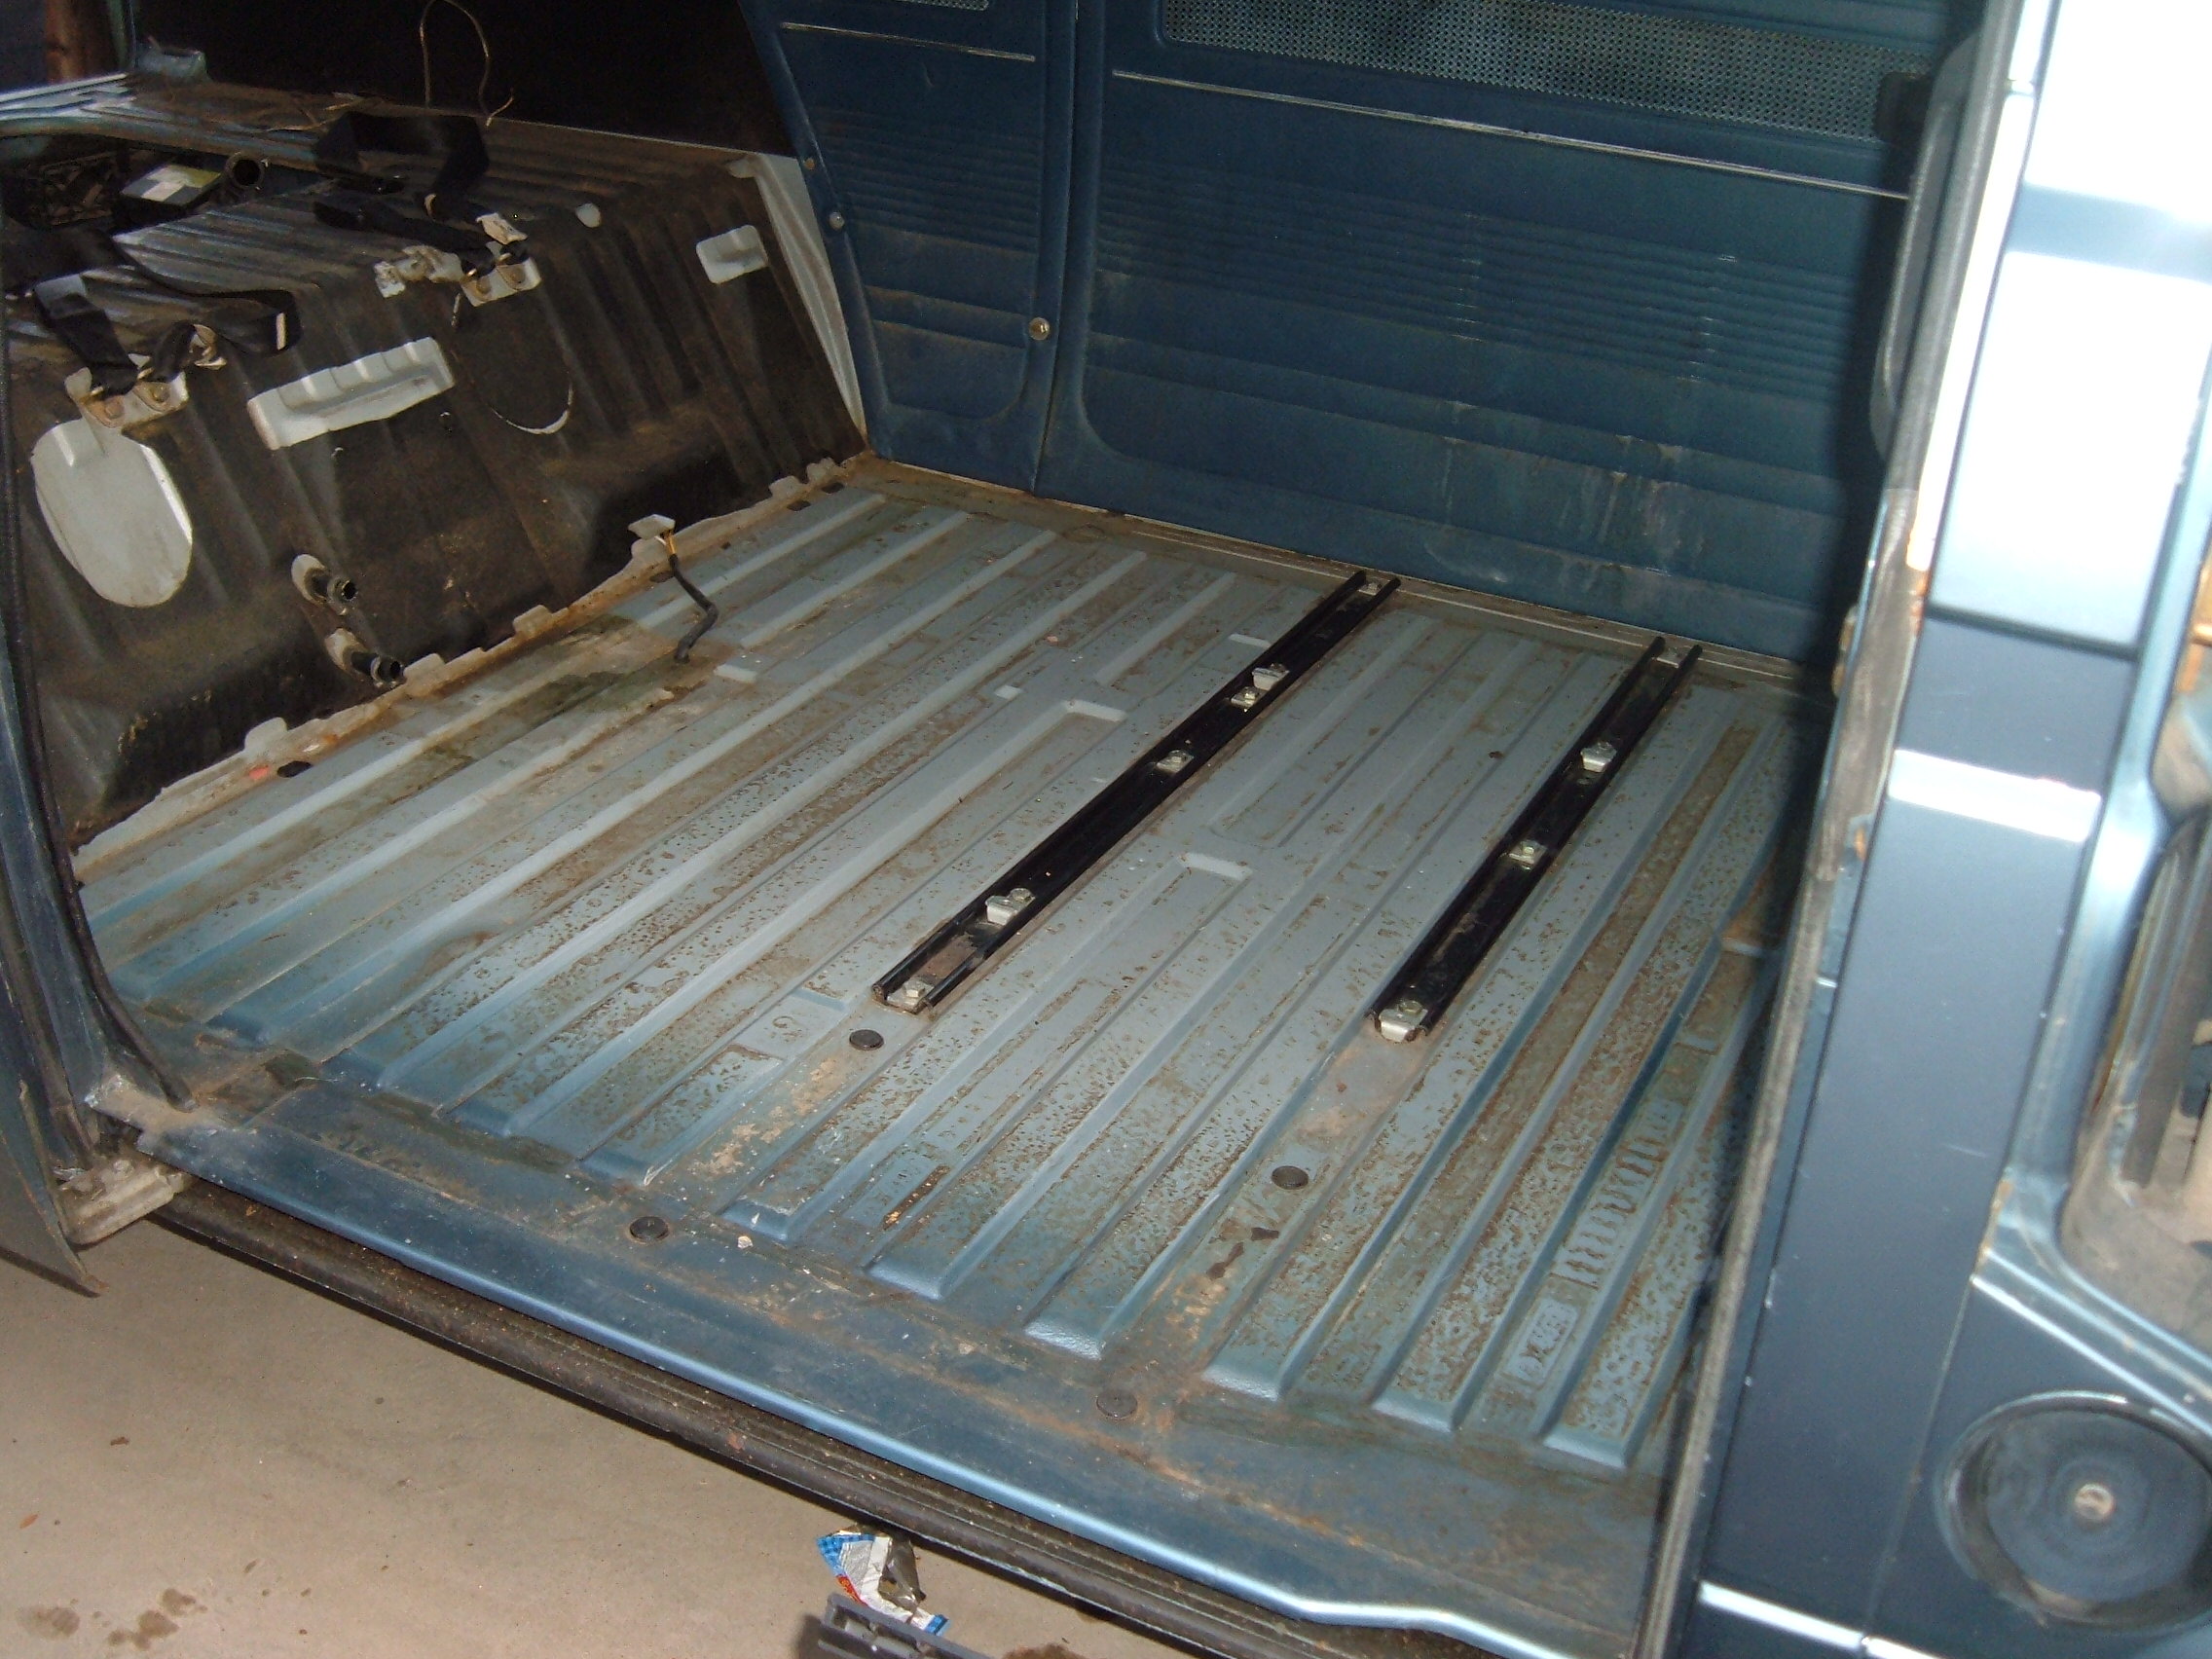
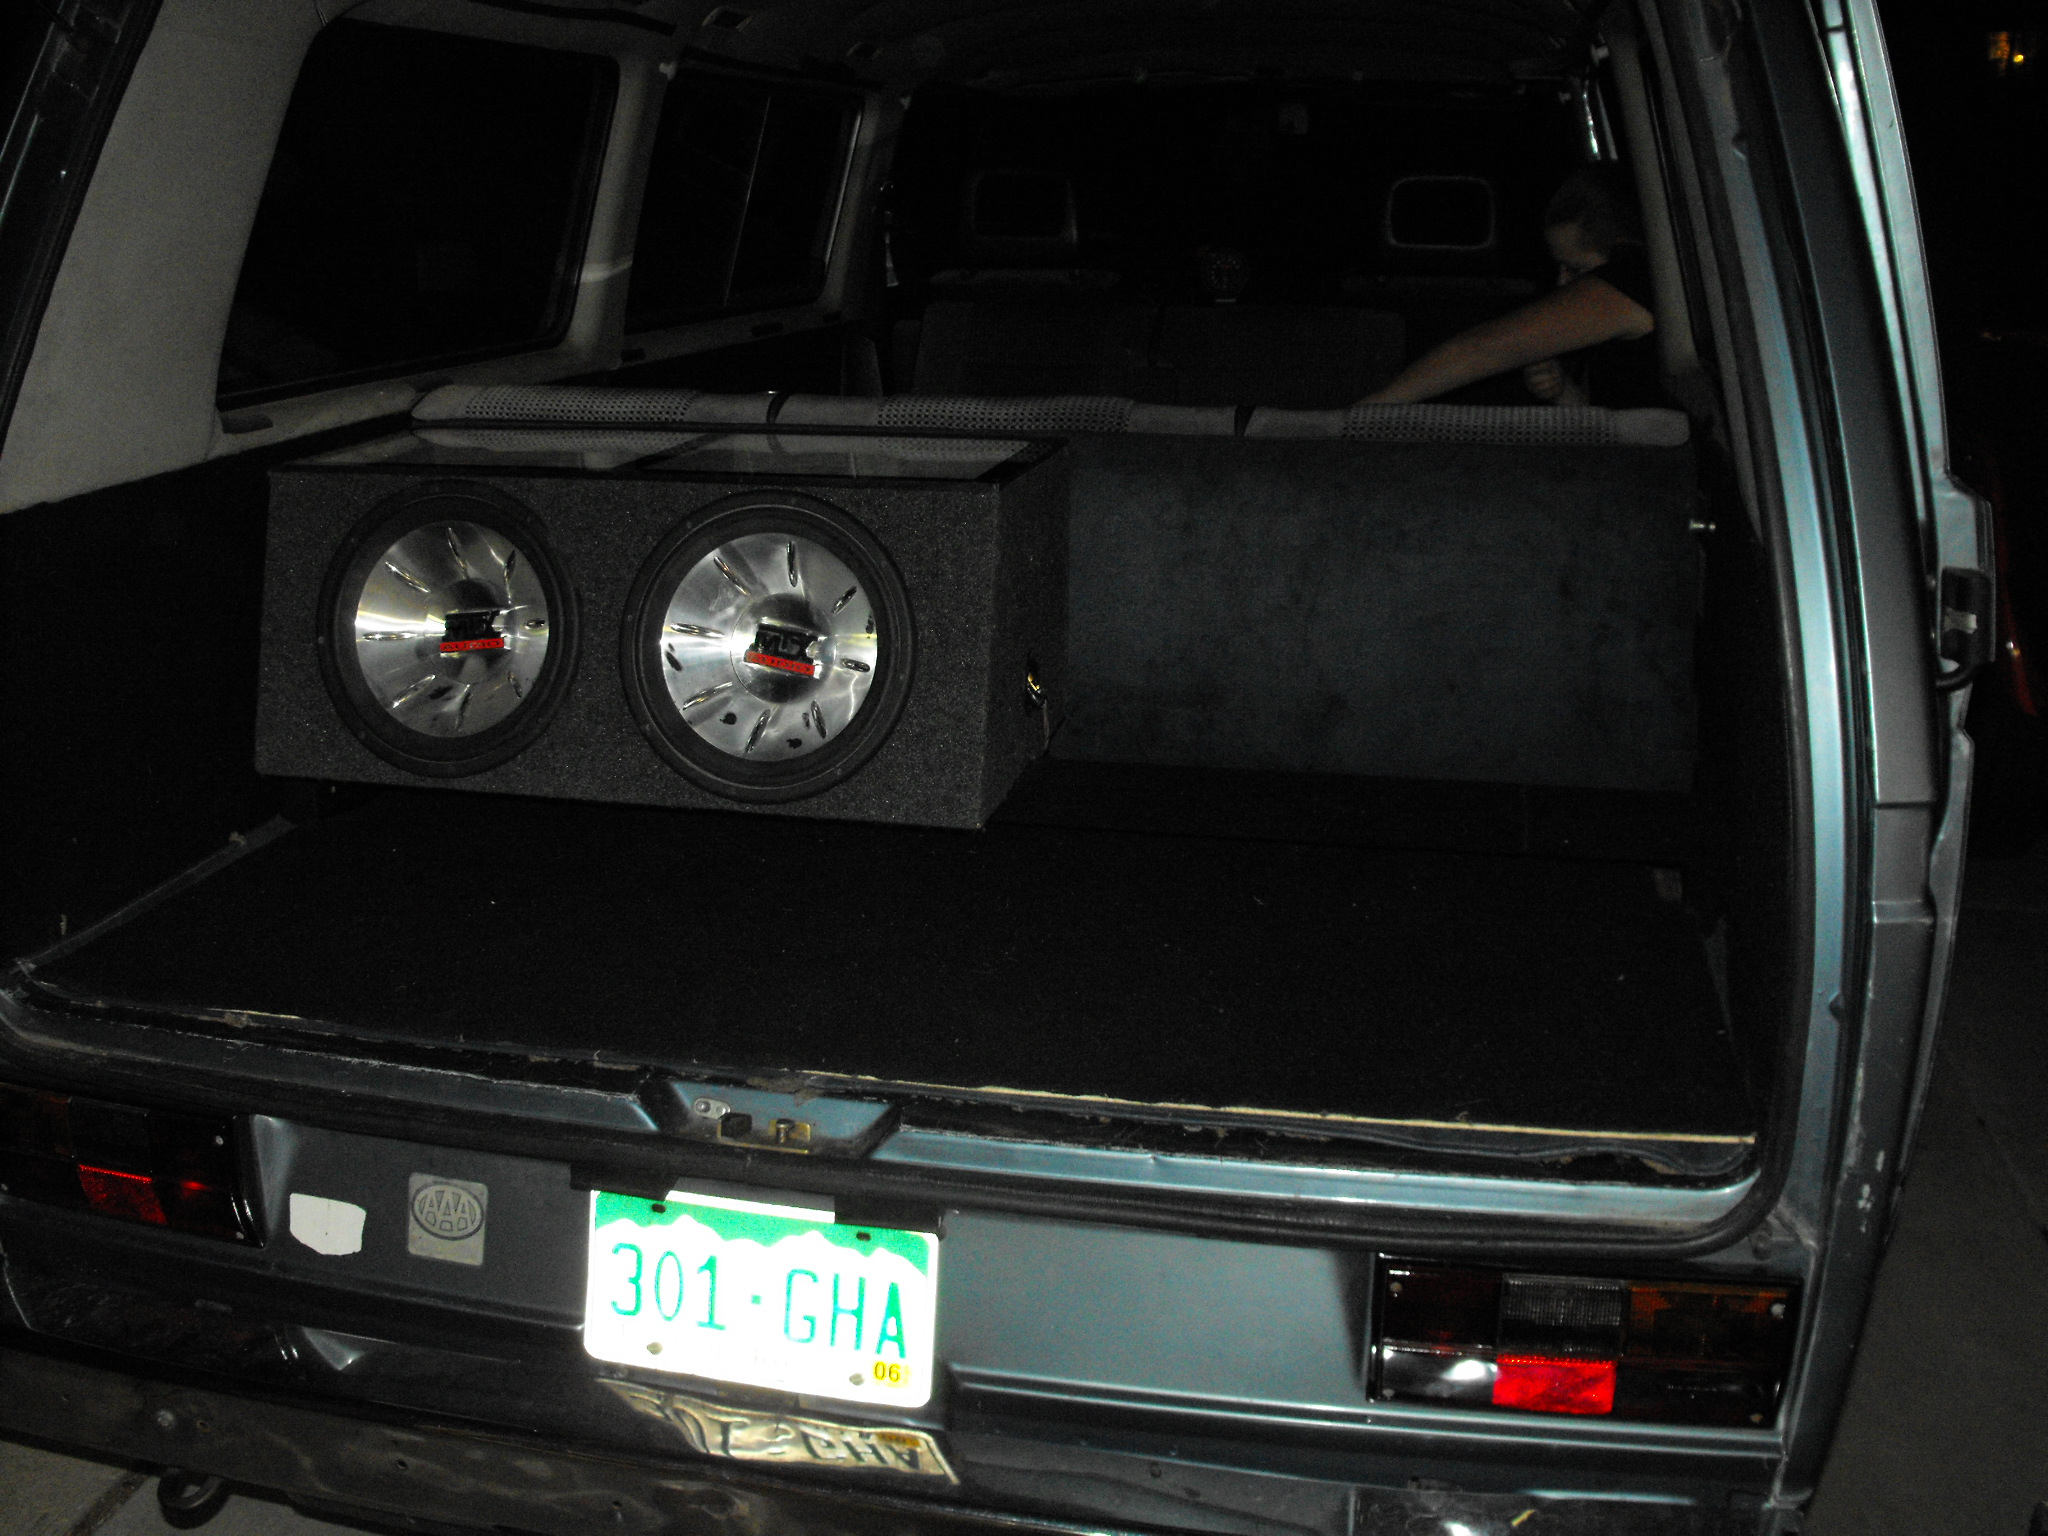
After getting the interior pretty much where I liked it I decided it was time to install some subs. It was interesting coming up with a solution for keeping the engine compartment readily accessible and it wasn’t long before I had something functional:

Using some 2×4″ sections I created a rail that ran the width of Albert and then anchored the speaker box to it. (doubles as theft deterrent as the beam is anchored into the van) I have since added a second battery and a milk crate for storage (all anchored in) yet still allowing ample room to work around the engine, I probably would re-locate the subs if I had the weekender package.
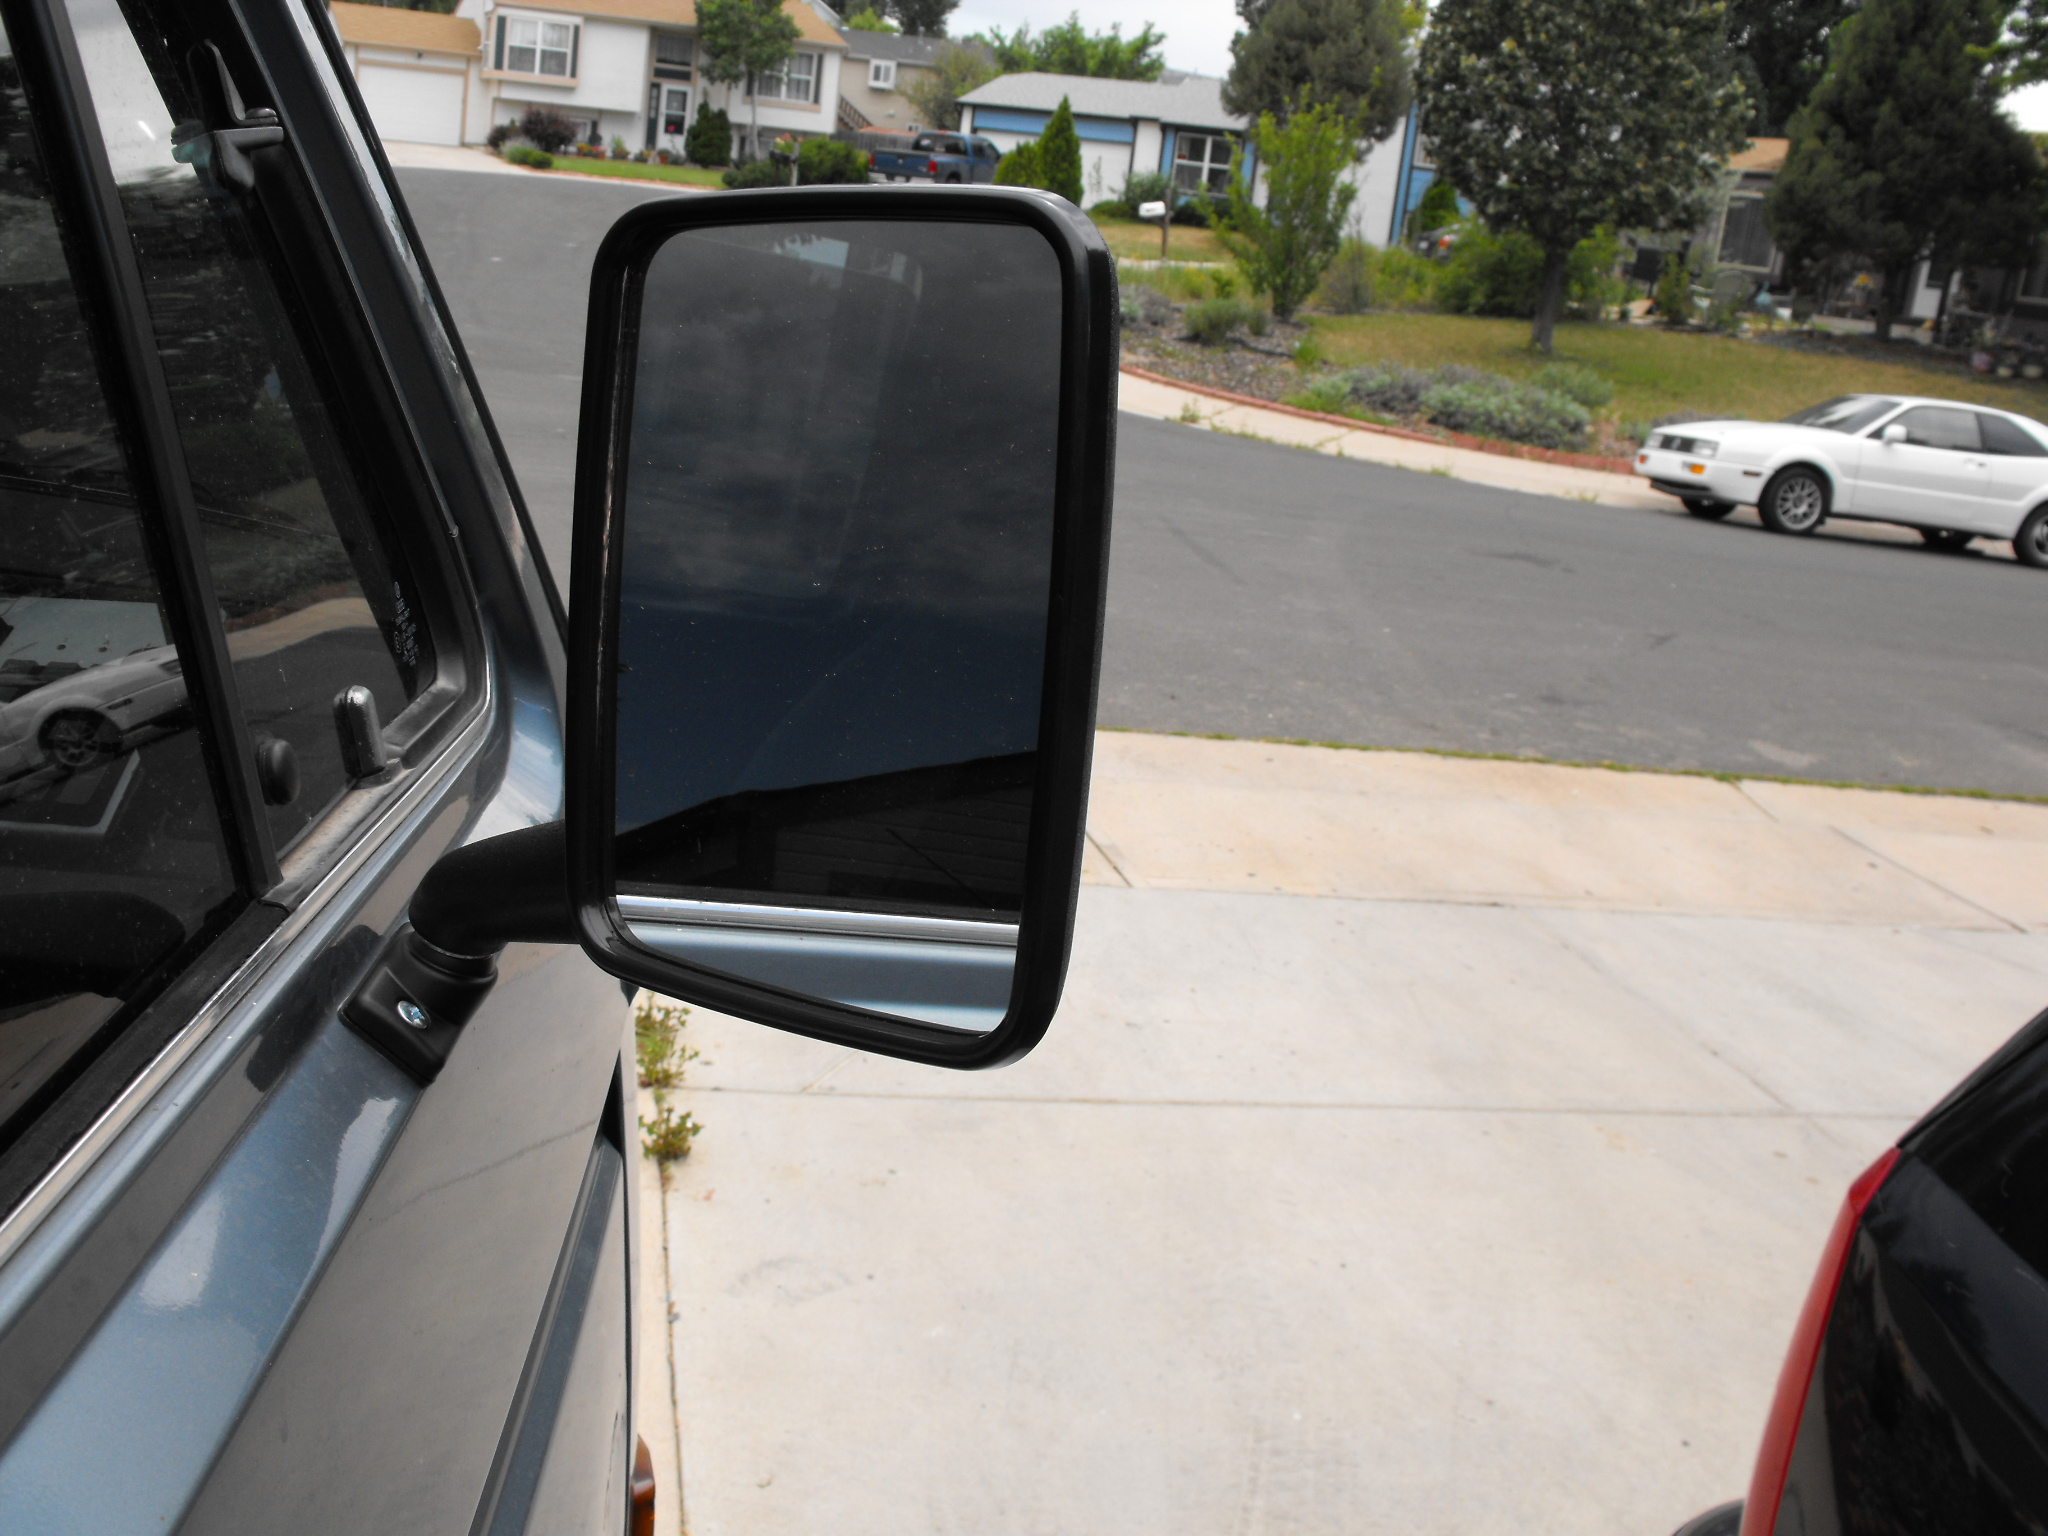
Also replaced the old side mirrors with NOS parts:

Tip: Tighten the nut on the bottom of your mirrors all the way and put some thread locker on it to prevent them from blowing in at highway speeds. You will need to remember to position the base for optimal installation convenience as you won’t be able to move the base until the mirror is anchored onto the van.


Vanagon Clock Fix:
I was unfortunate enough to receive the instrument cluster that didn’t come with the tachometer. It’s wasn’t all that big of a deal other than the clock that is installed in the cluster didn’t work. After ending up with a parts cluster that also had a broken clock it was time to figure out what was up, so I diagnosed the issue and it turned out to be a couple of electrolytic capacitors on the back. (see picture below)
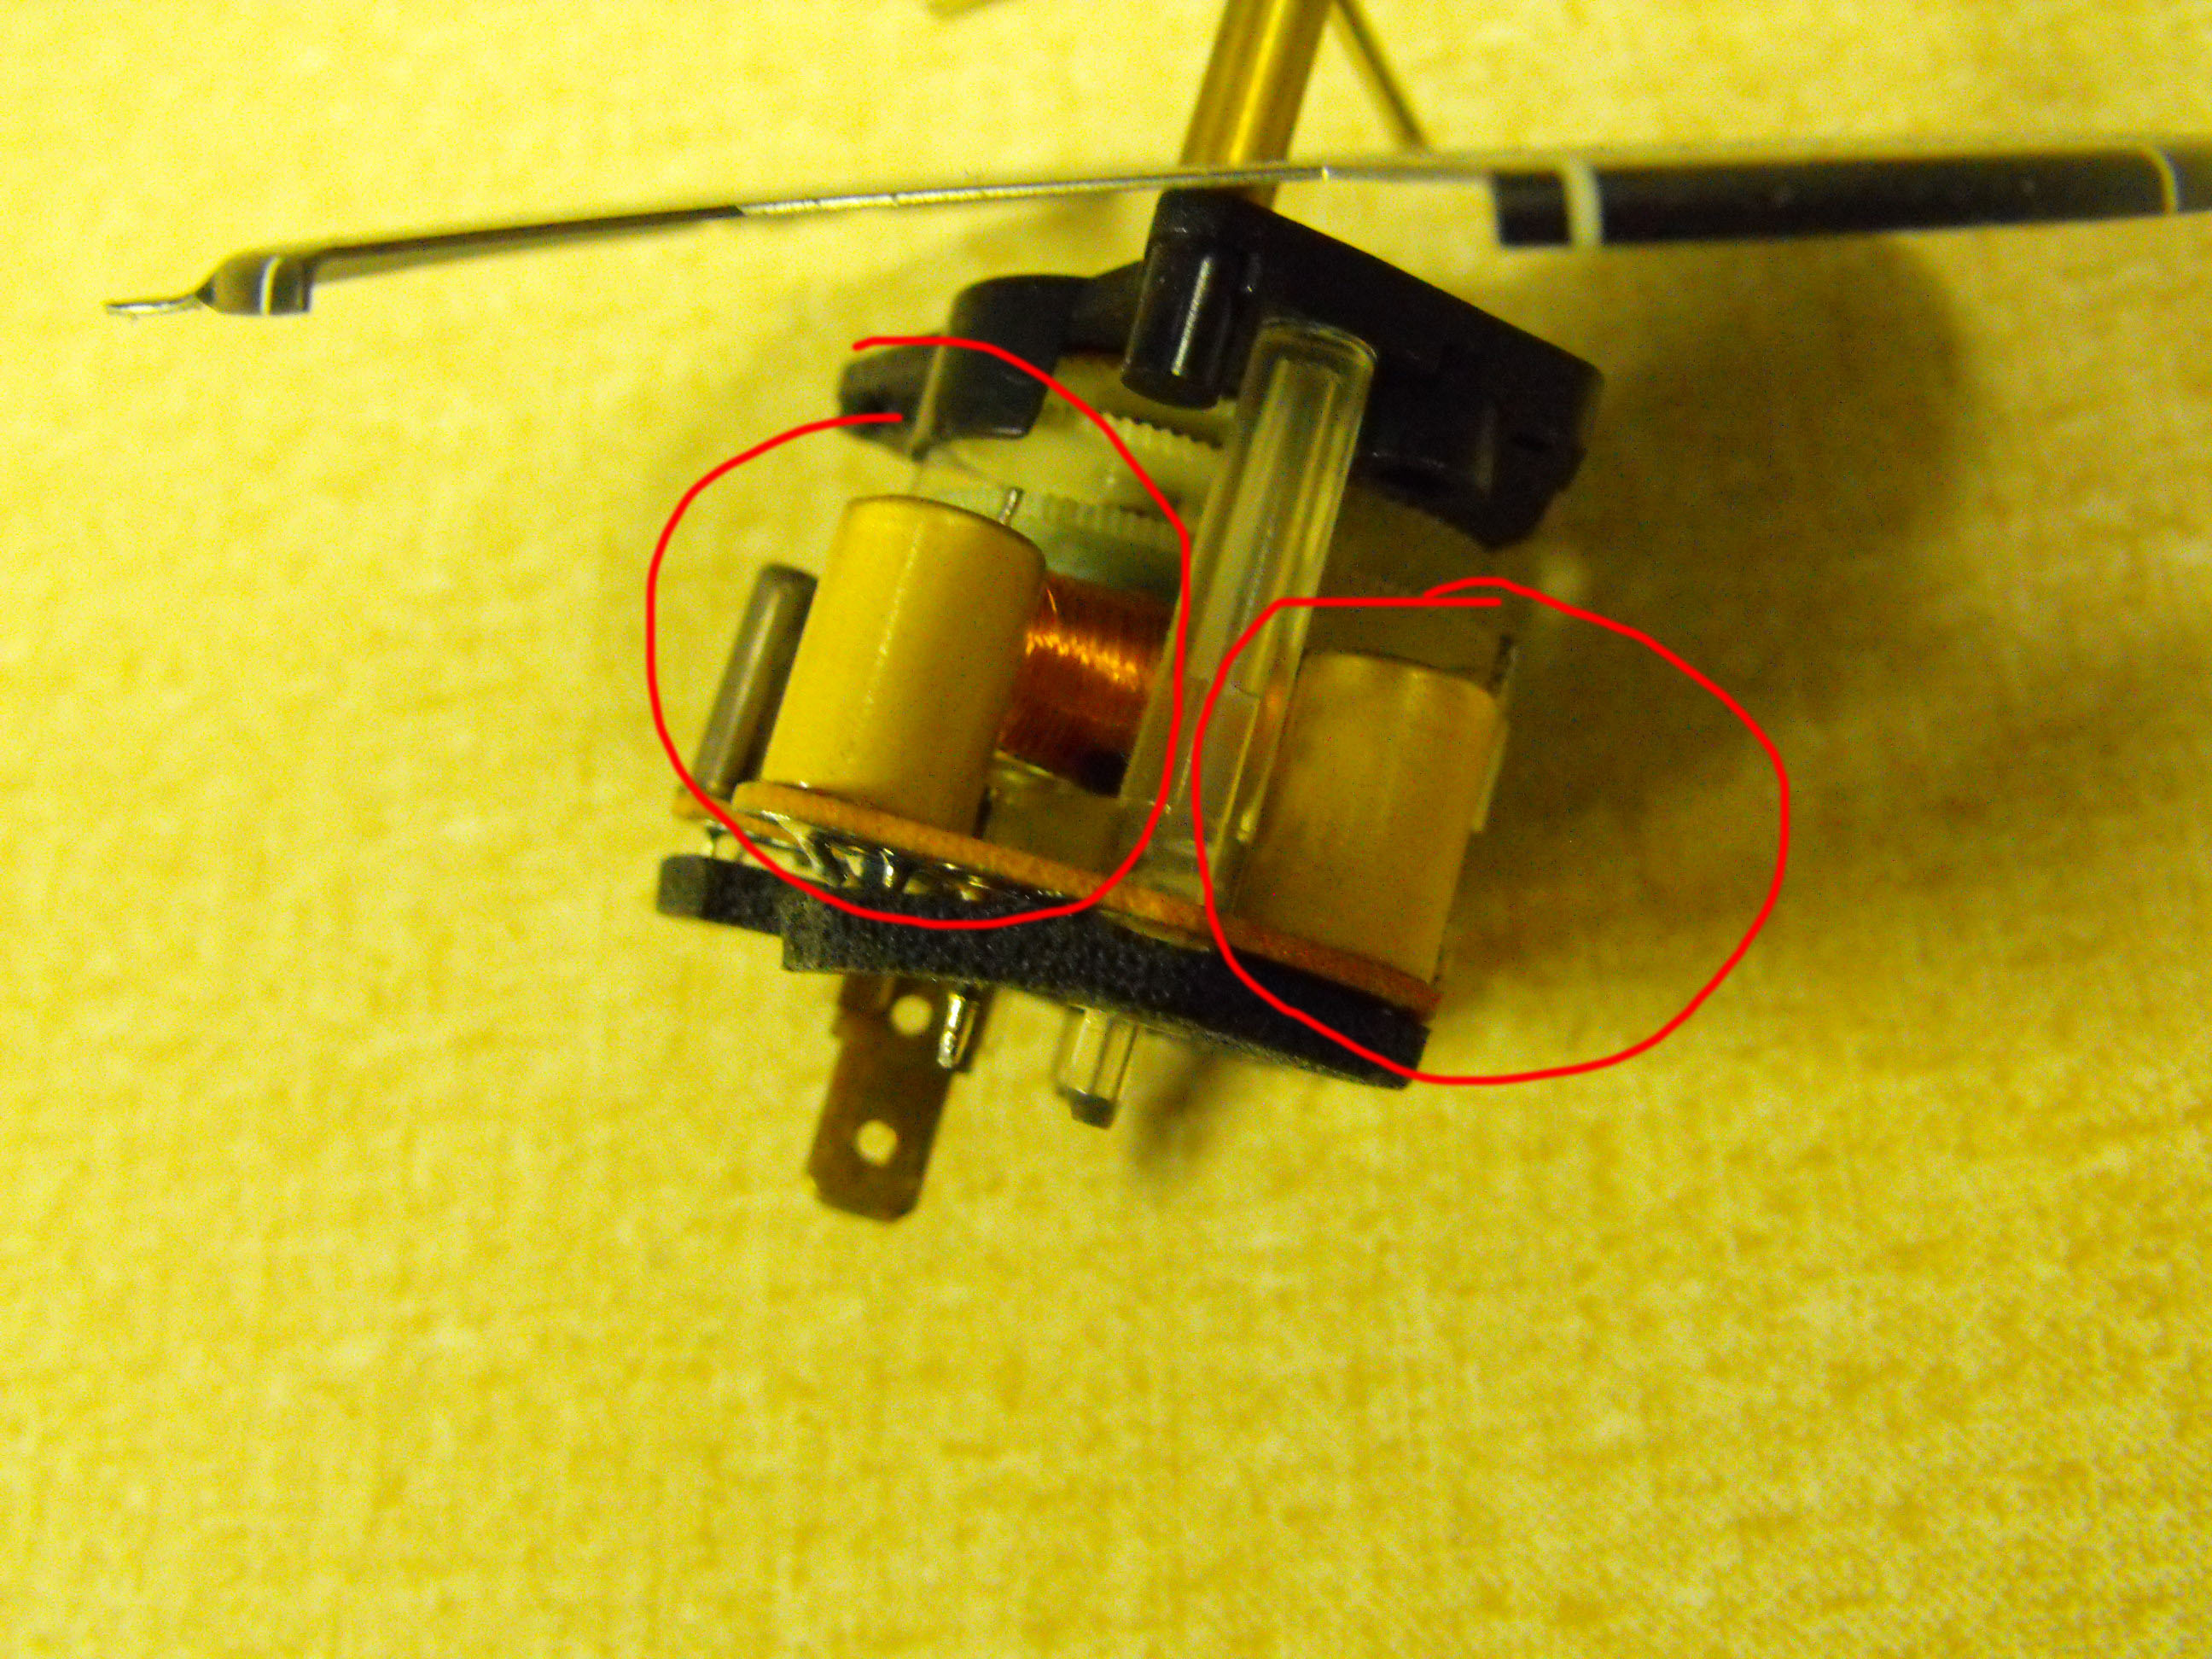
The capacitors are between 20 and 22 microfarad, you will need to get at least a 25v rated pair or higher and don’t forget the polarity once you goto swap them out:

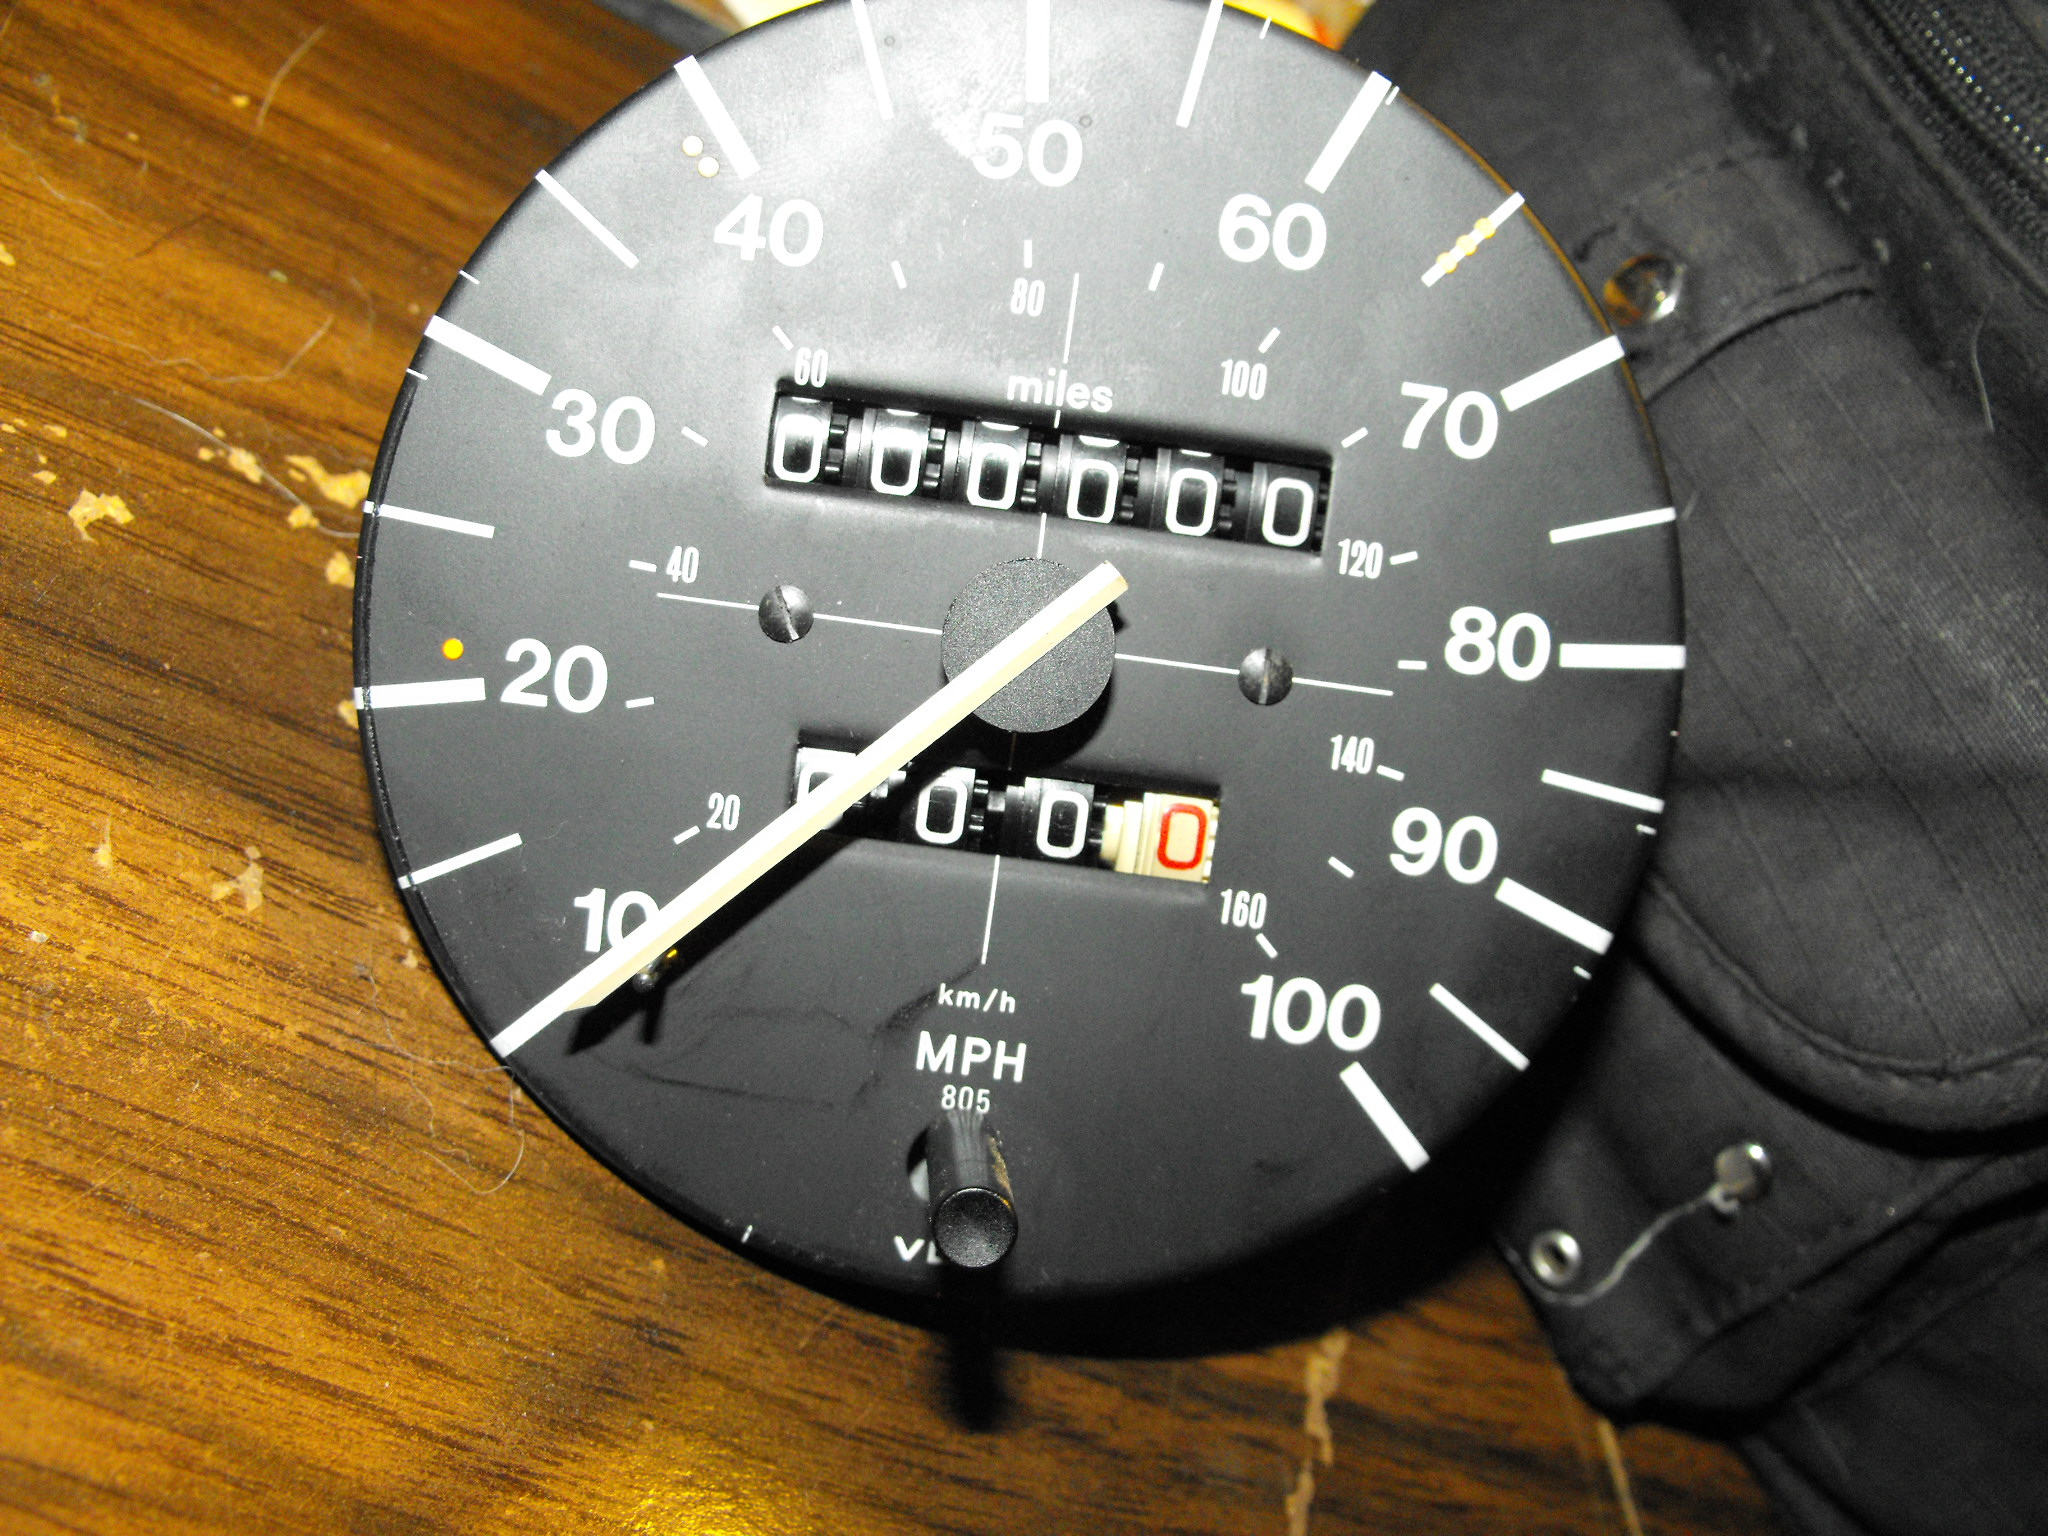
Time to assemble the clock and put it back in the cluster, I tested the clock and it held time for about 6 hours once I was satisfied I put it back together:

Since I had a second cluster I zeroed the odometer and stuck it in with the swap. Colorado voids the mileage on cars older than 10 years anyway…
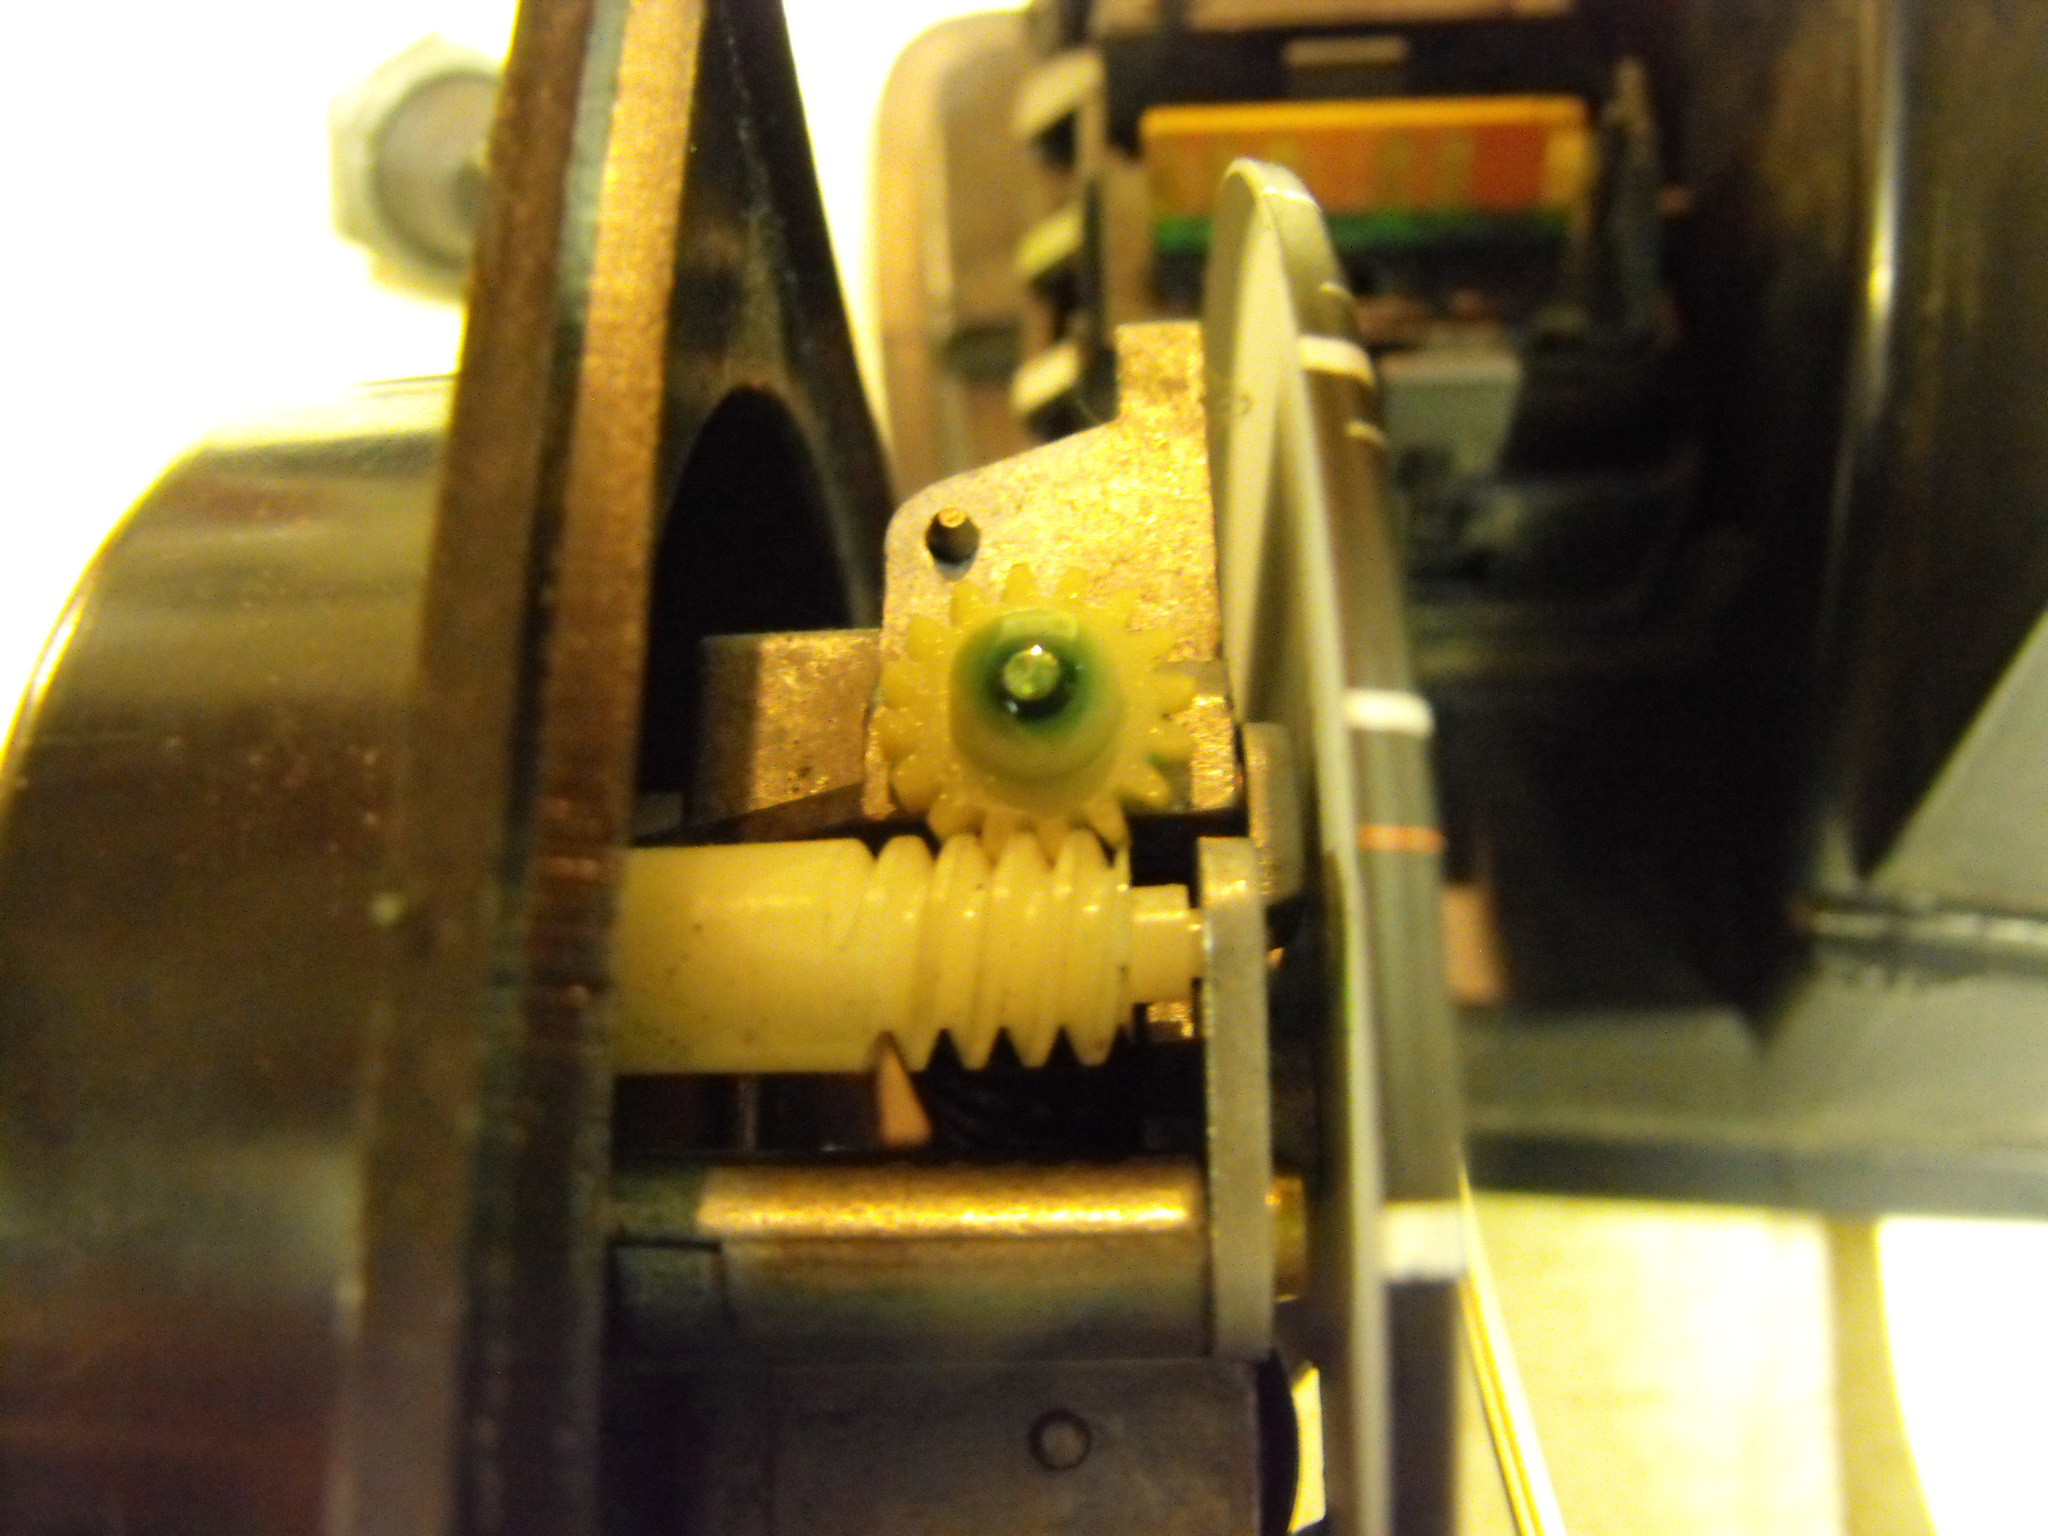
If your speedometer works but your odometer doesn’t this gear probably has much to do with it. The gear tends to slide off the shaft as the wormgear drives it, I tried some green thread locker but recommend some type of epoxy:
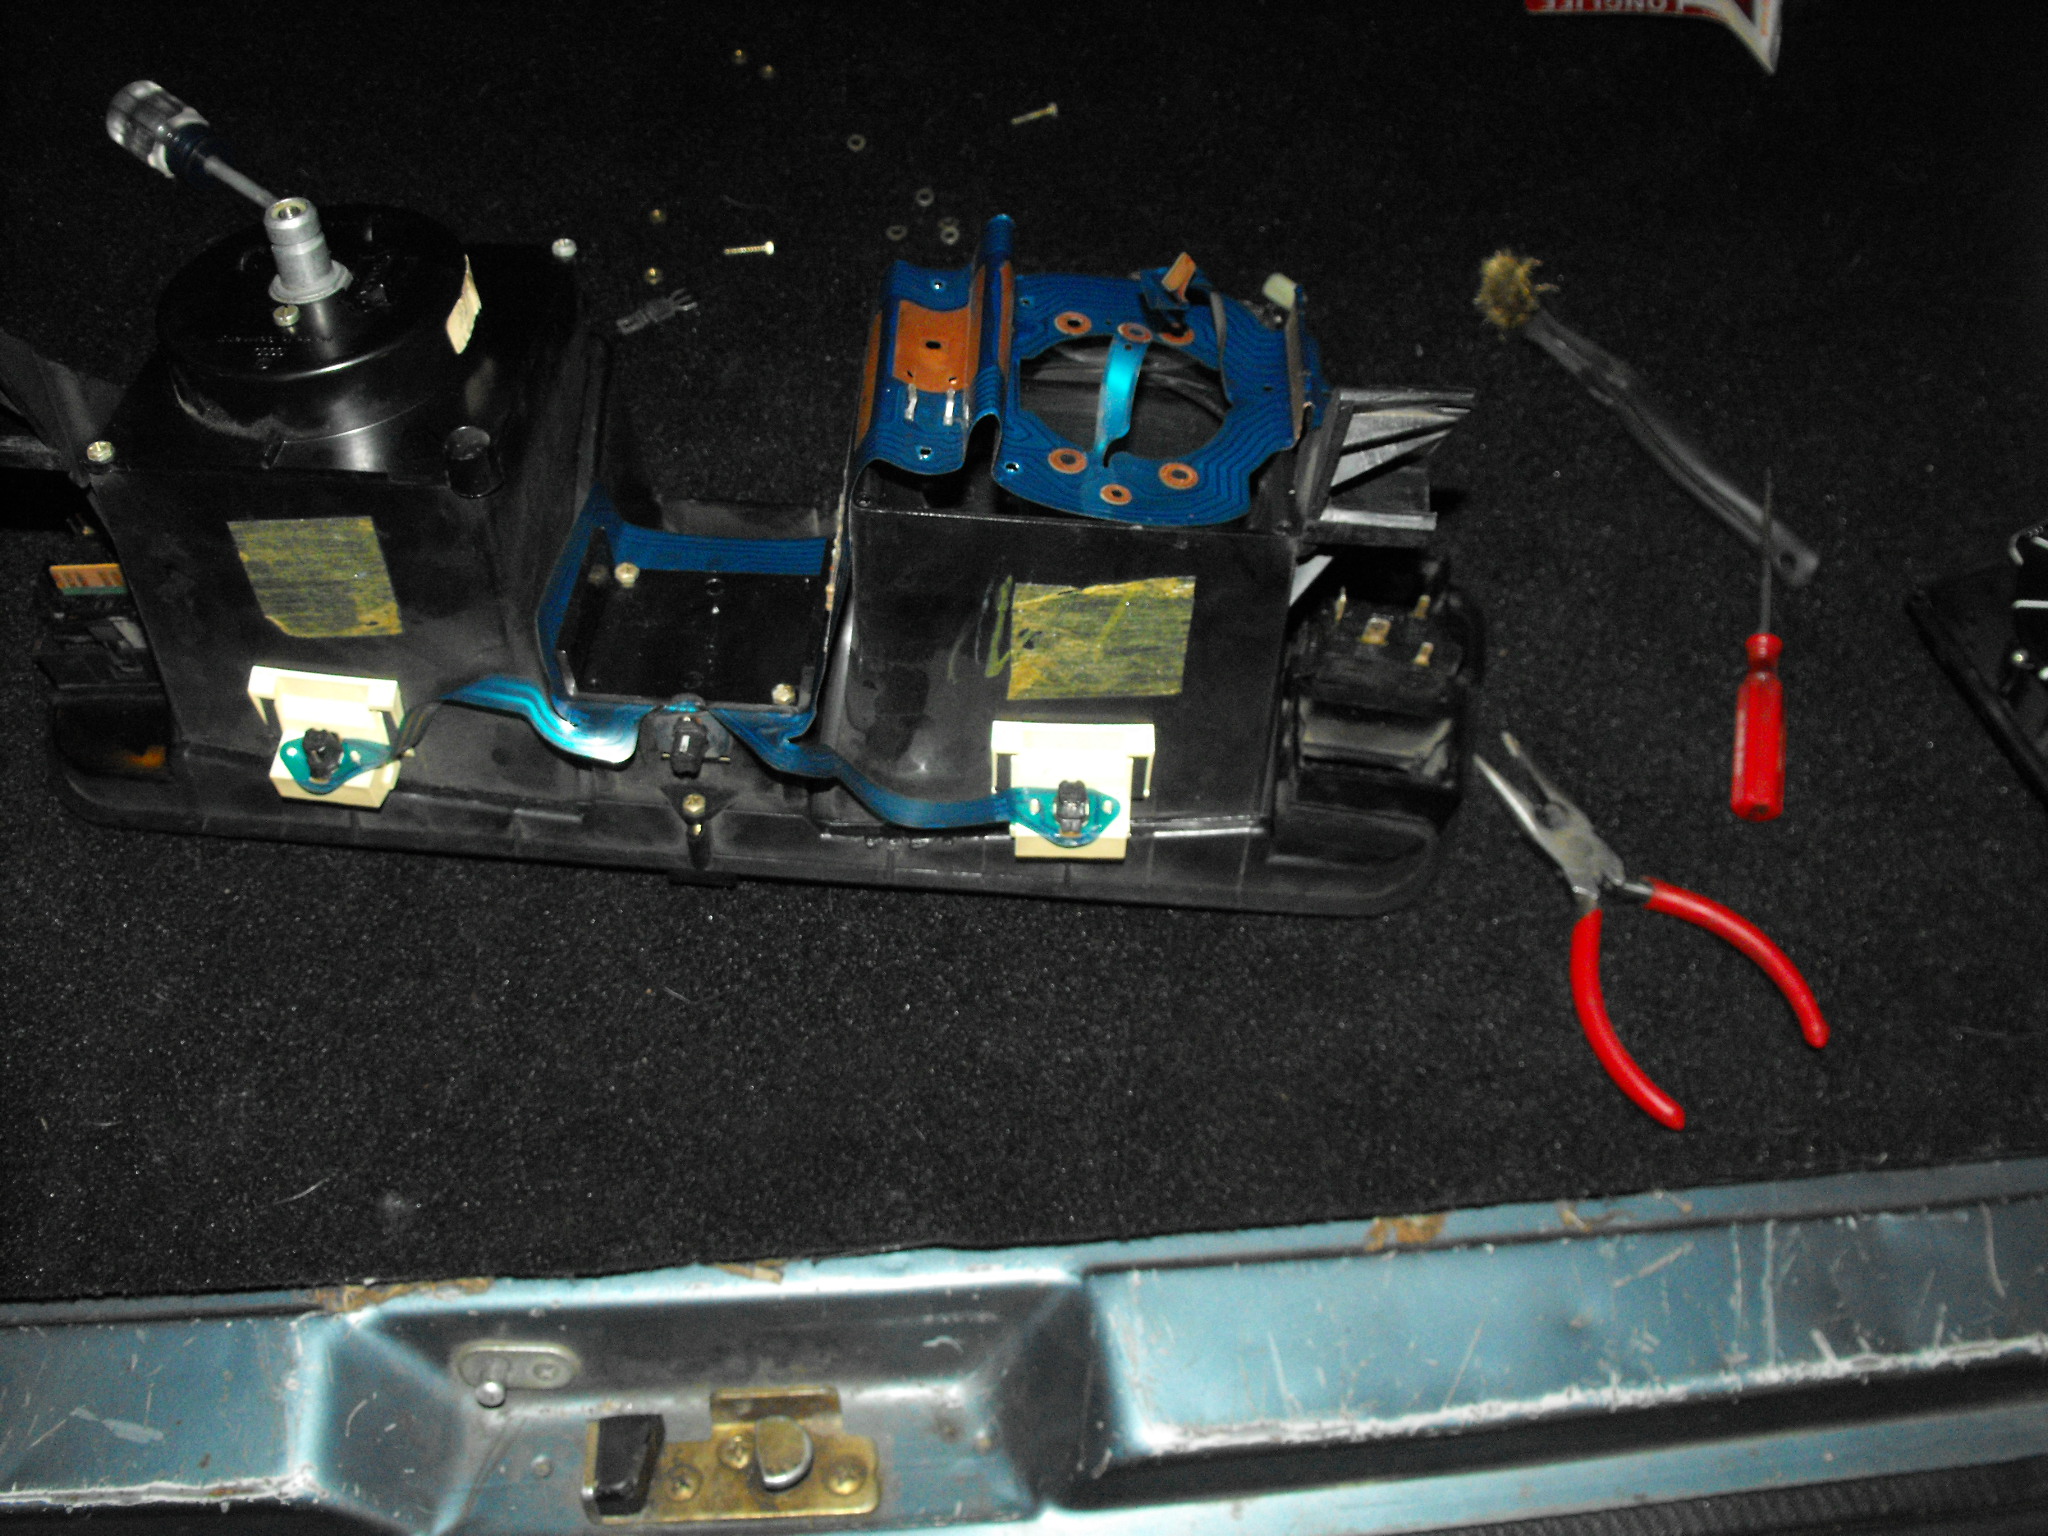
Putting it back together:
The new windshield looks fantastic:
Body Work
Even though there was no major damage to the van body work on any scale is a chore. This van came with a rear hatch off an earlier Vanagon which had the rear window wiper deleted. (but the 84 had originally been equipped with one) I actually liked the look that it gave the back and decided to continue the look by removing the hatch keyhole (not having a key for the hatch also influenced this decision) and eventually adding a trunk popper so at the press of a button I have access to the back.
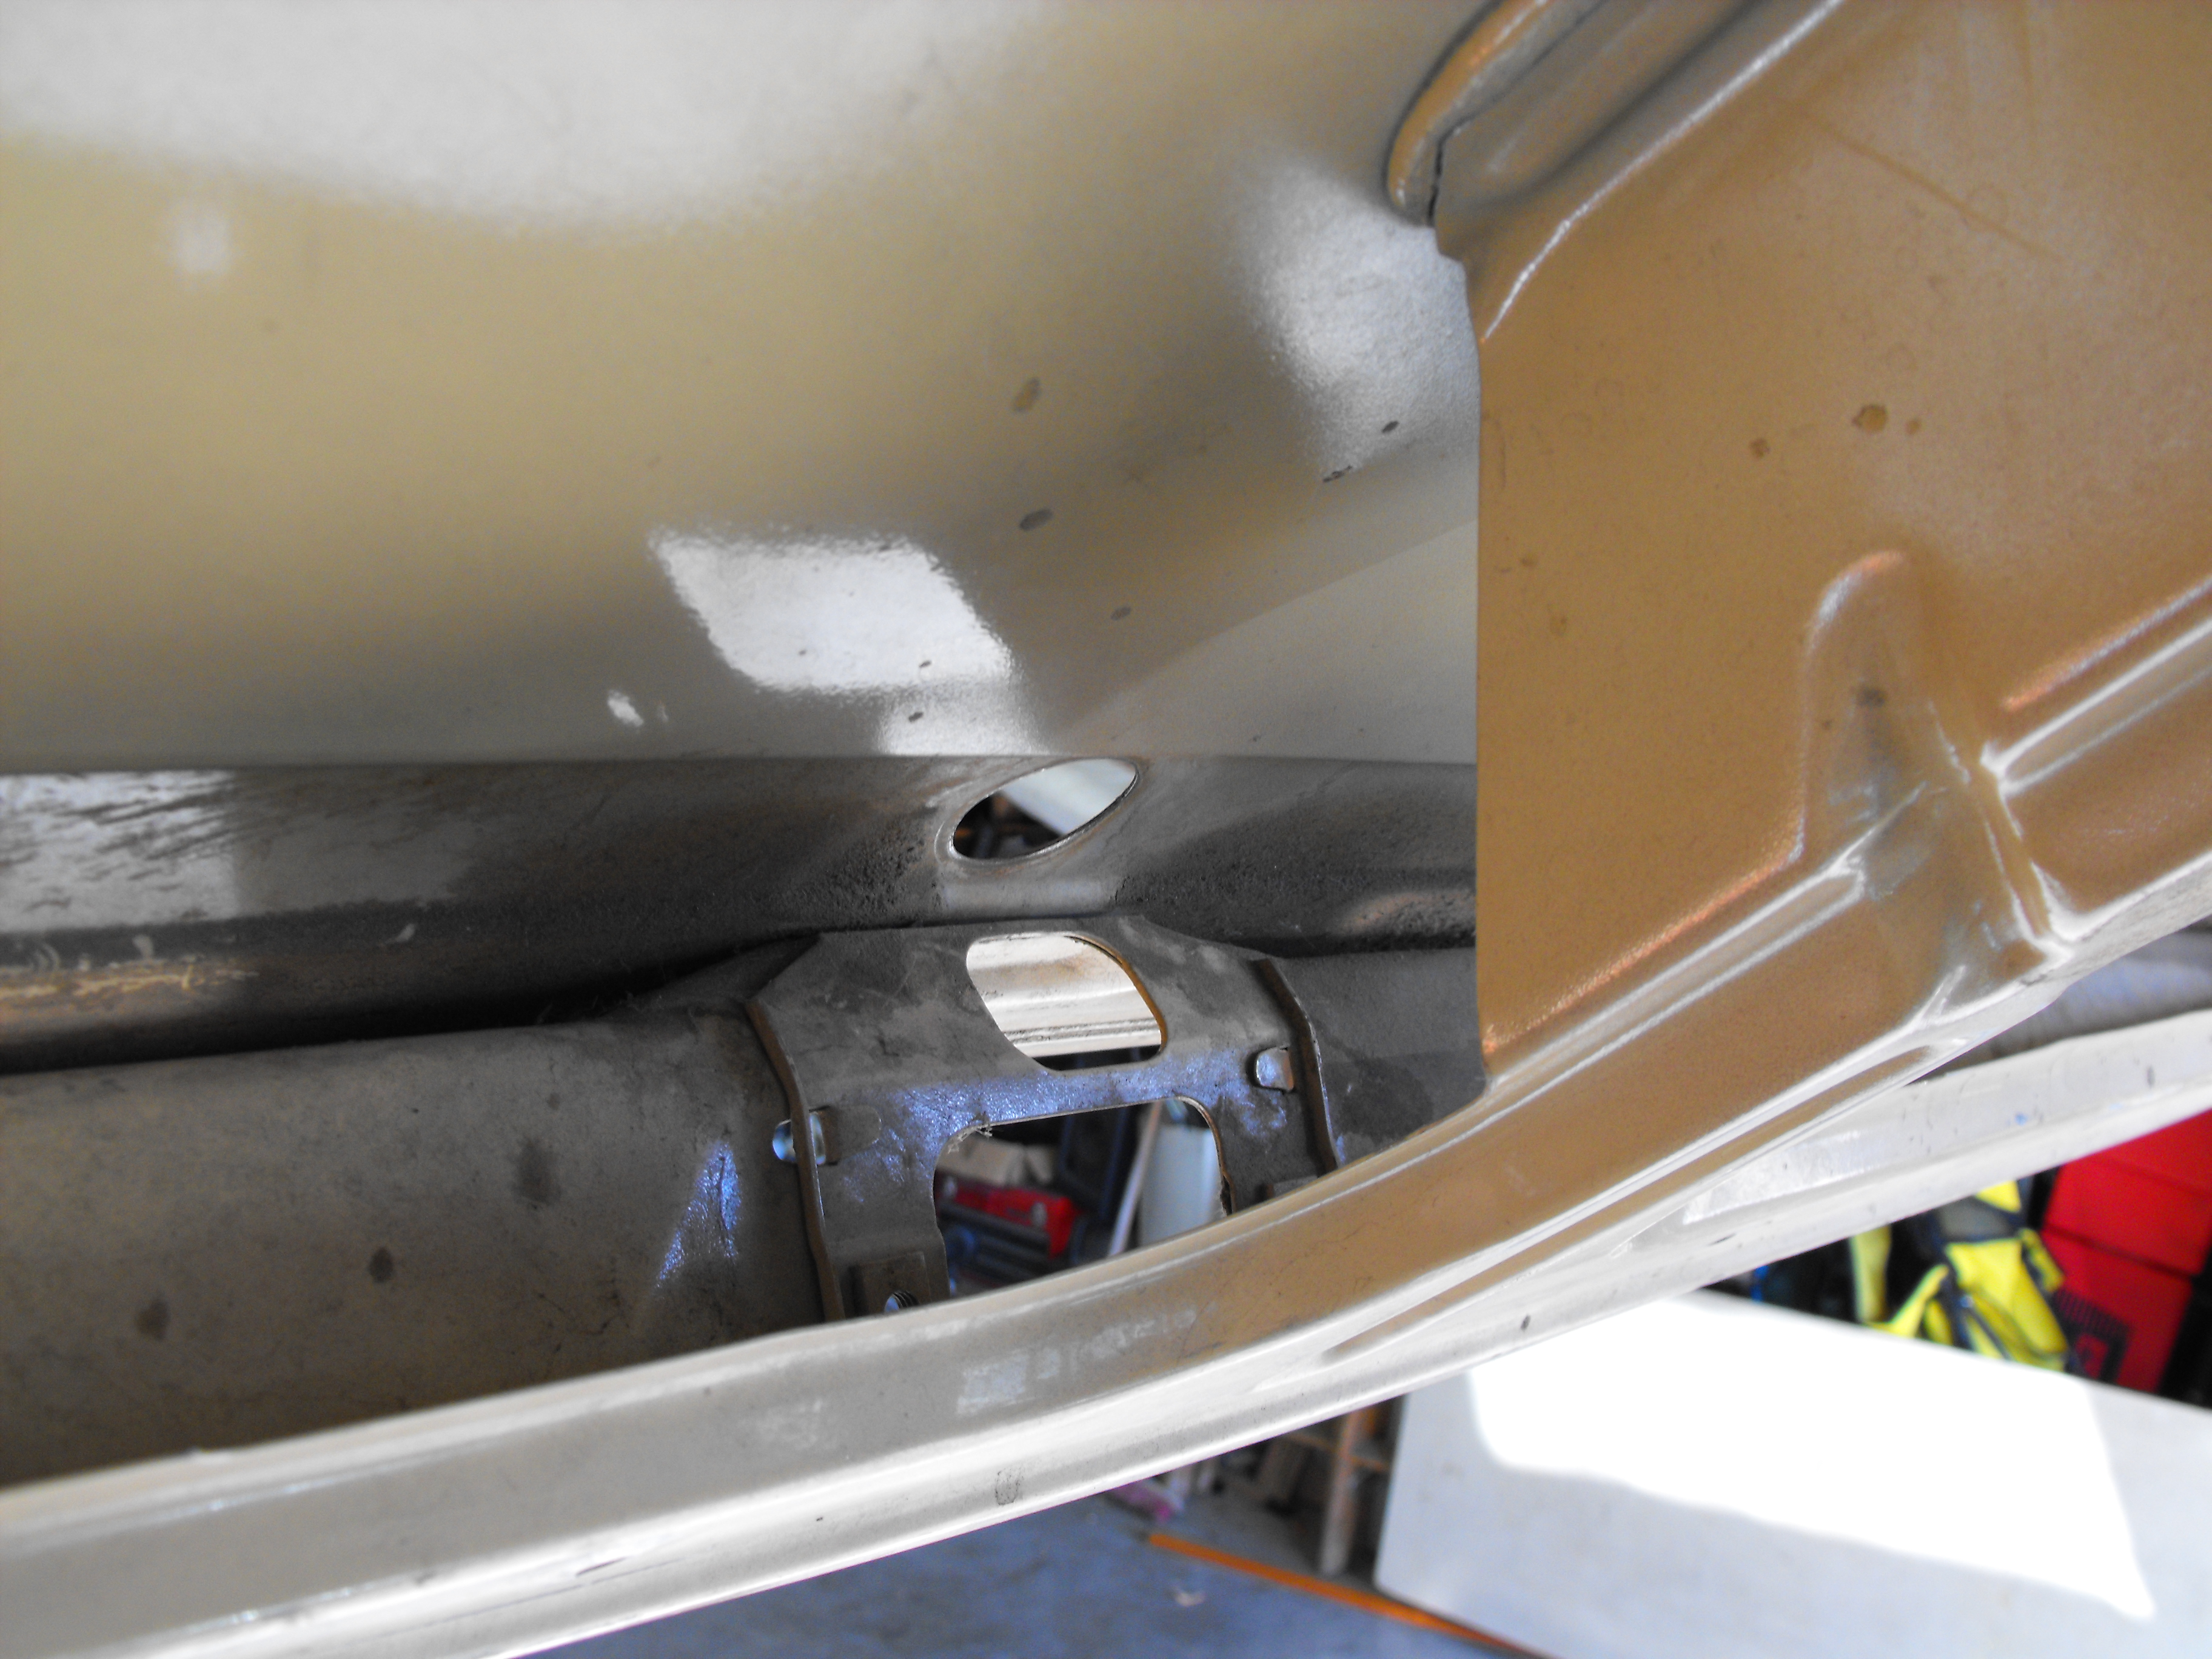
We start by removing the interior paneling and hatch release guts, now we have a general idea of what we are going to be working with:

I want to also dynamat back here which the rest interior will be getting soon anyway:
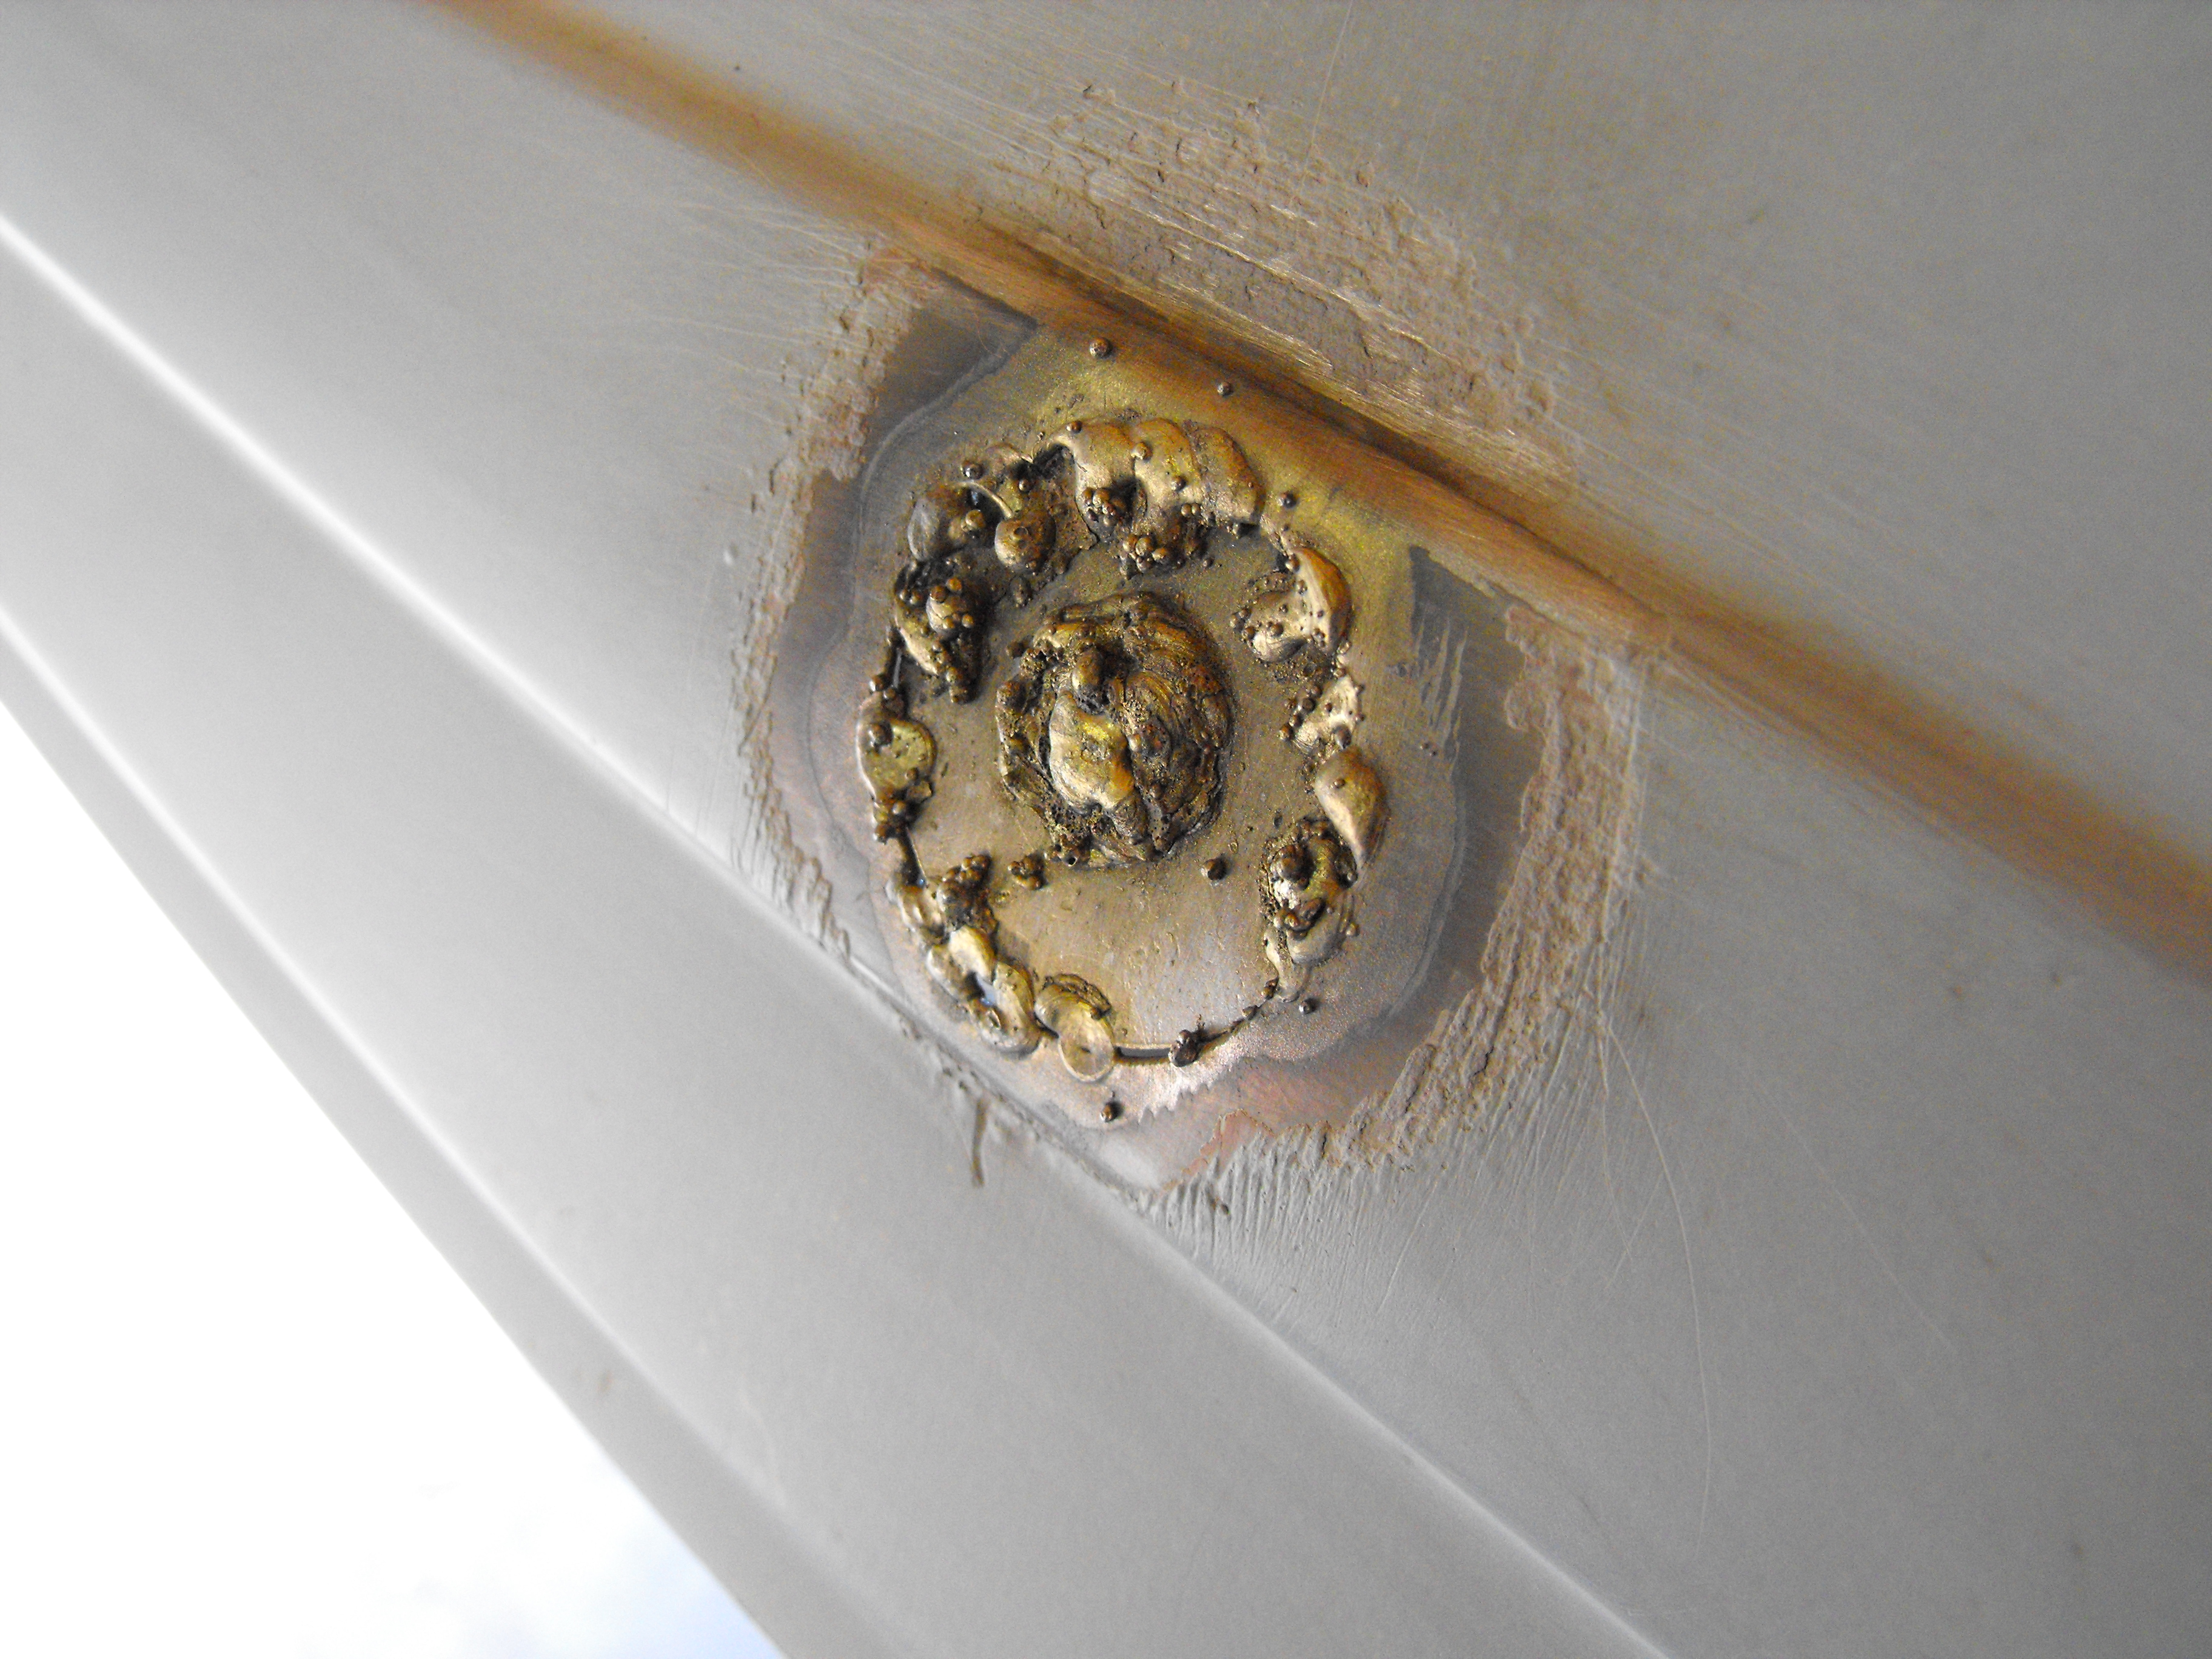
I started by covering the hole with some backing metal. I found a washer that was about the size of the hole and started to weld it in:

Remember that when you’re welding you will want to alternate sides with the tack welds to prevent from concentrating heat in a single place, this prevents warping:

Fill in the hole in the center:
Grind it down and apply the body filler. I chose to use body filler that contains fiber glass resin / fibers:


Rubber undercoating for some rust prevention:

Sanded down, ready for some regular filler:

Closer shot of the newly shaved hole:
After using filler / glaze this is pretty much where I wanted to be at:
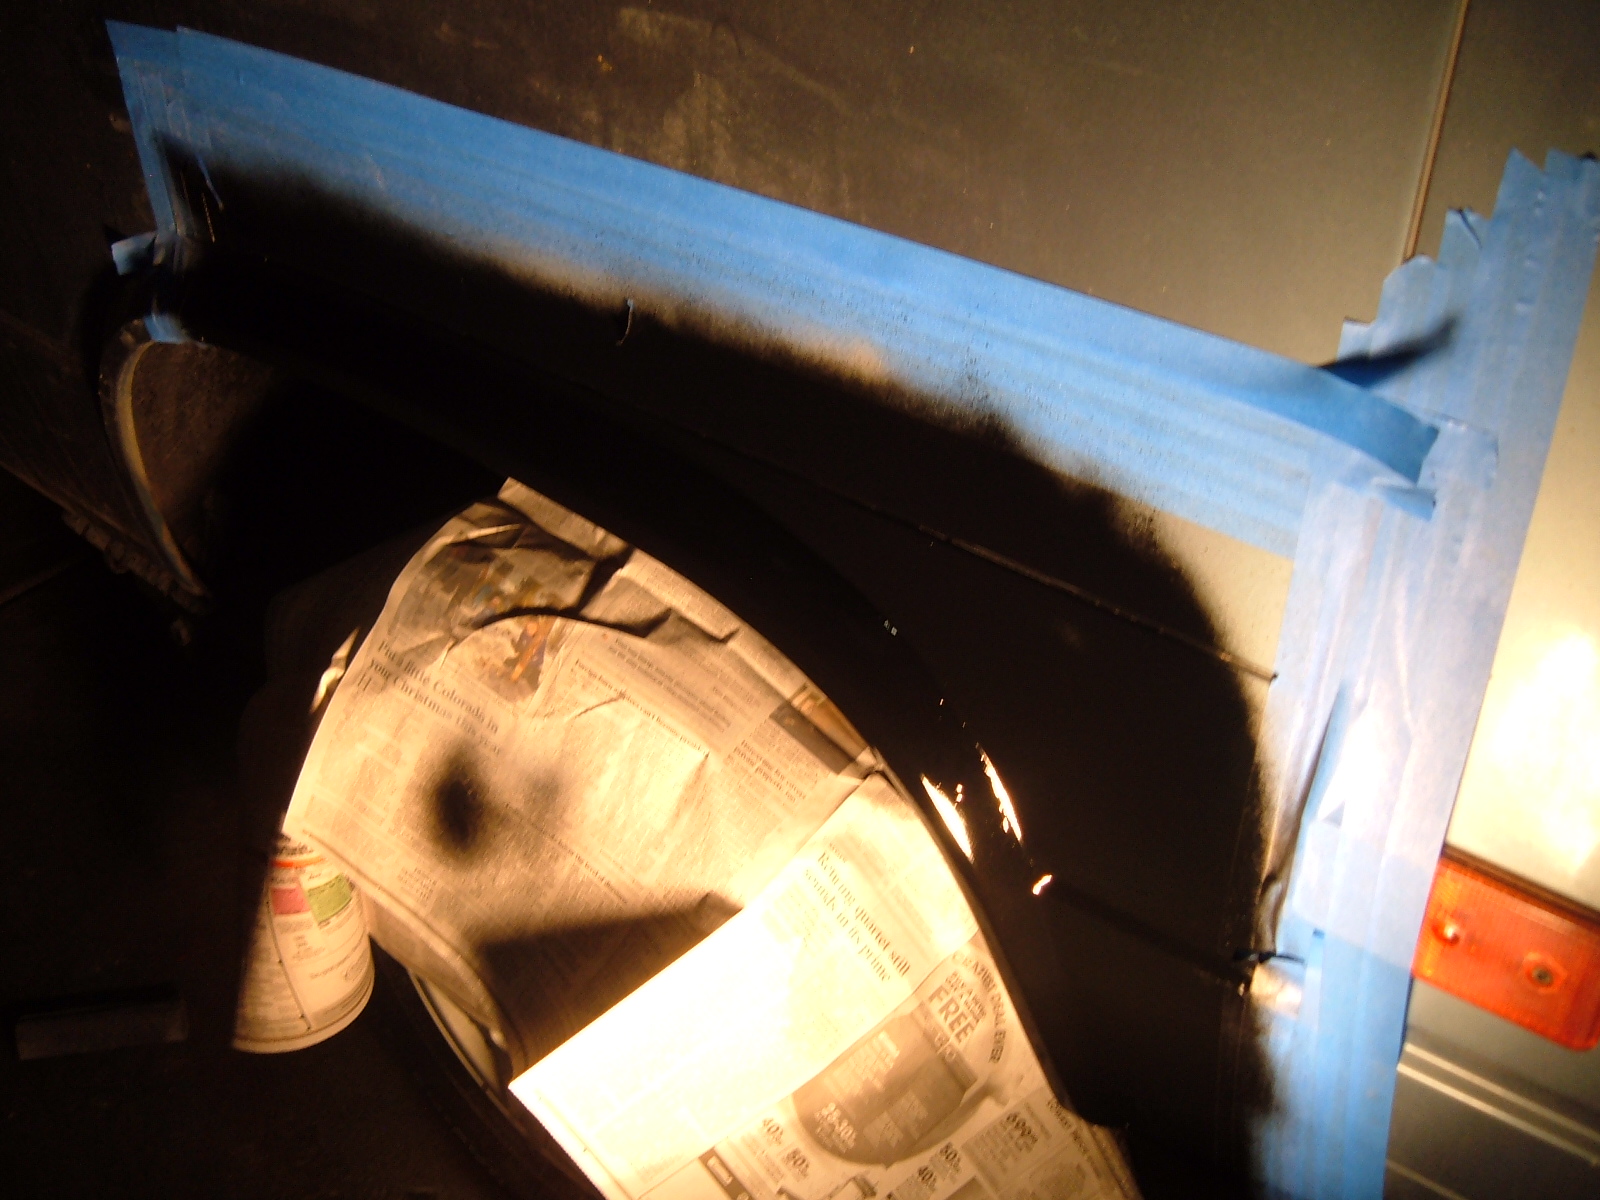
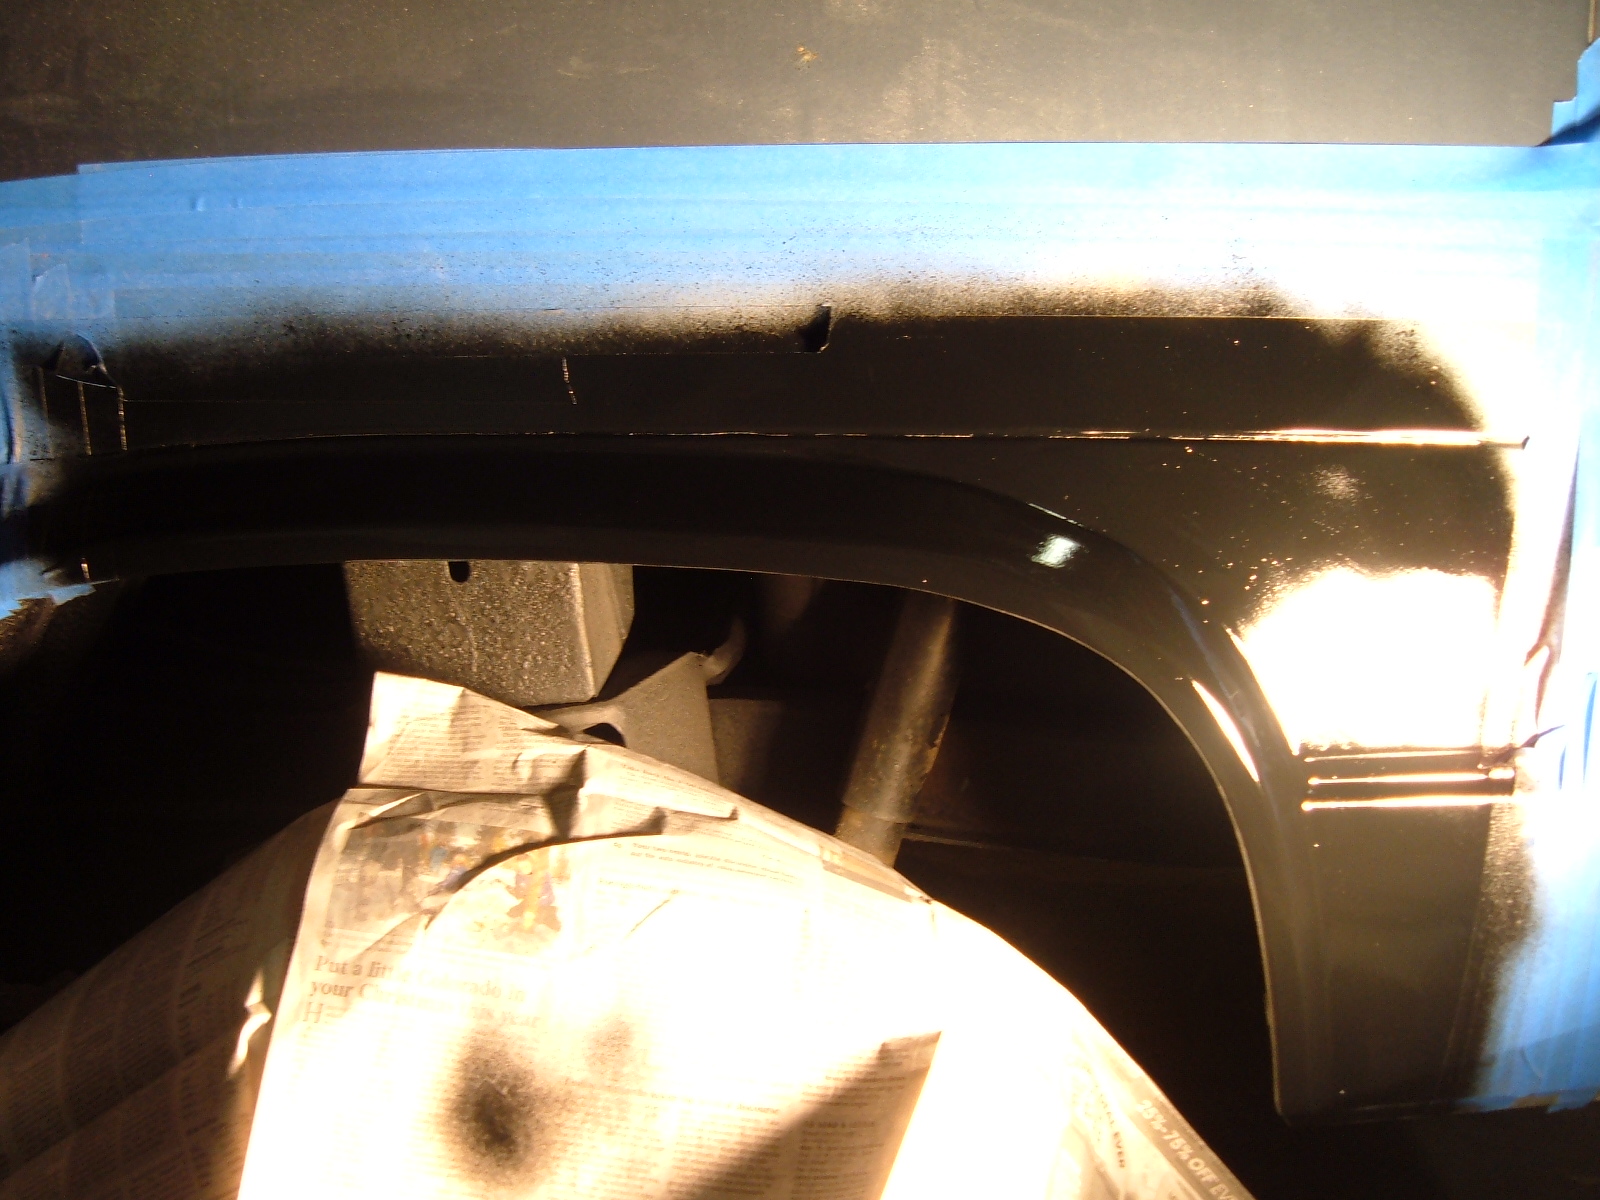
Primer and ready for paint:
I decided to paint over the primer with some temporary black as I heard that primer will absorb moisture / impurities:

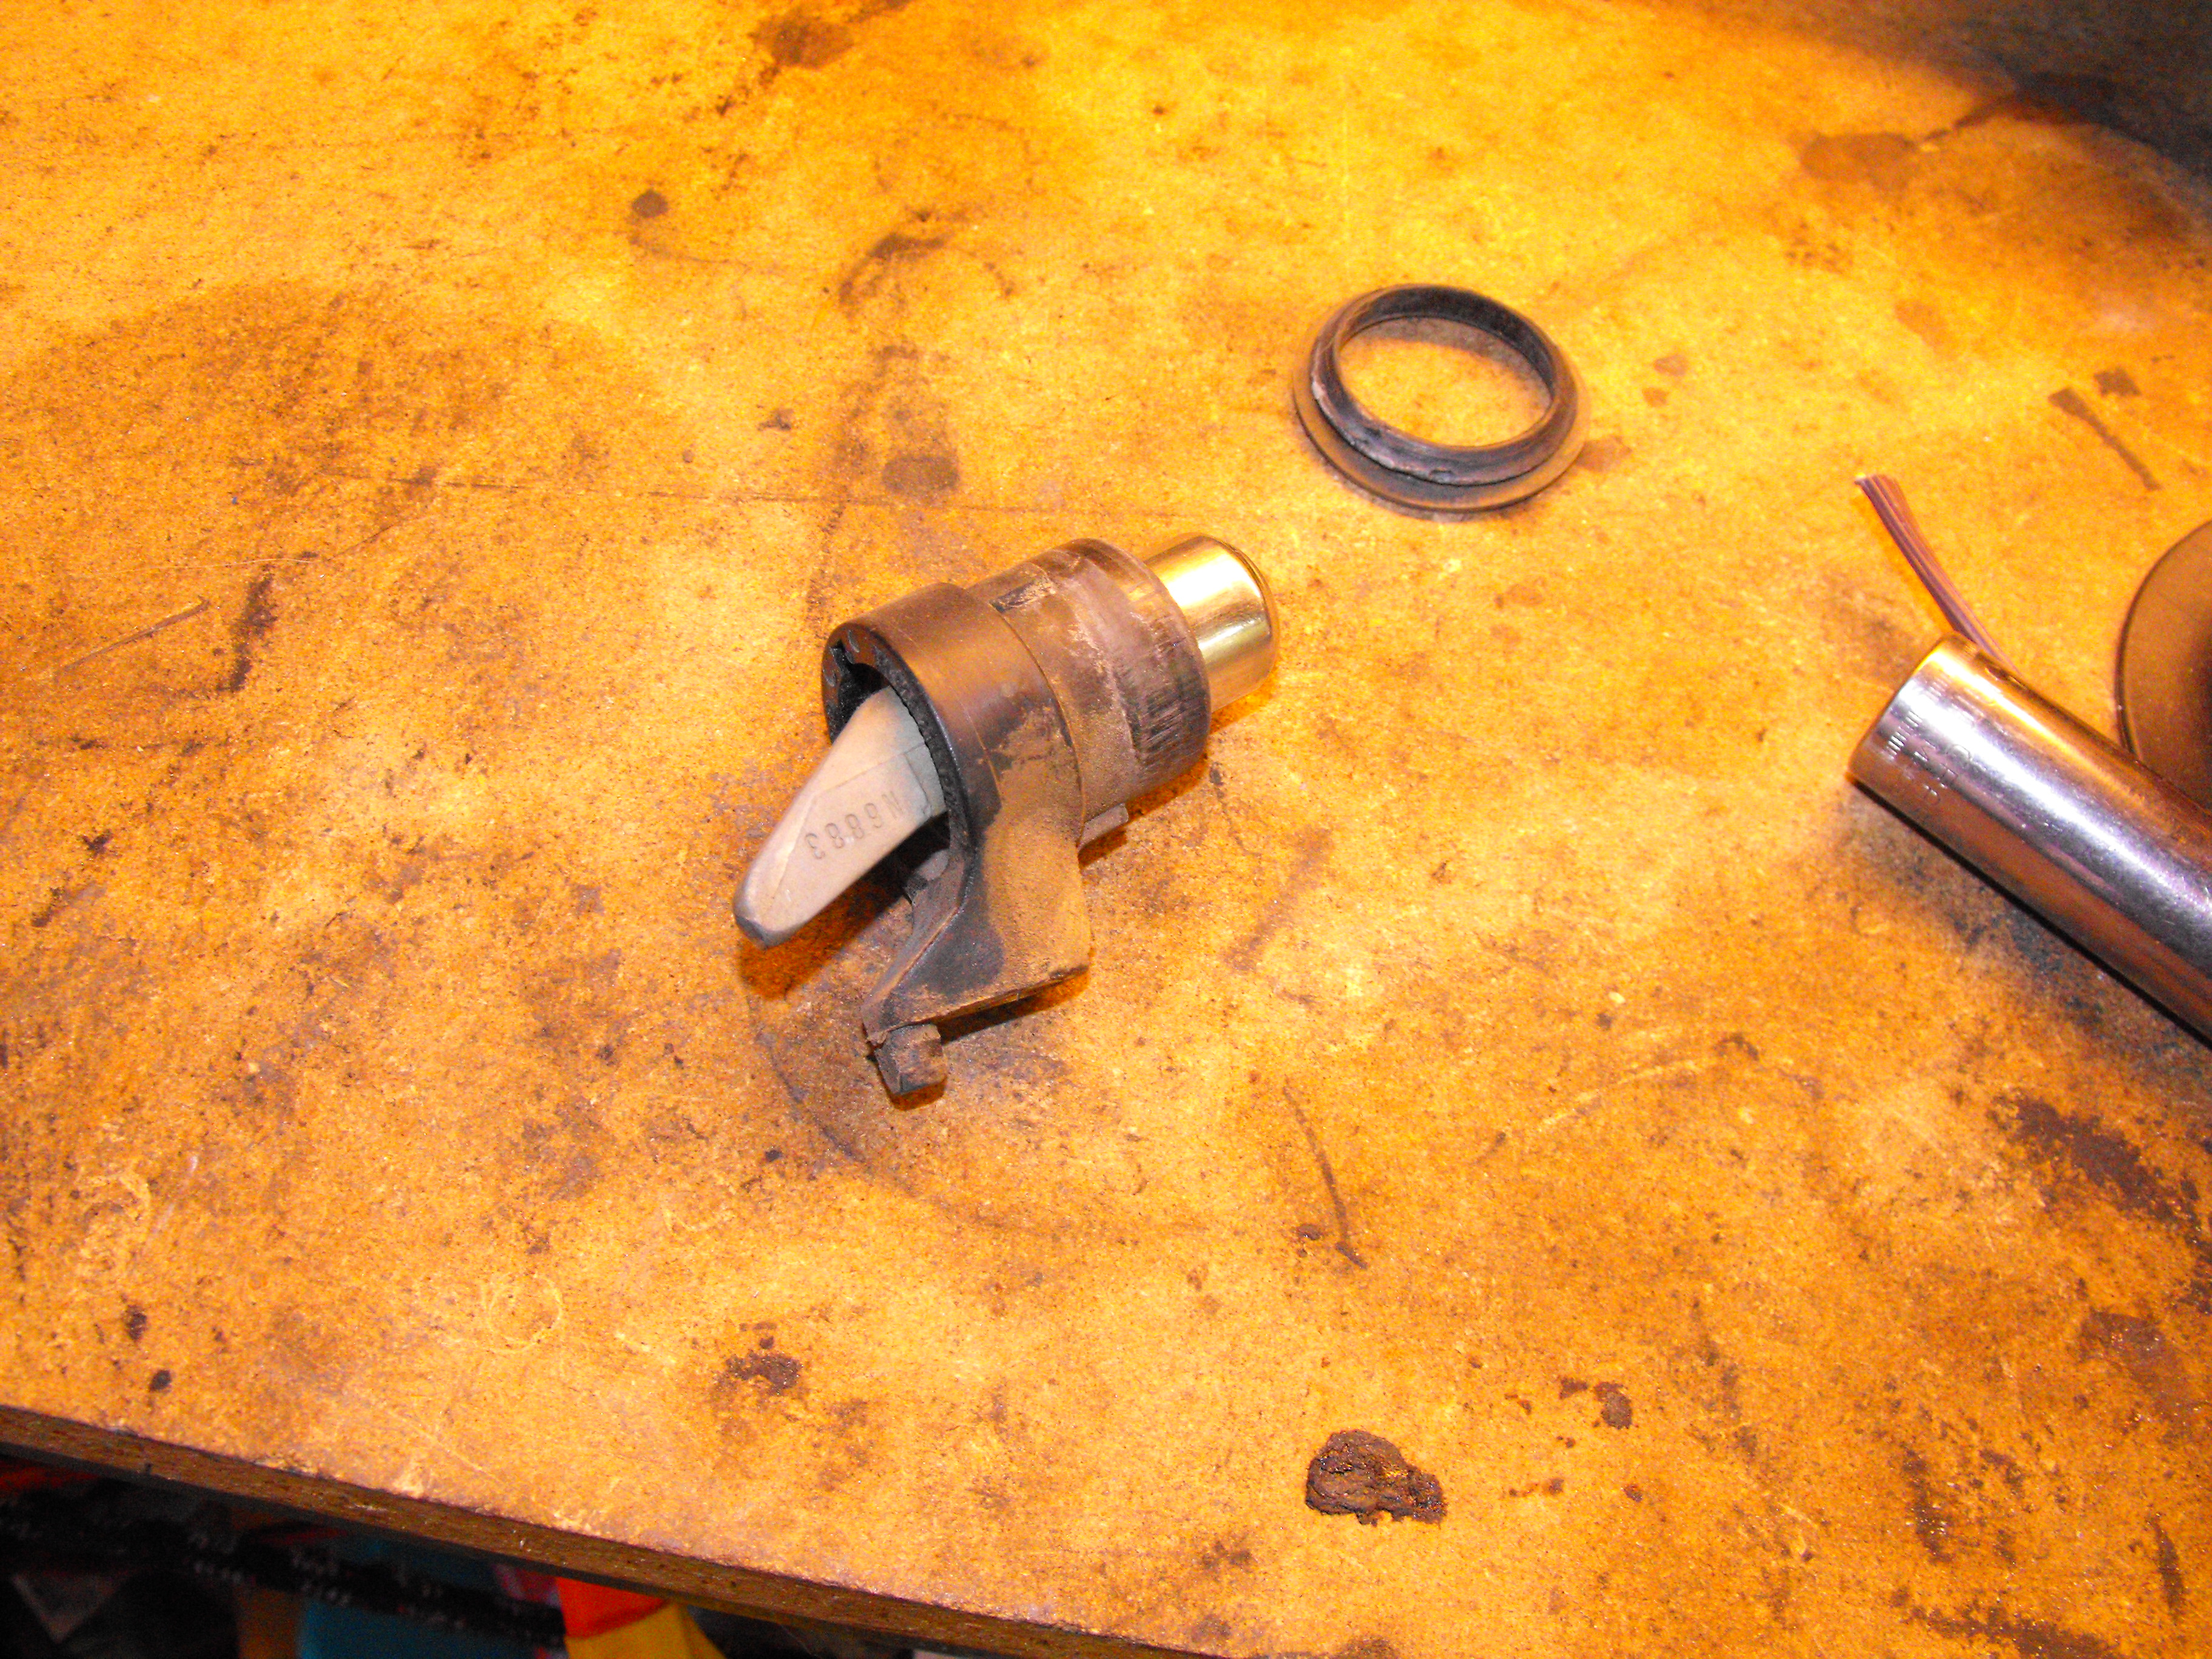
The now removed lock cylinder pieces:
I attached a cable to the trunk release enable fairly easy access in-case the trunk popper fails:

Hole and grommet inserted for the cable to come through:

I also carpeted the panel:

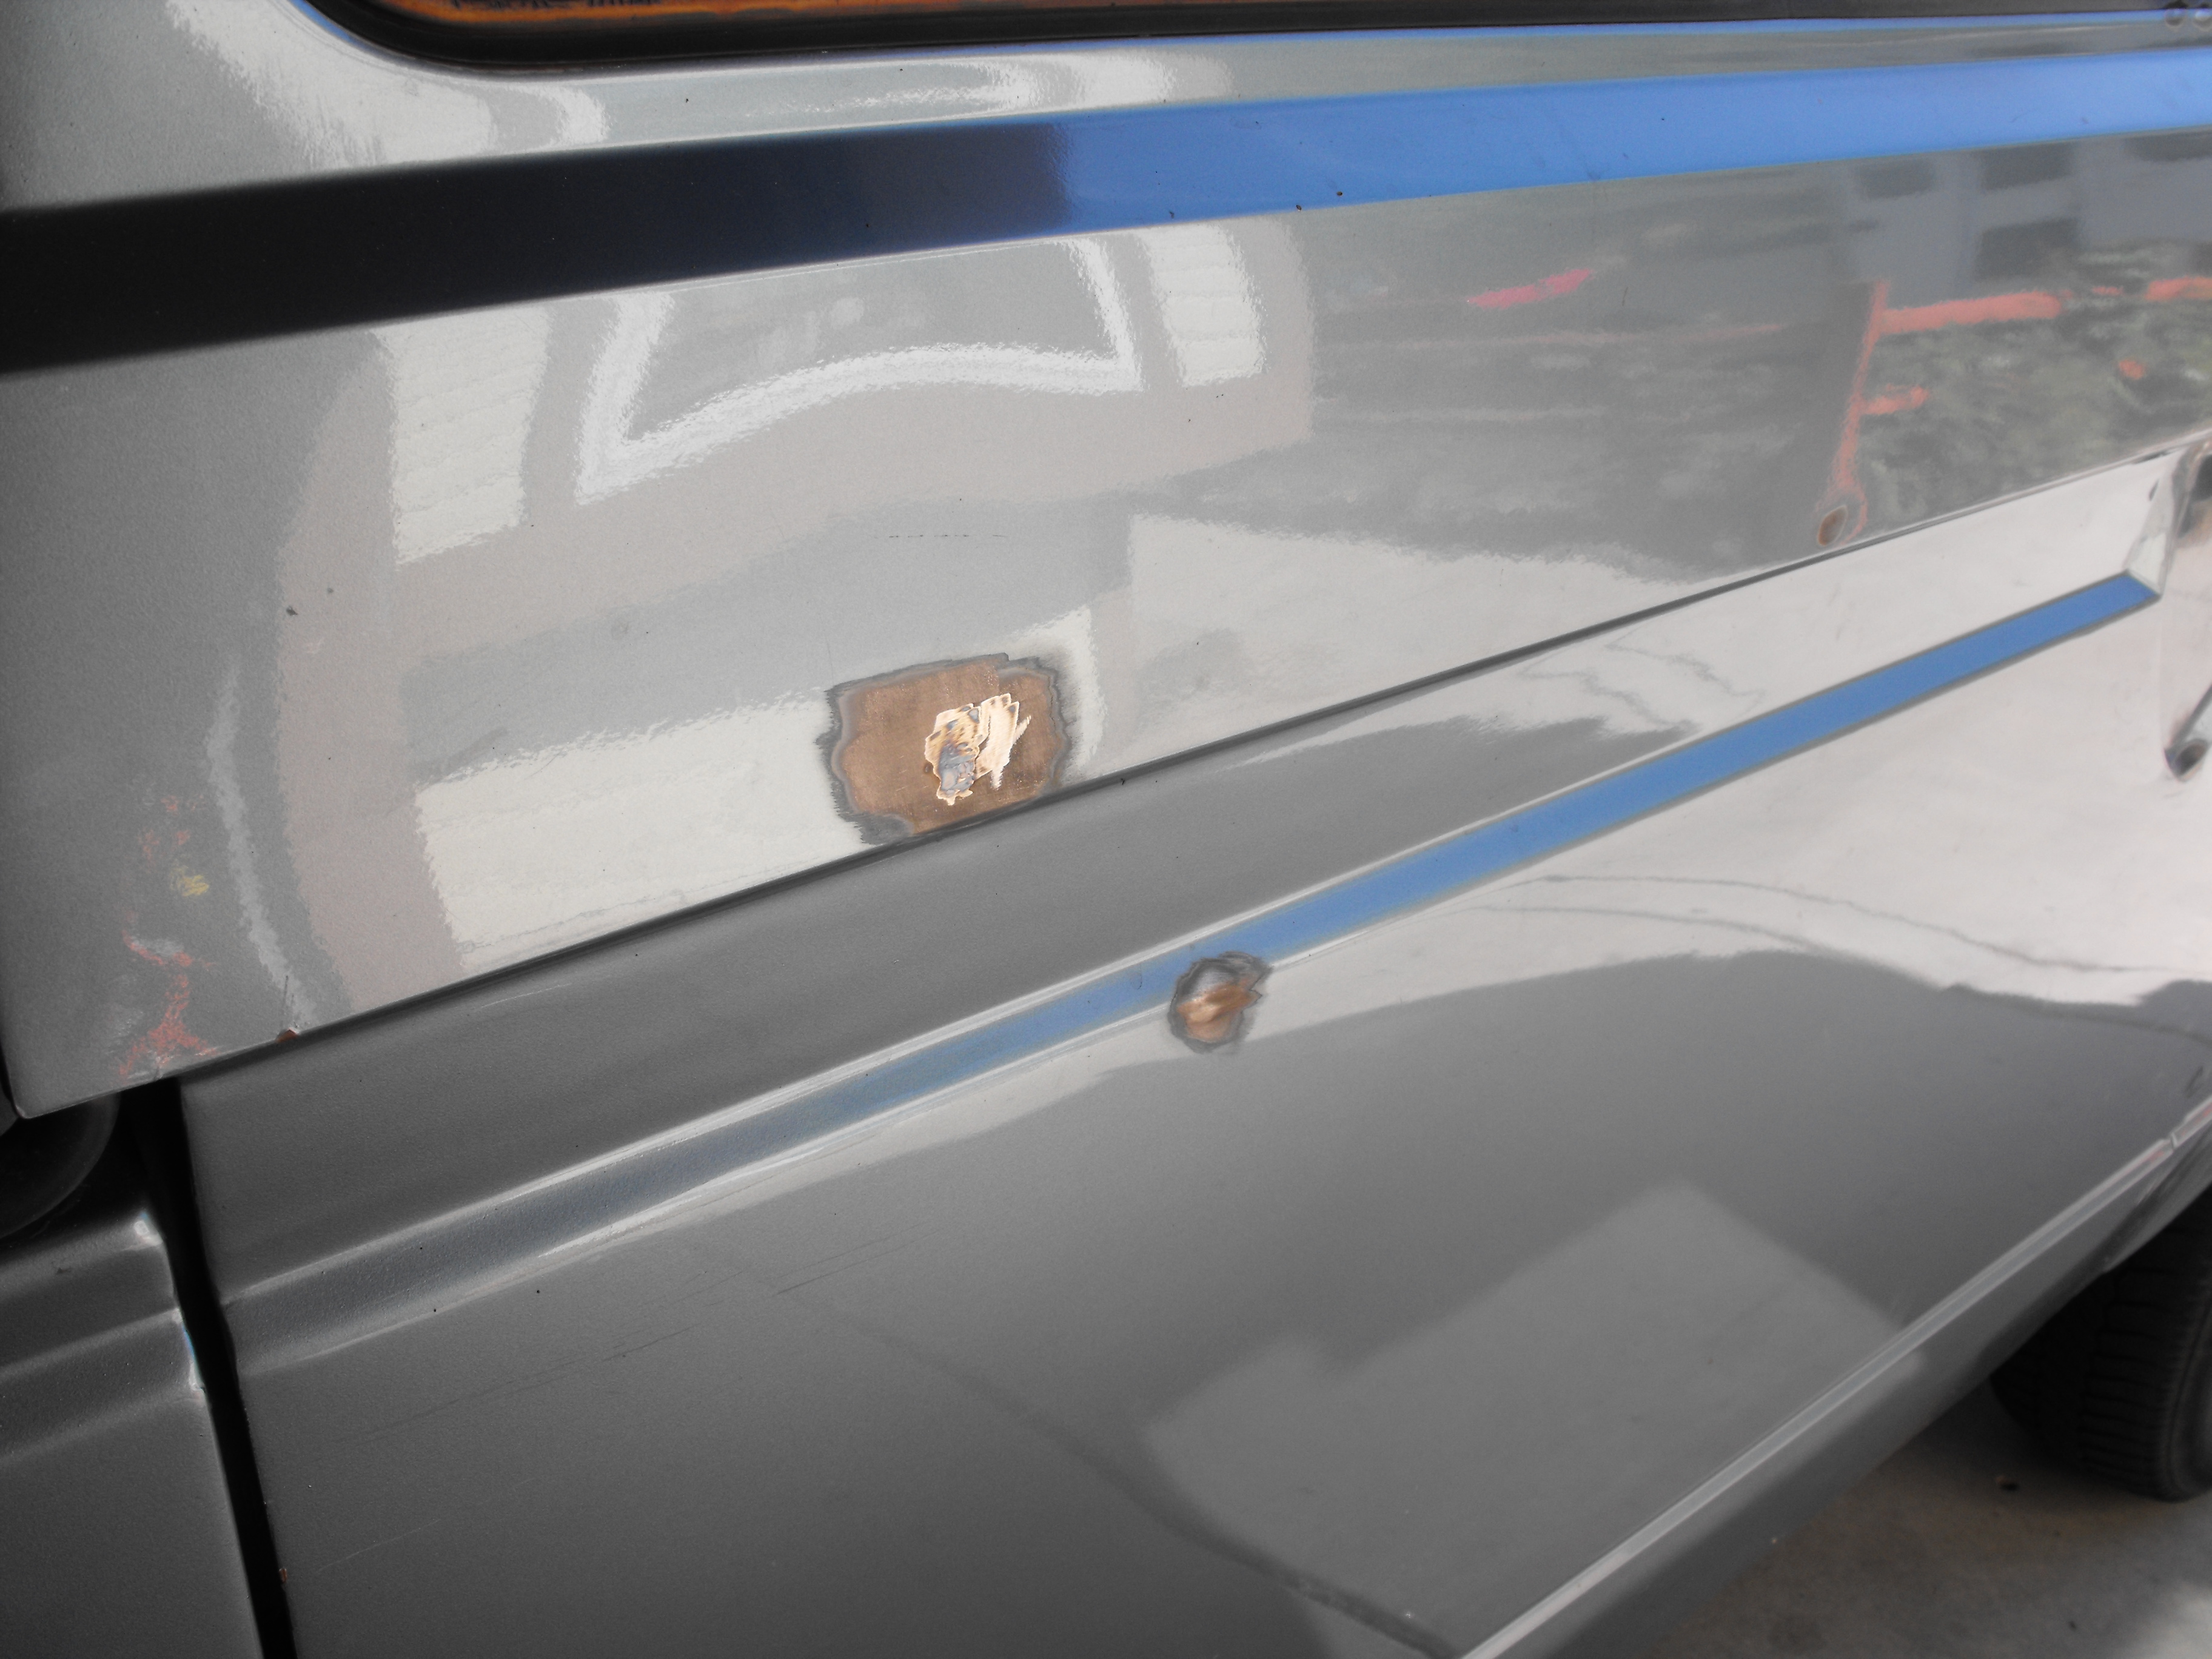
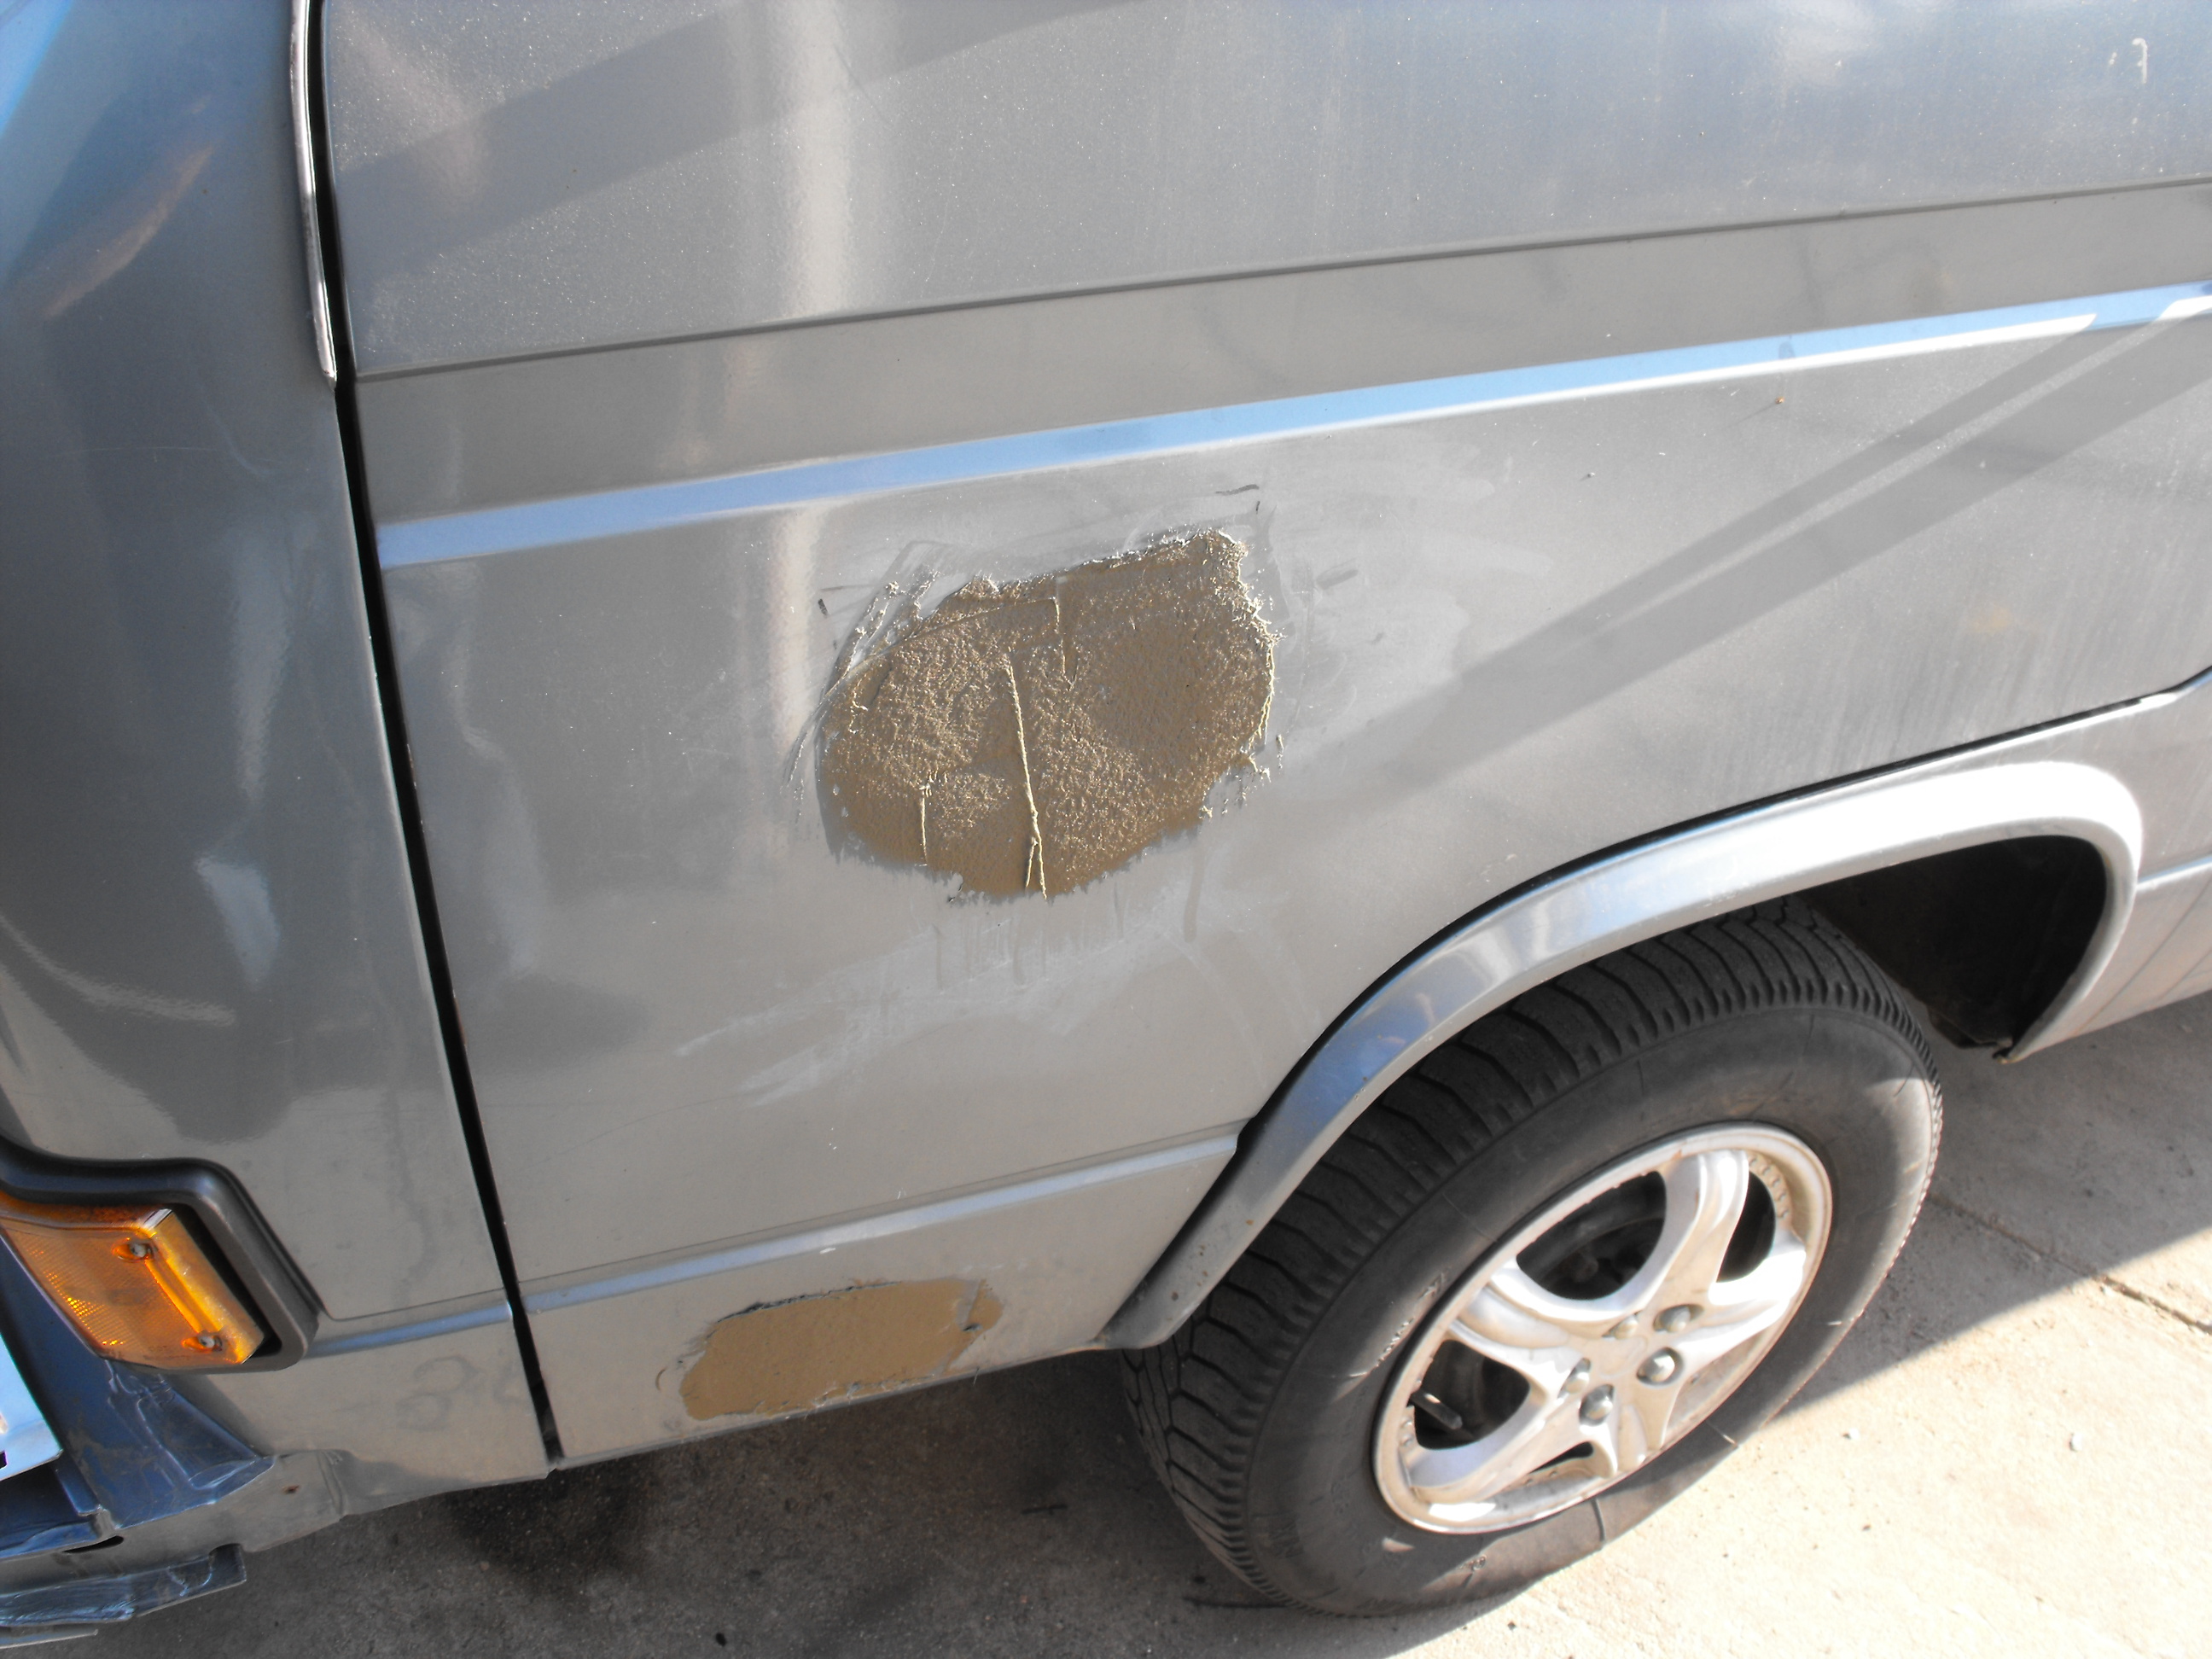
There was one area of concern when it came to the damage that was on the van, this didn’t look like it would be too much of a hassle to repair:

It’s a little rusted but at least it not all the way through:


After grinding off all of the old rust and cleaning everything off I banged out the dent and applied the filler accordingly:


Remember that when you’re applying your filler that you’ll need to sand 80& of it off:

I used a orbital sander to help obtain the fender shape:
As long as you take your time it’s not hard to obtain the results you want:

Banging out the remaining dent:
After you apply the fiberglass mixed filler you’ll want to apply a finer, light filler to skim the top for the smoothest possible surface:

After that you put on the glaze to fill the finest of holes:

Last a little temporary paint to keep everything in order until I am able to put proper paint on:
I like black it allows me the best possible surface for judging my work:
After completing the fender I started to tackle other places on the body. I went out and purchased a stud gun so I don’t need to drill holes through the metal to pull the dents out. I actually am pleased with the results:
There is still some final sanding that will need to happen but overall it looks nice!

Not sure what caused this up front but came out with little effort:

Pulling the center of the crease in the metal:
The rest of the paint in the general area was ground off before applying the filler compound, I just liked referencing off the glossy surface when shaping the metal:

After sanding off down the fiberglass layer I applied the smoother filler:

I wasn’t able to get all the sanding finished so I will need to come back to the areas during the final paint prep process for more attention. More body work to follow…
I found some NOS mirrors and since mine were cruddy I picked up a pair.
TIP
Before putting manual mirrors on your van remember to set the mirror to a position where you can install it without moving it and then tighten the nut underneath the base all the way tight. Then put some thread-locker on over the stud threads and install mirror. This will prevent your mirrors from blowing in at highway speeds (the passenger blows in at about 95 and the drivers side has held to over 110mph so acceptable for highway, but not autobahn use)

Temporary rubbers until I purchase the 15″ wheel and tire package. (will be a result of big brake upgrade)


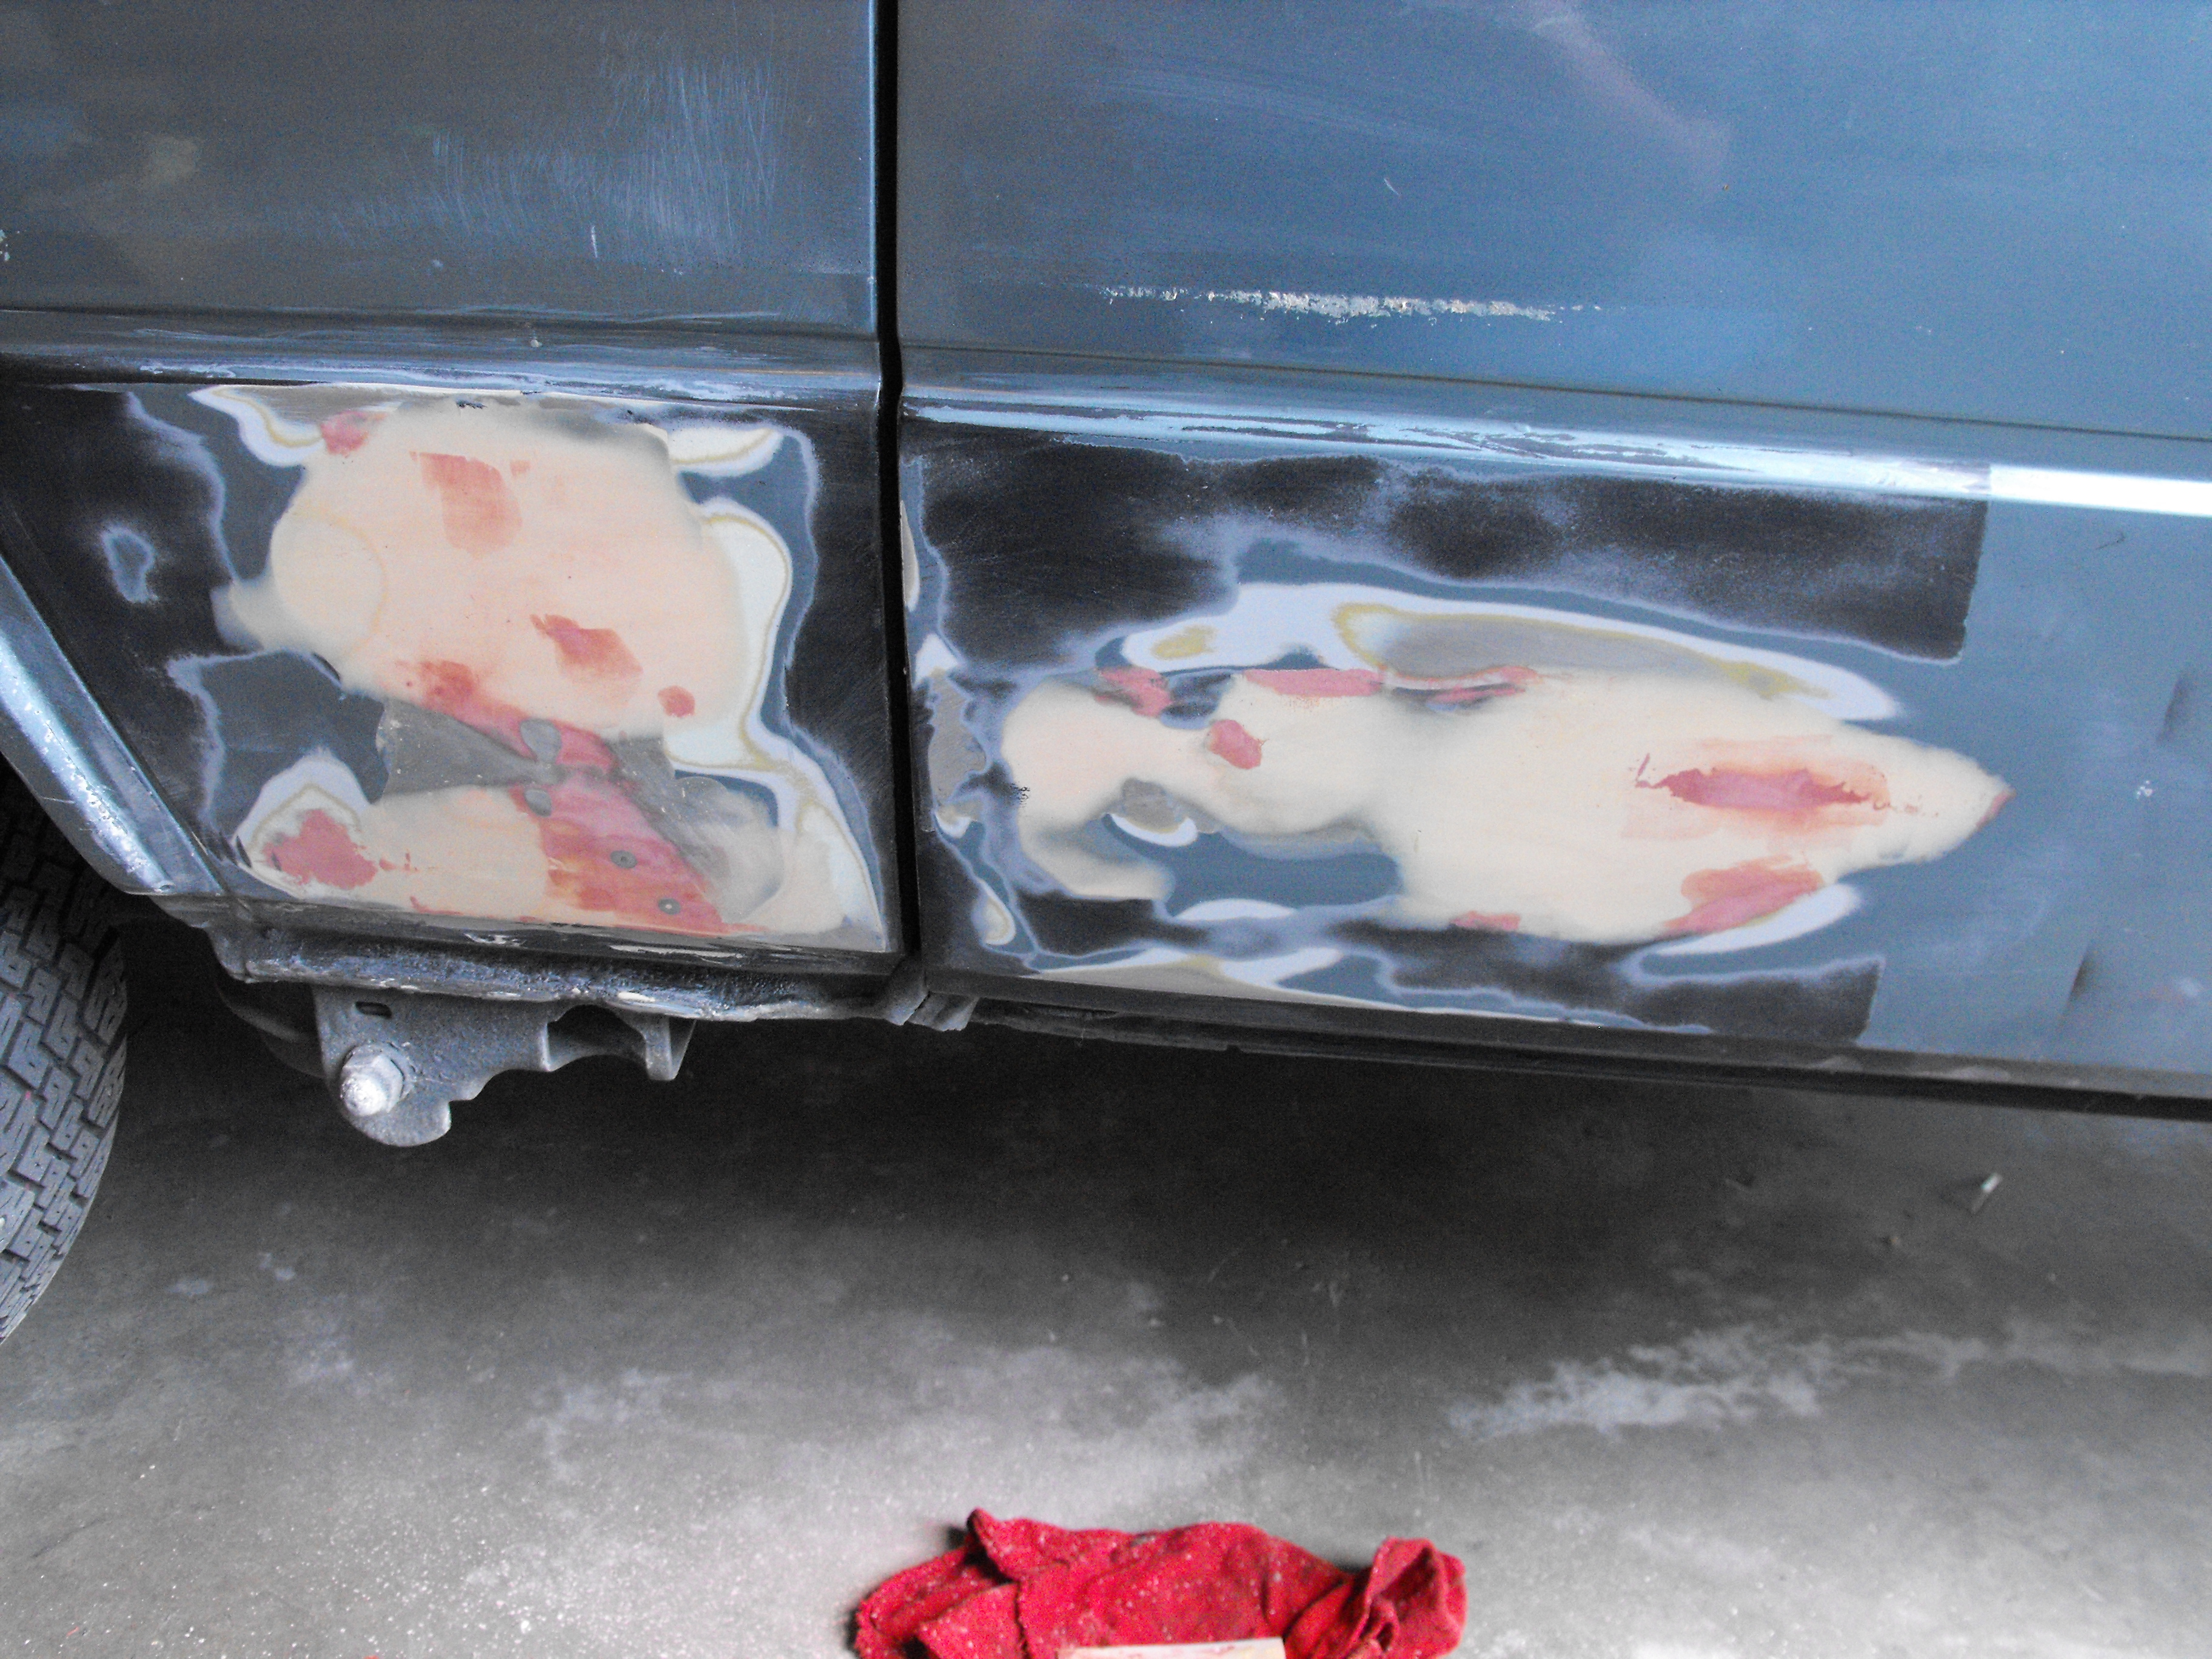
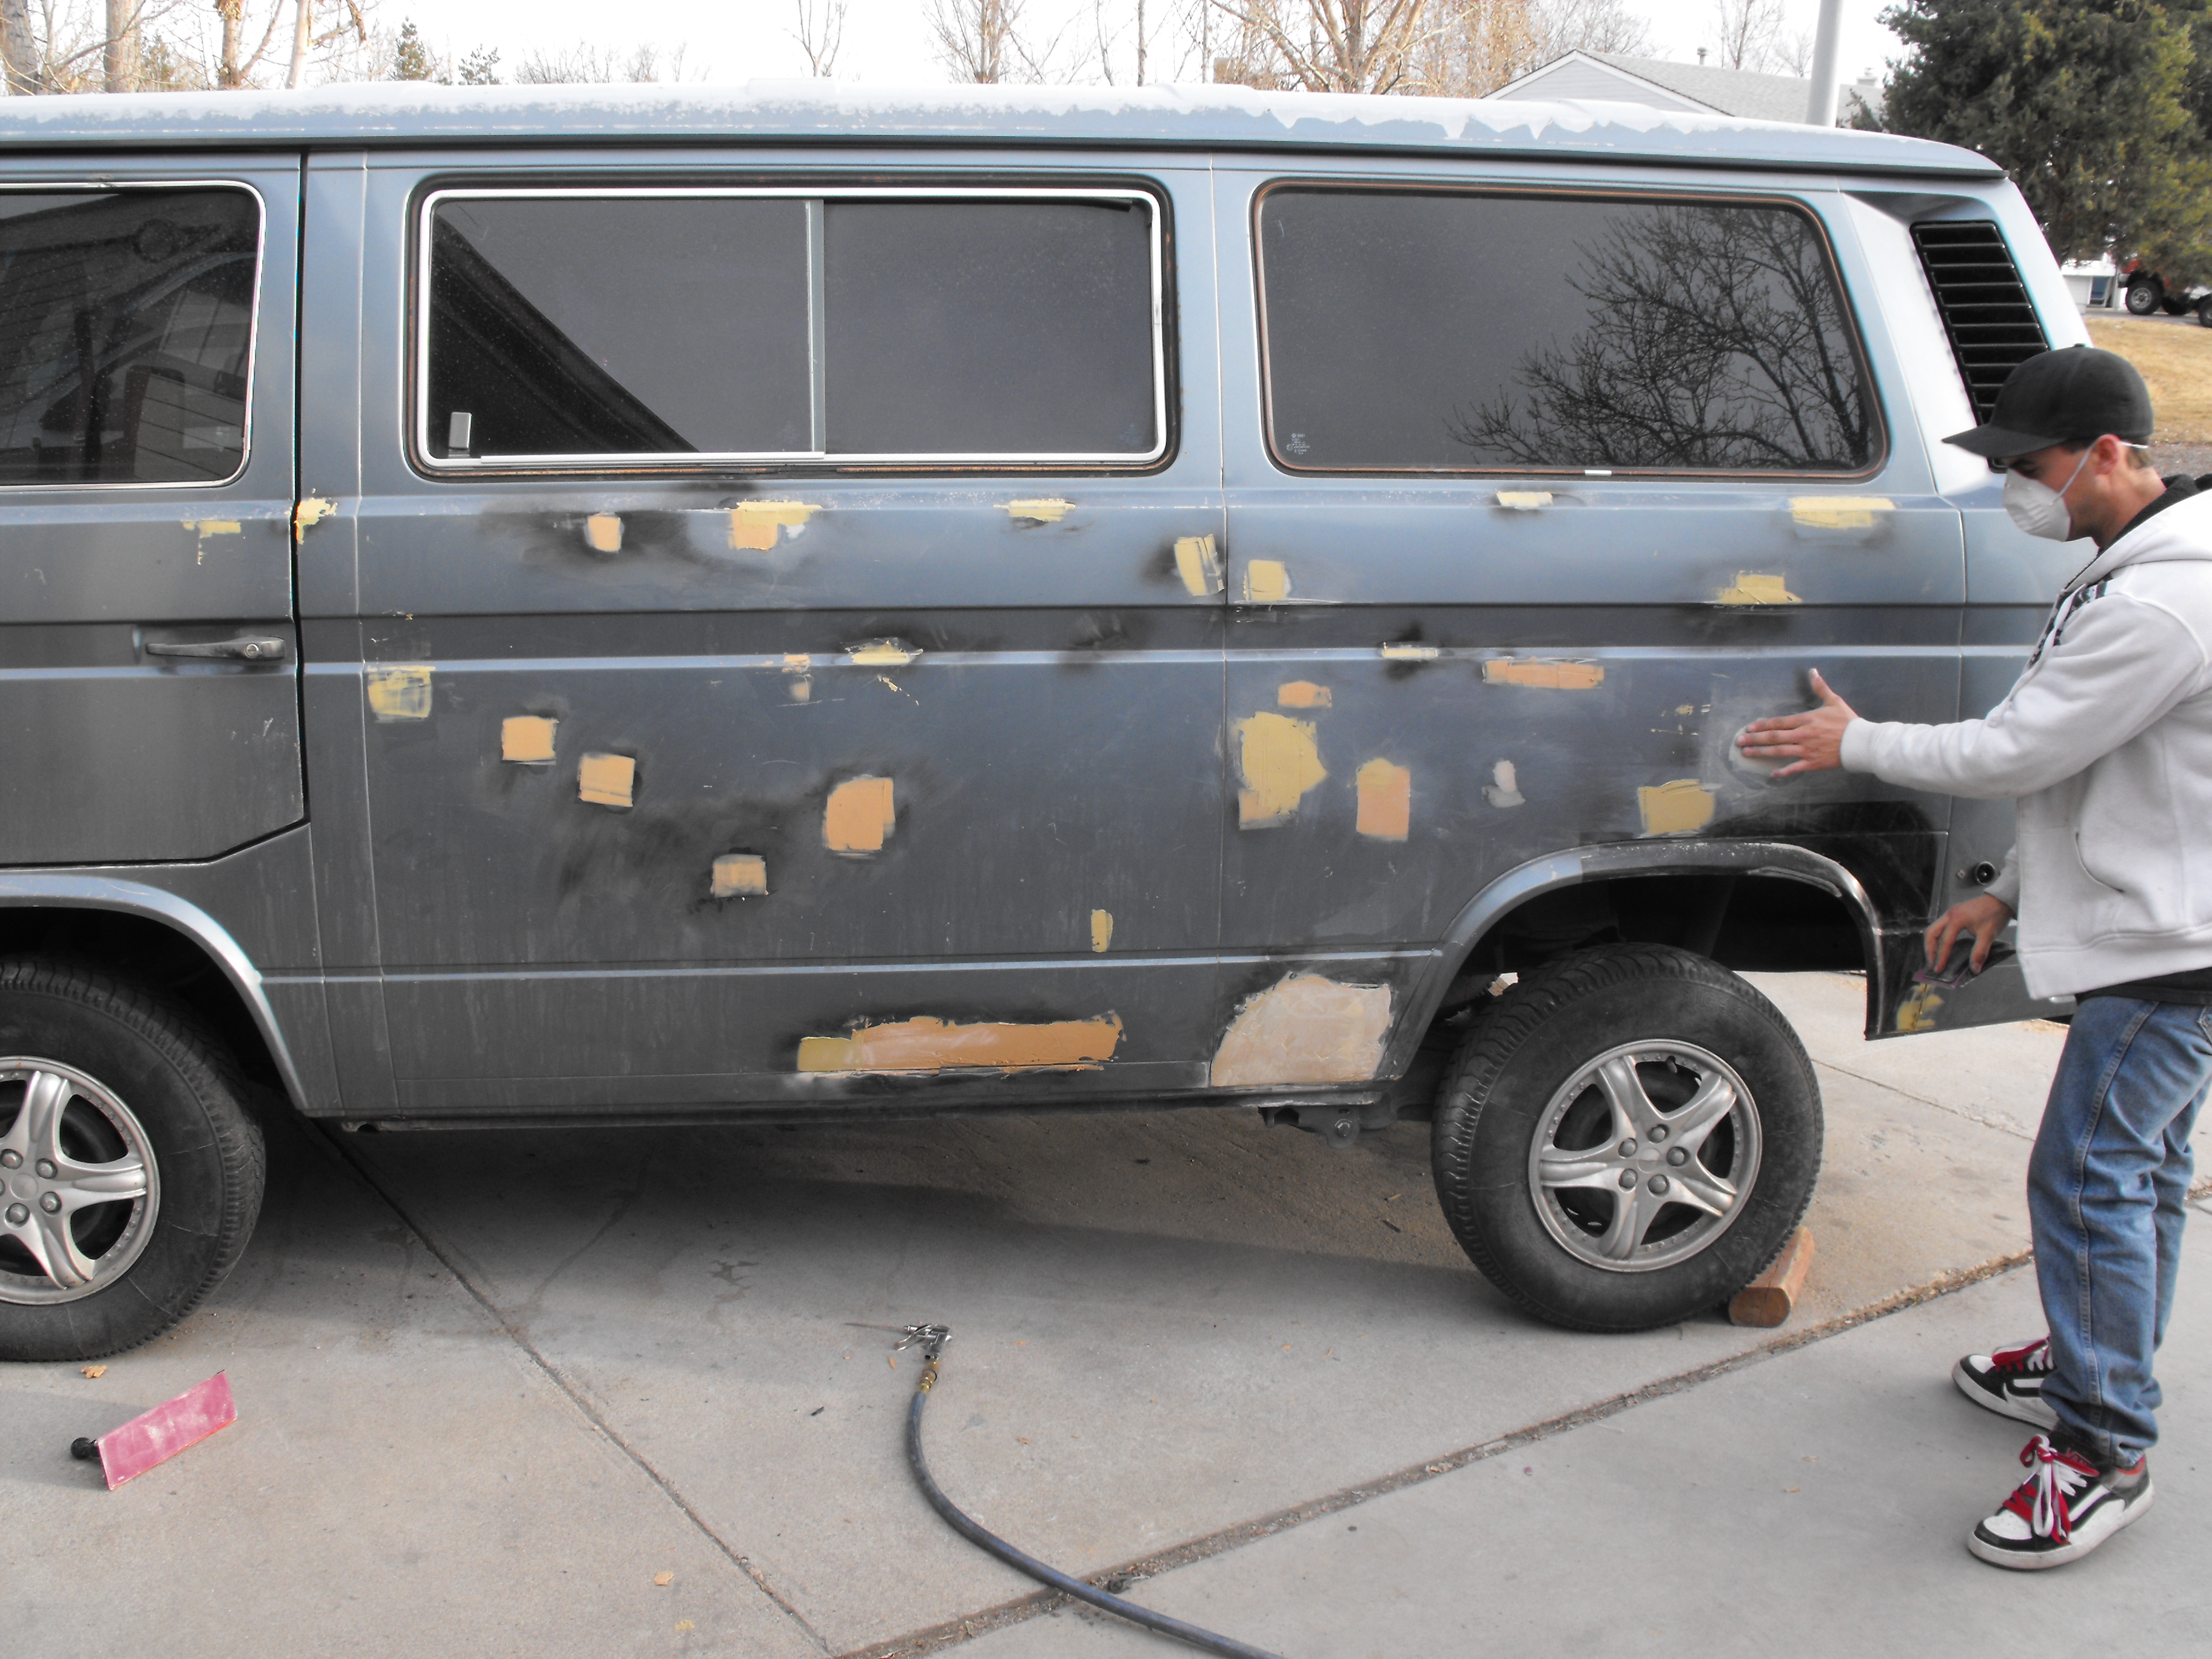
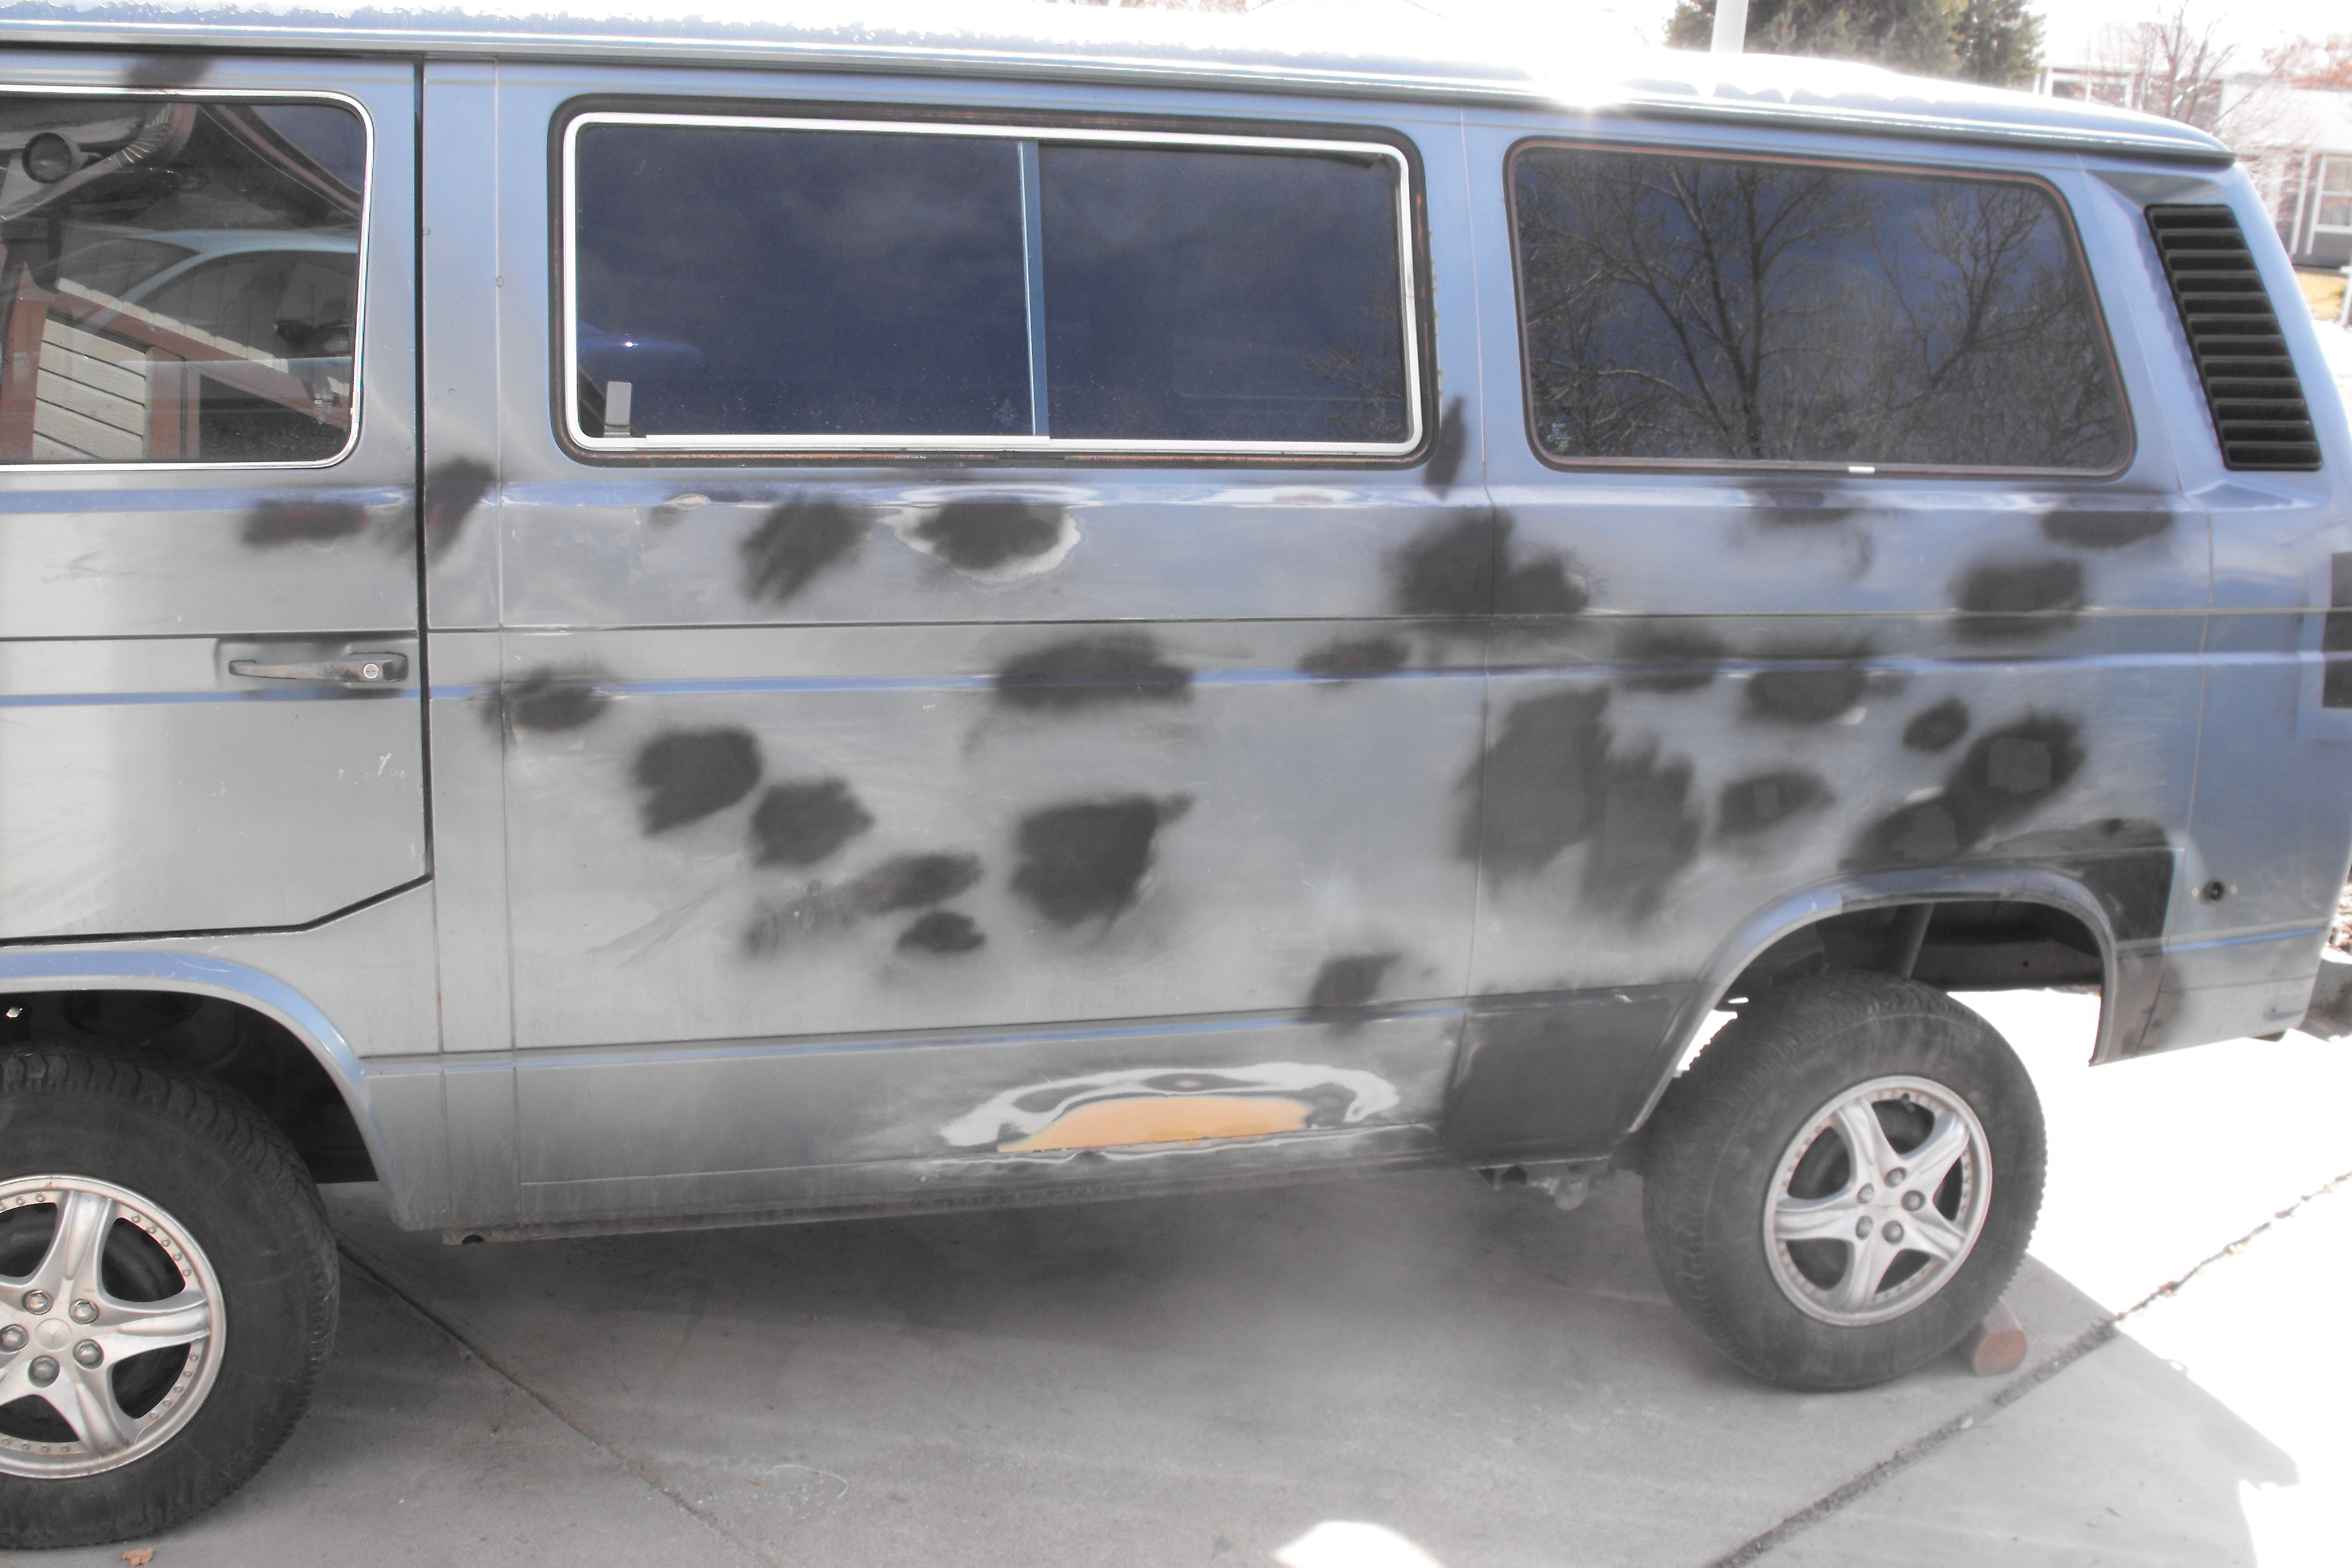
Once the work was finished with the Passenger side much attention needed to be paid to the Driver’s side. For some reason on all my cars the left side is worse when it comes to dings compared to the right.
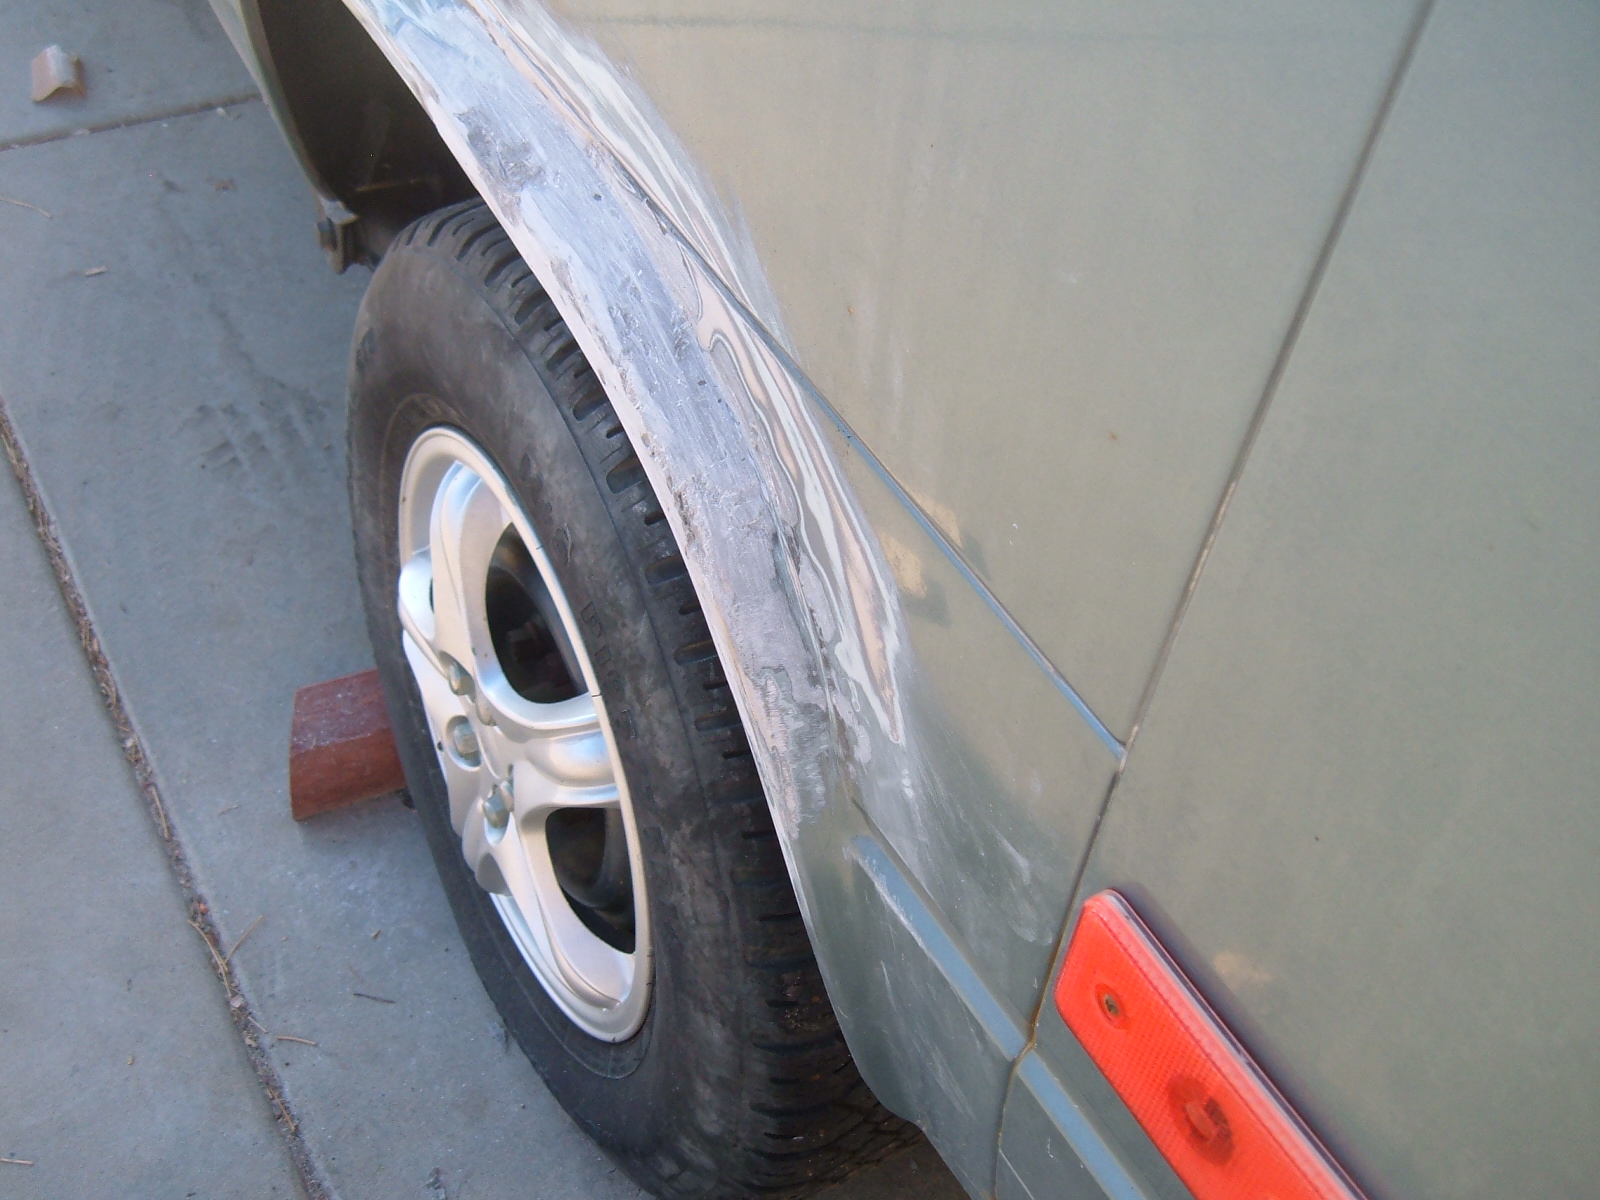
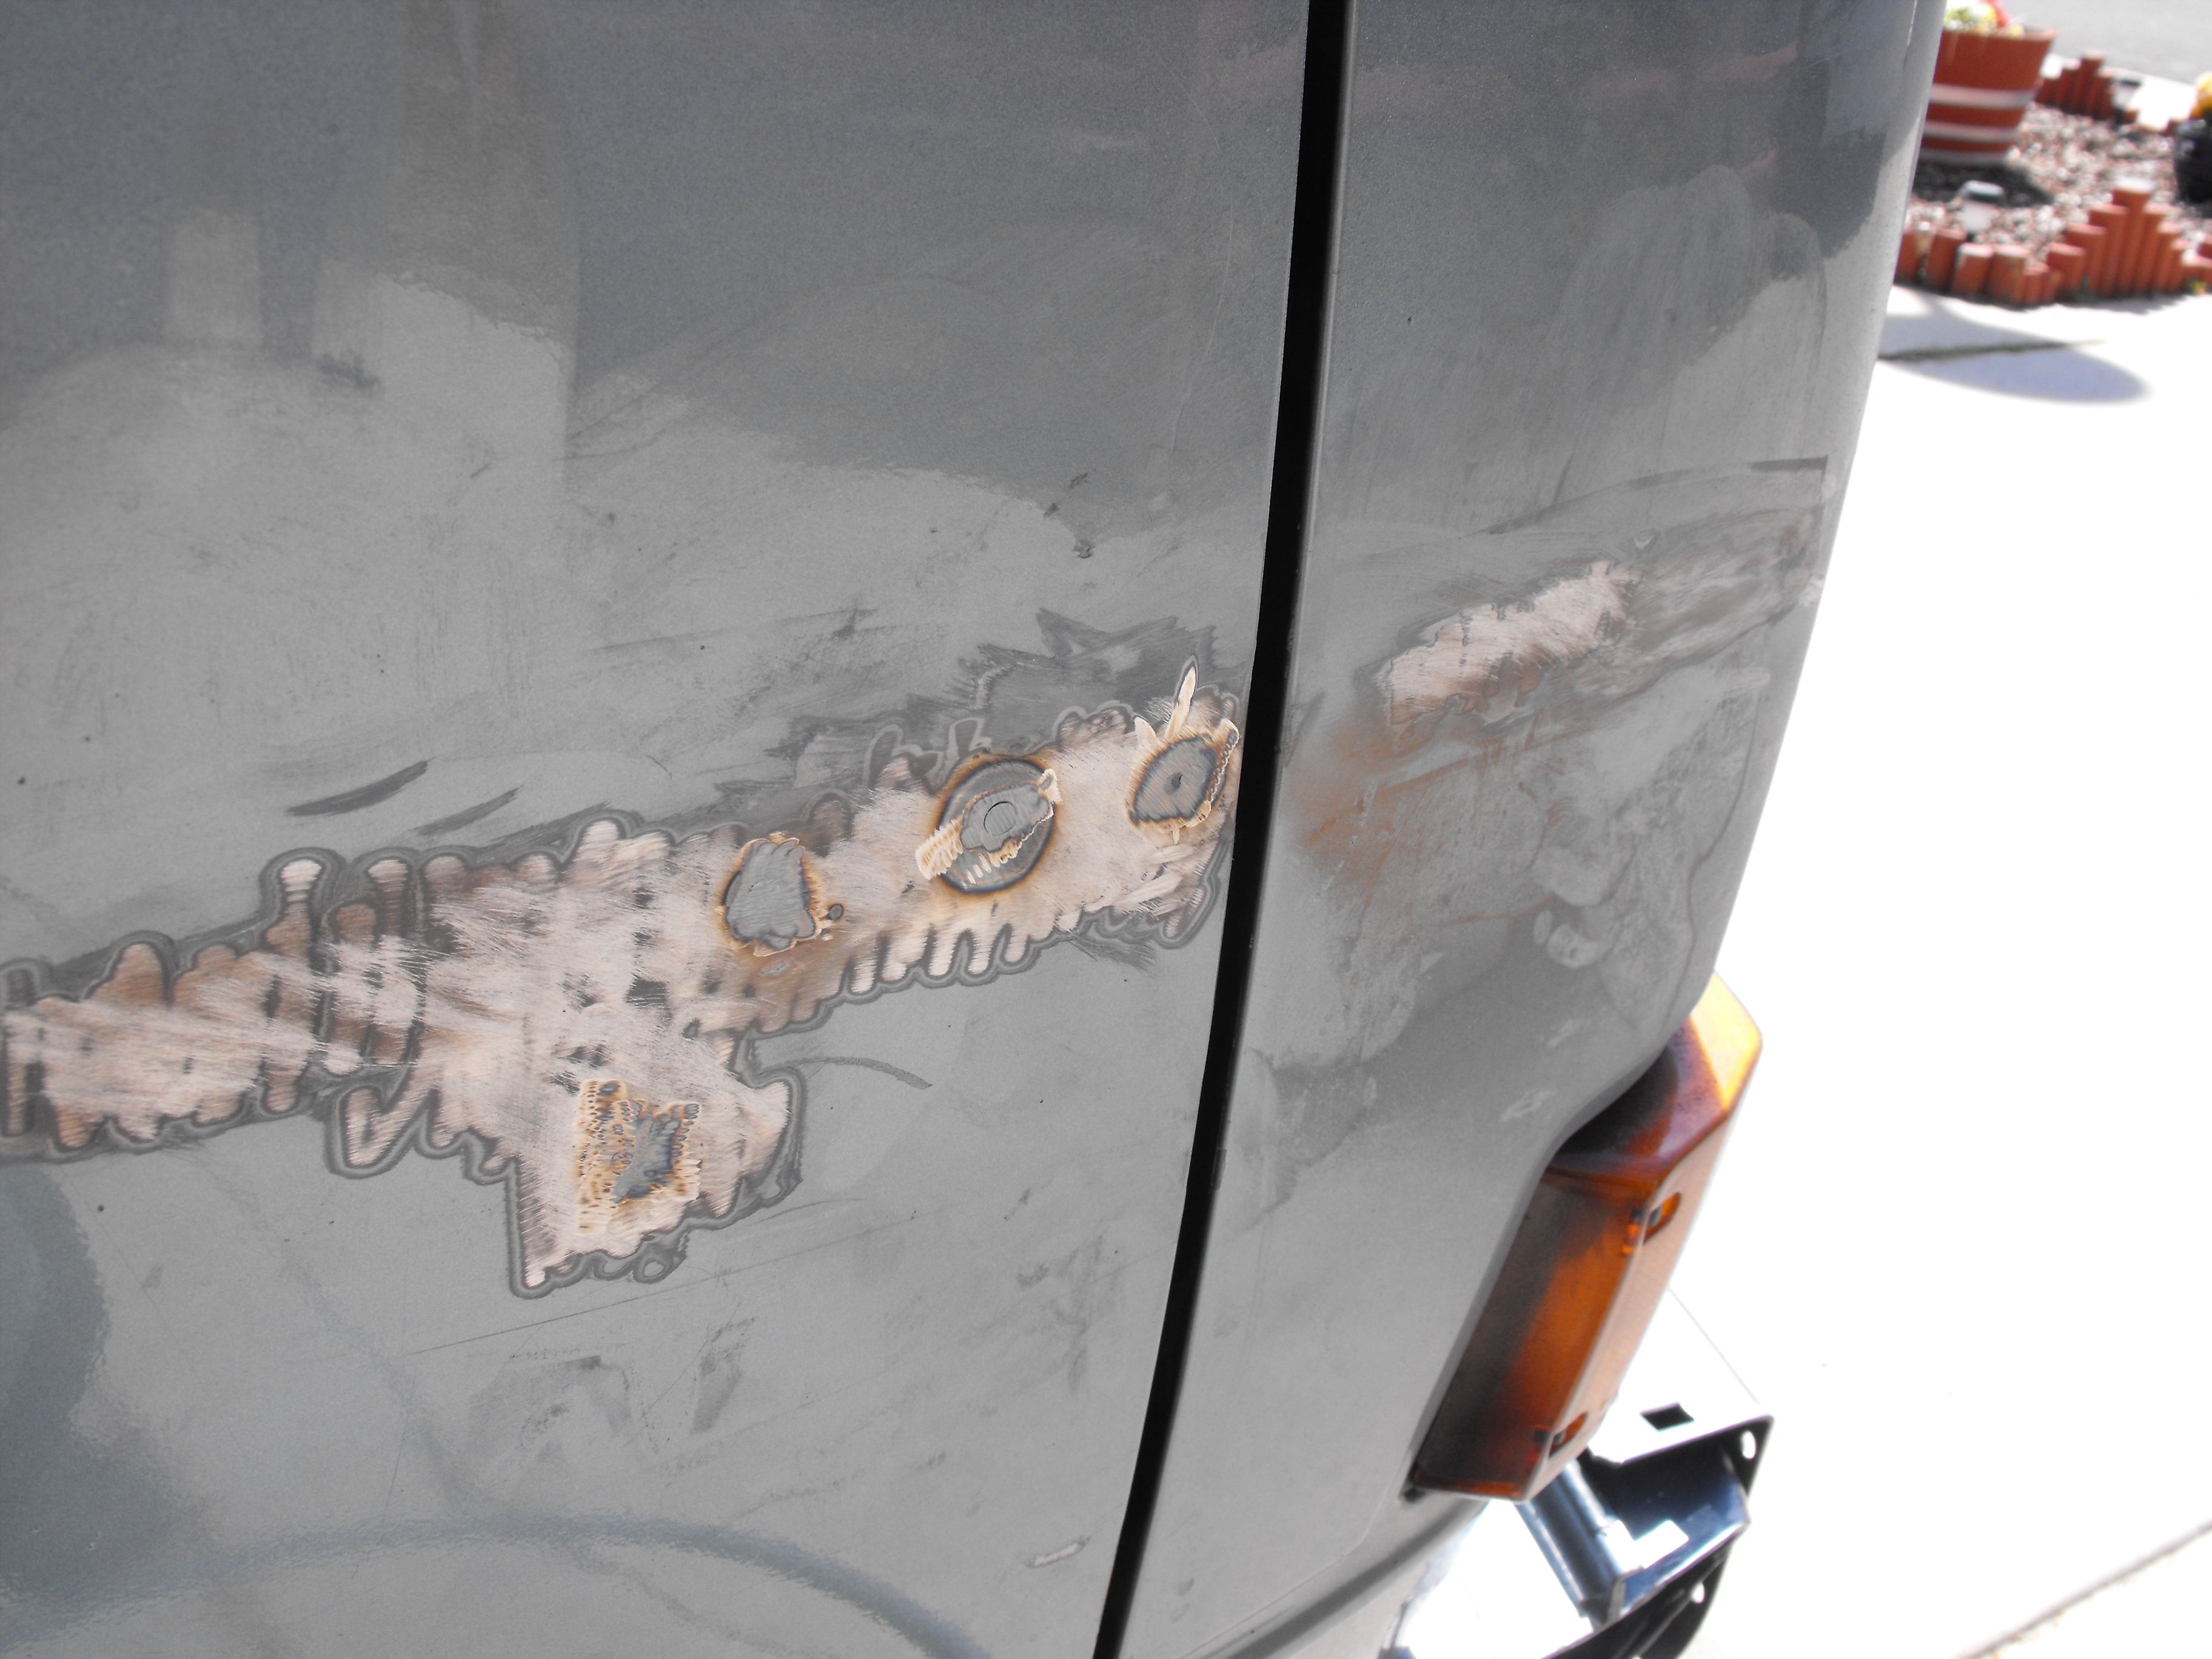
First I walk up and down the side looking for any dings / rust imperfections and mark them with a permanent marker:
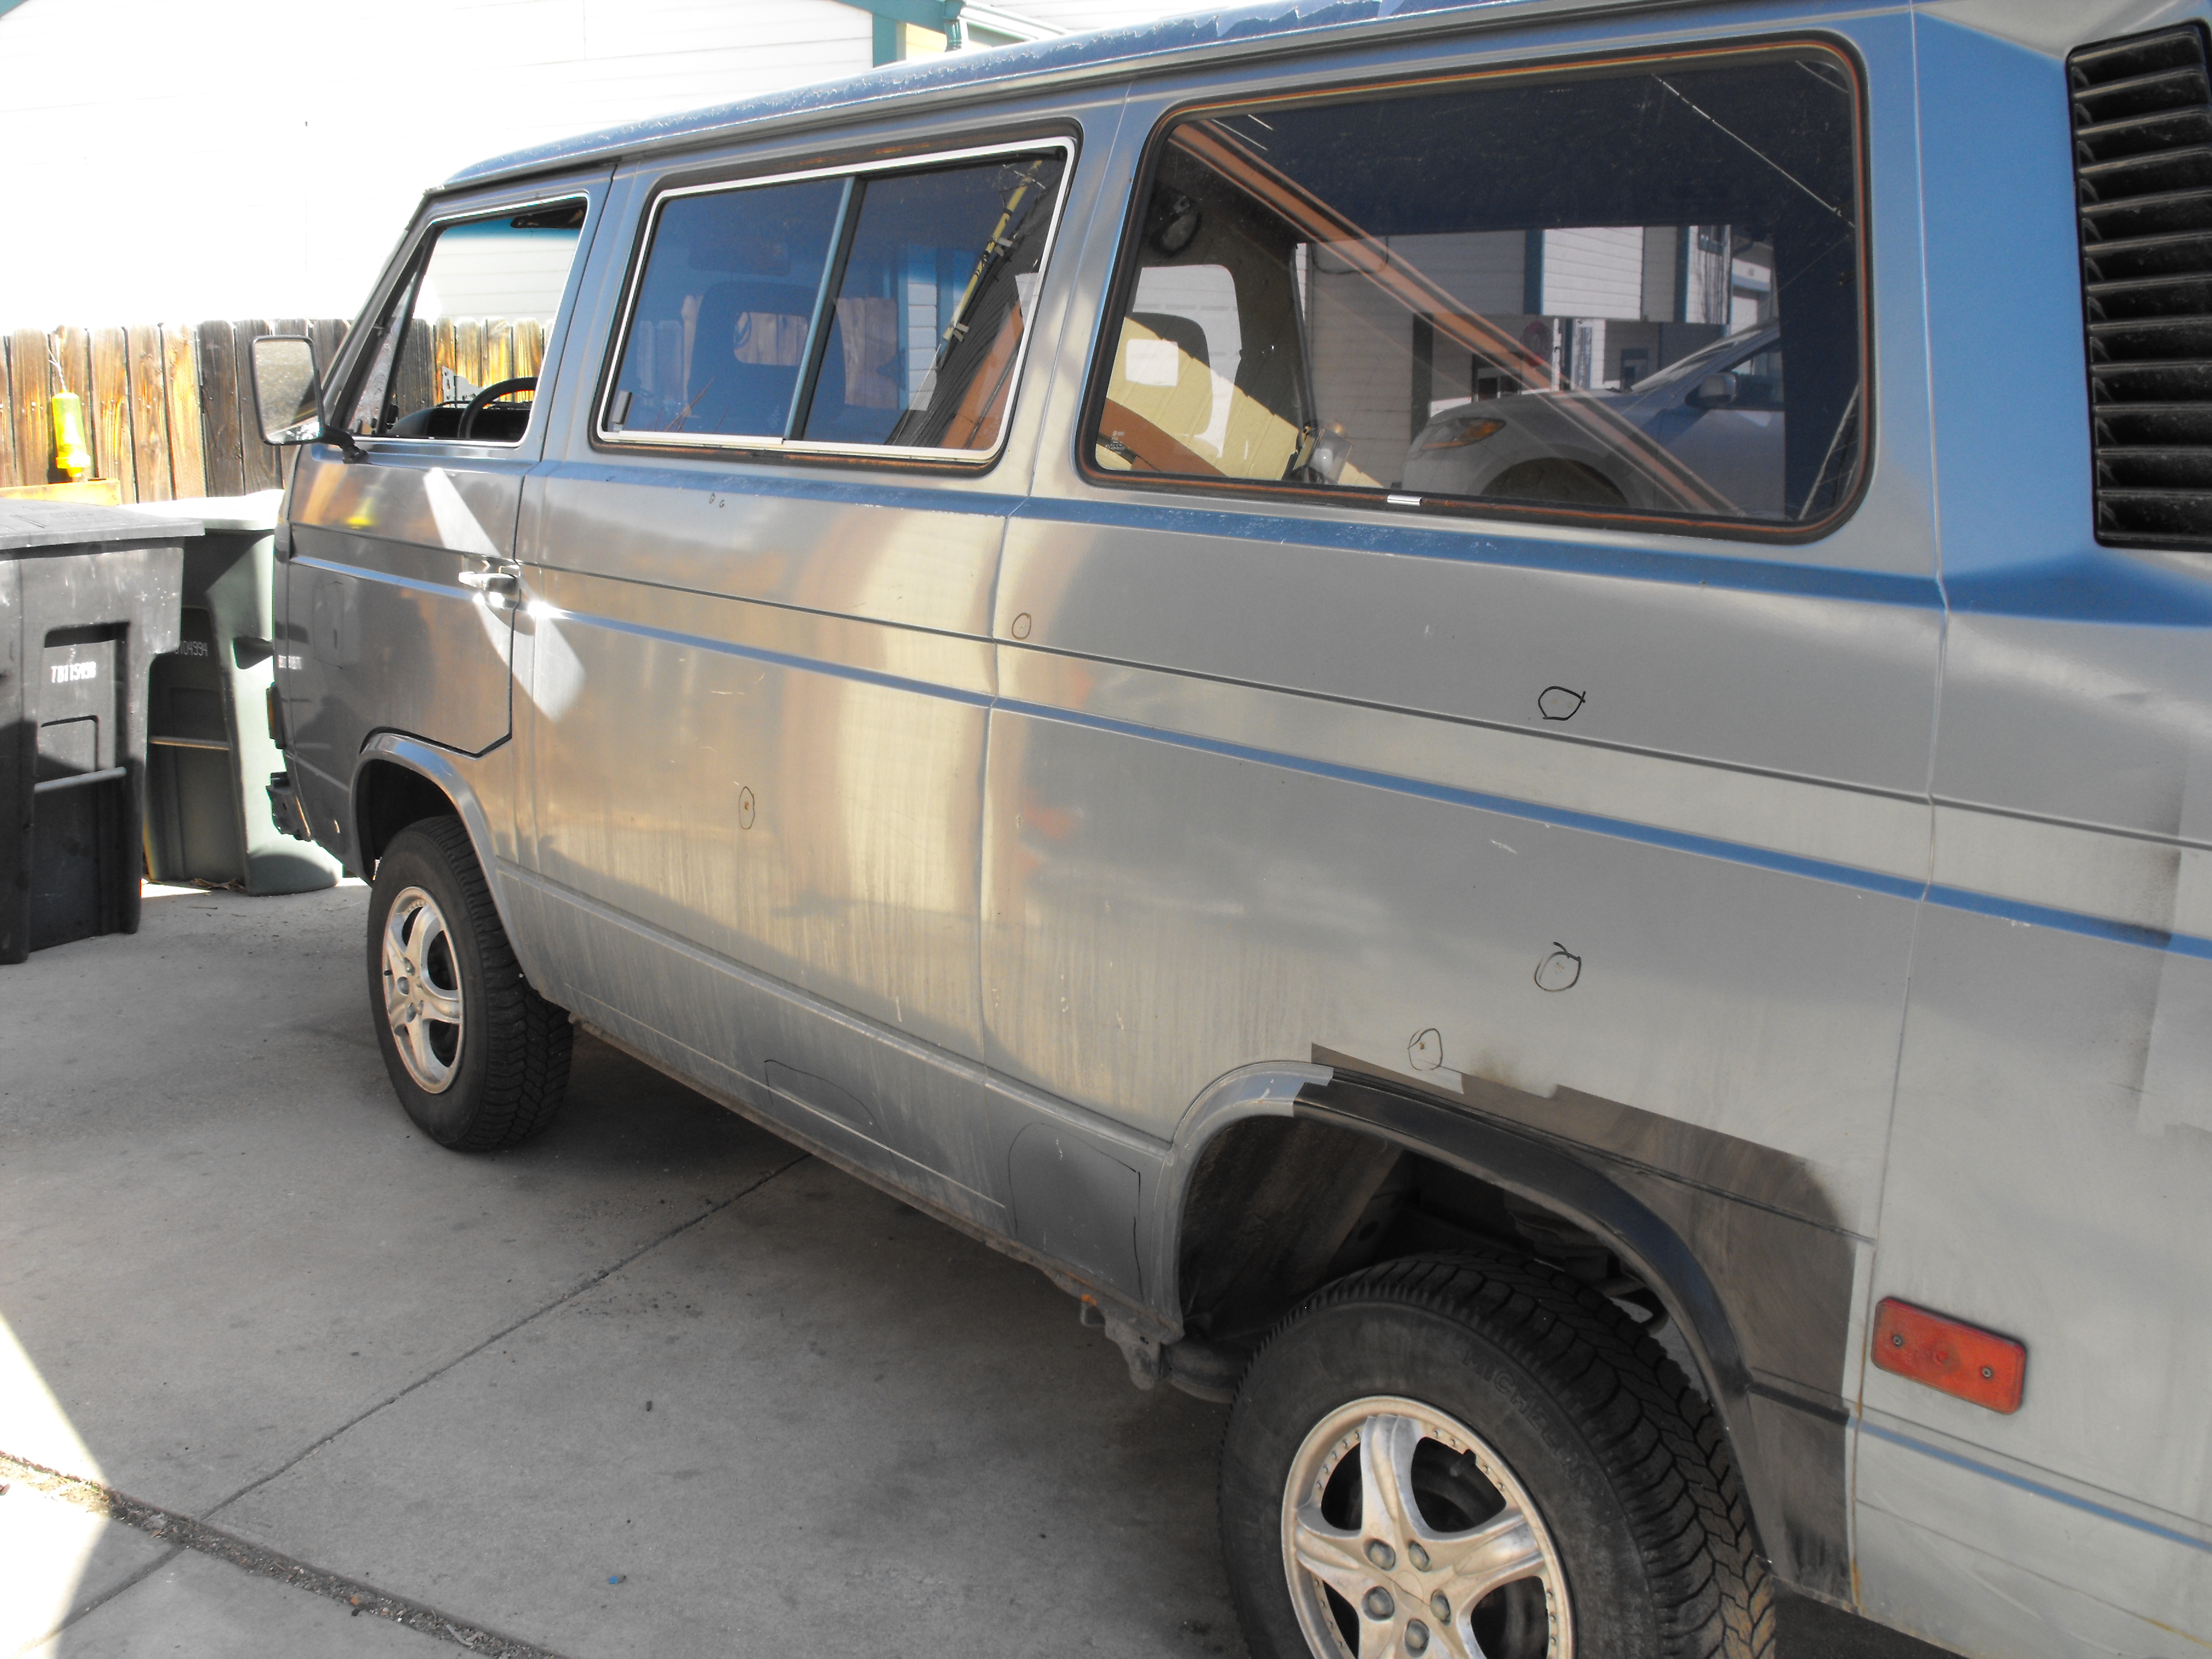
Then I ground the paint off all affected areas and did some rust removal. Next using the stud gun I stuck a bunch of studs to the points I felt were the best places to tug on:

Now it’s time to add some filler (fiberglass based):
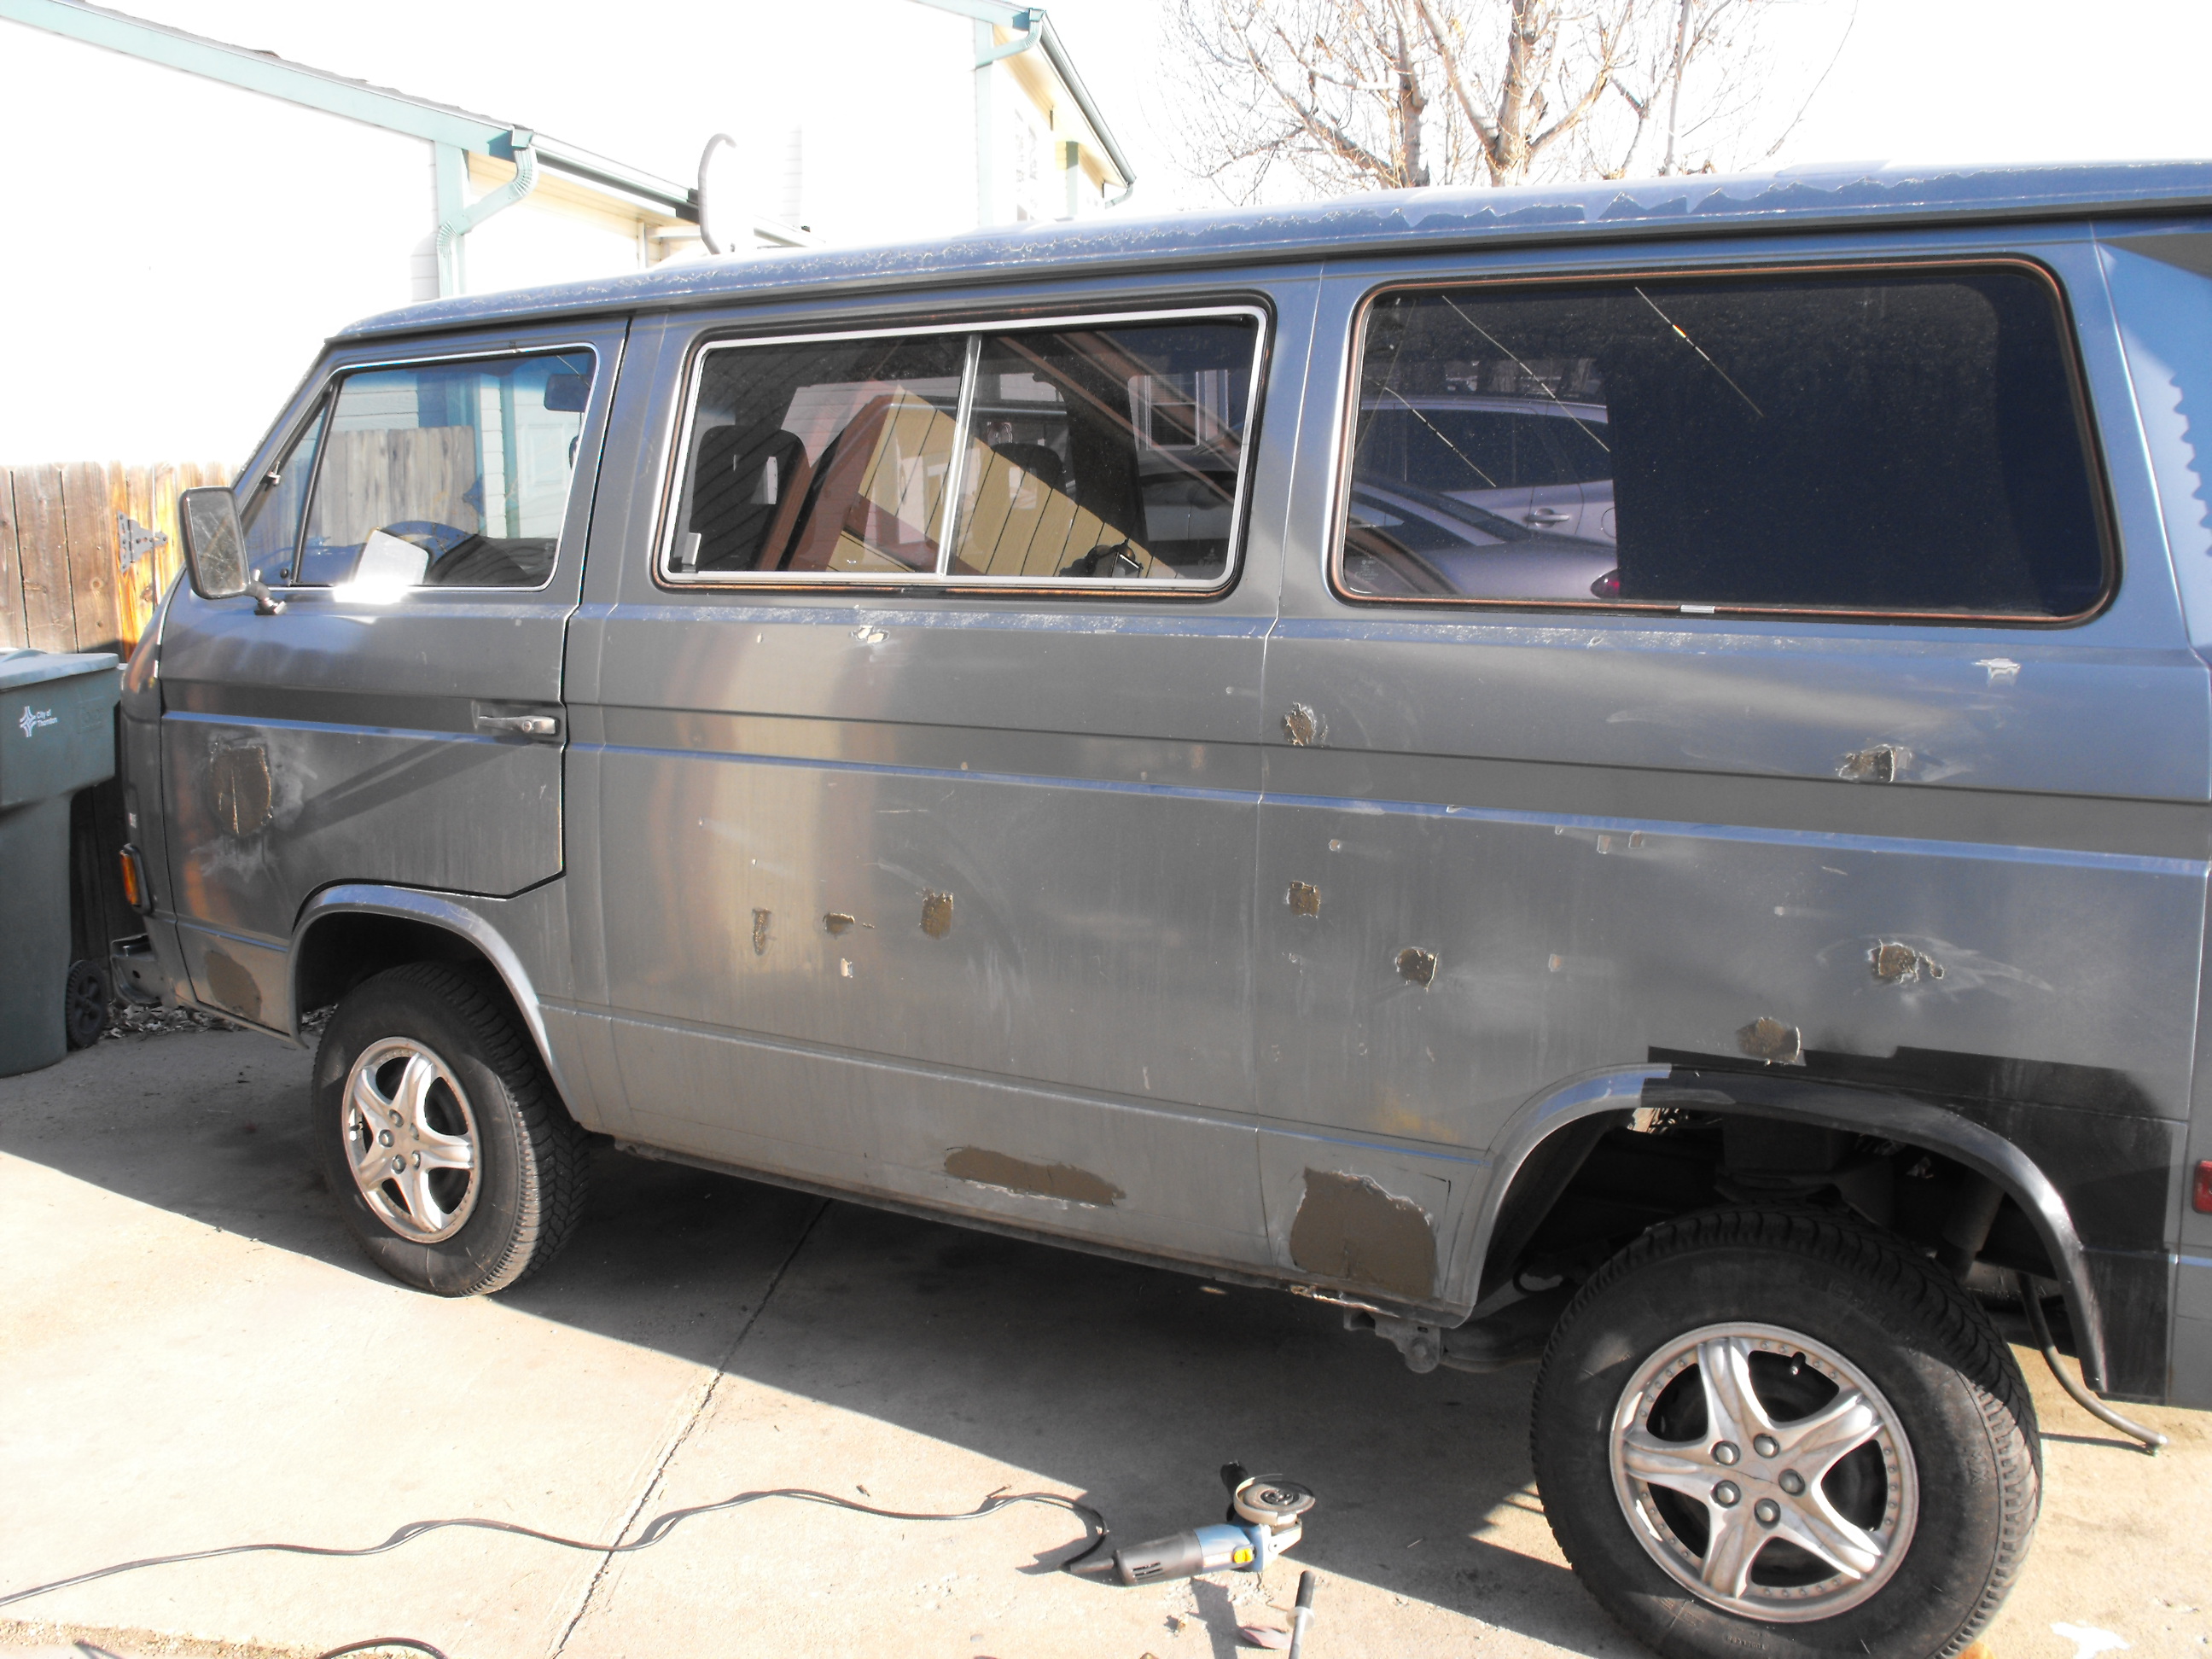
The better you become at the application process the less sanding you’ll have to do in the end, I always seem to mix more than I need to apply on the car as well so we’ll have to work on that:
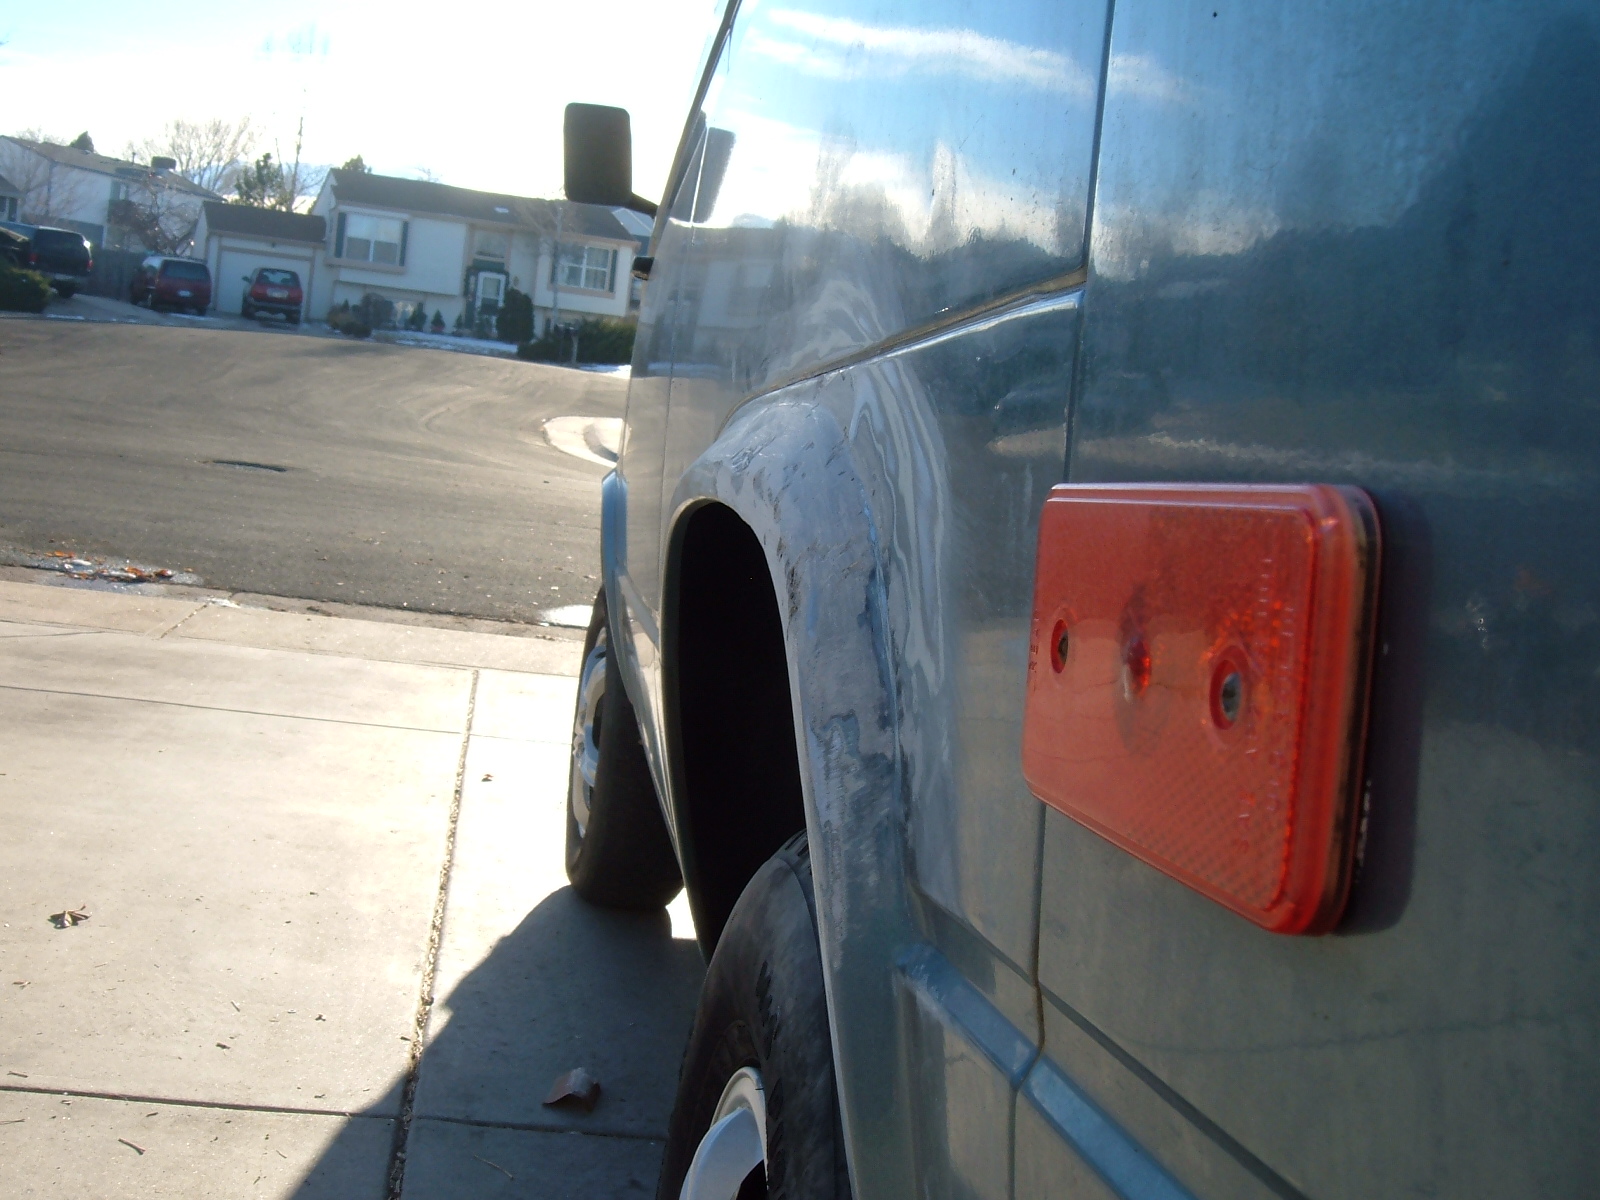
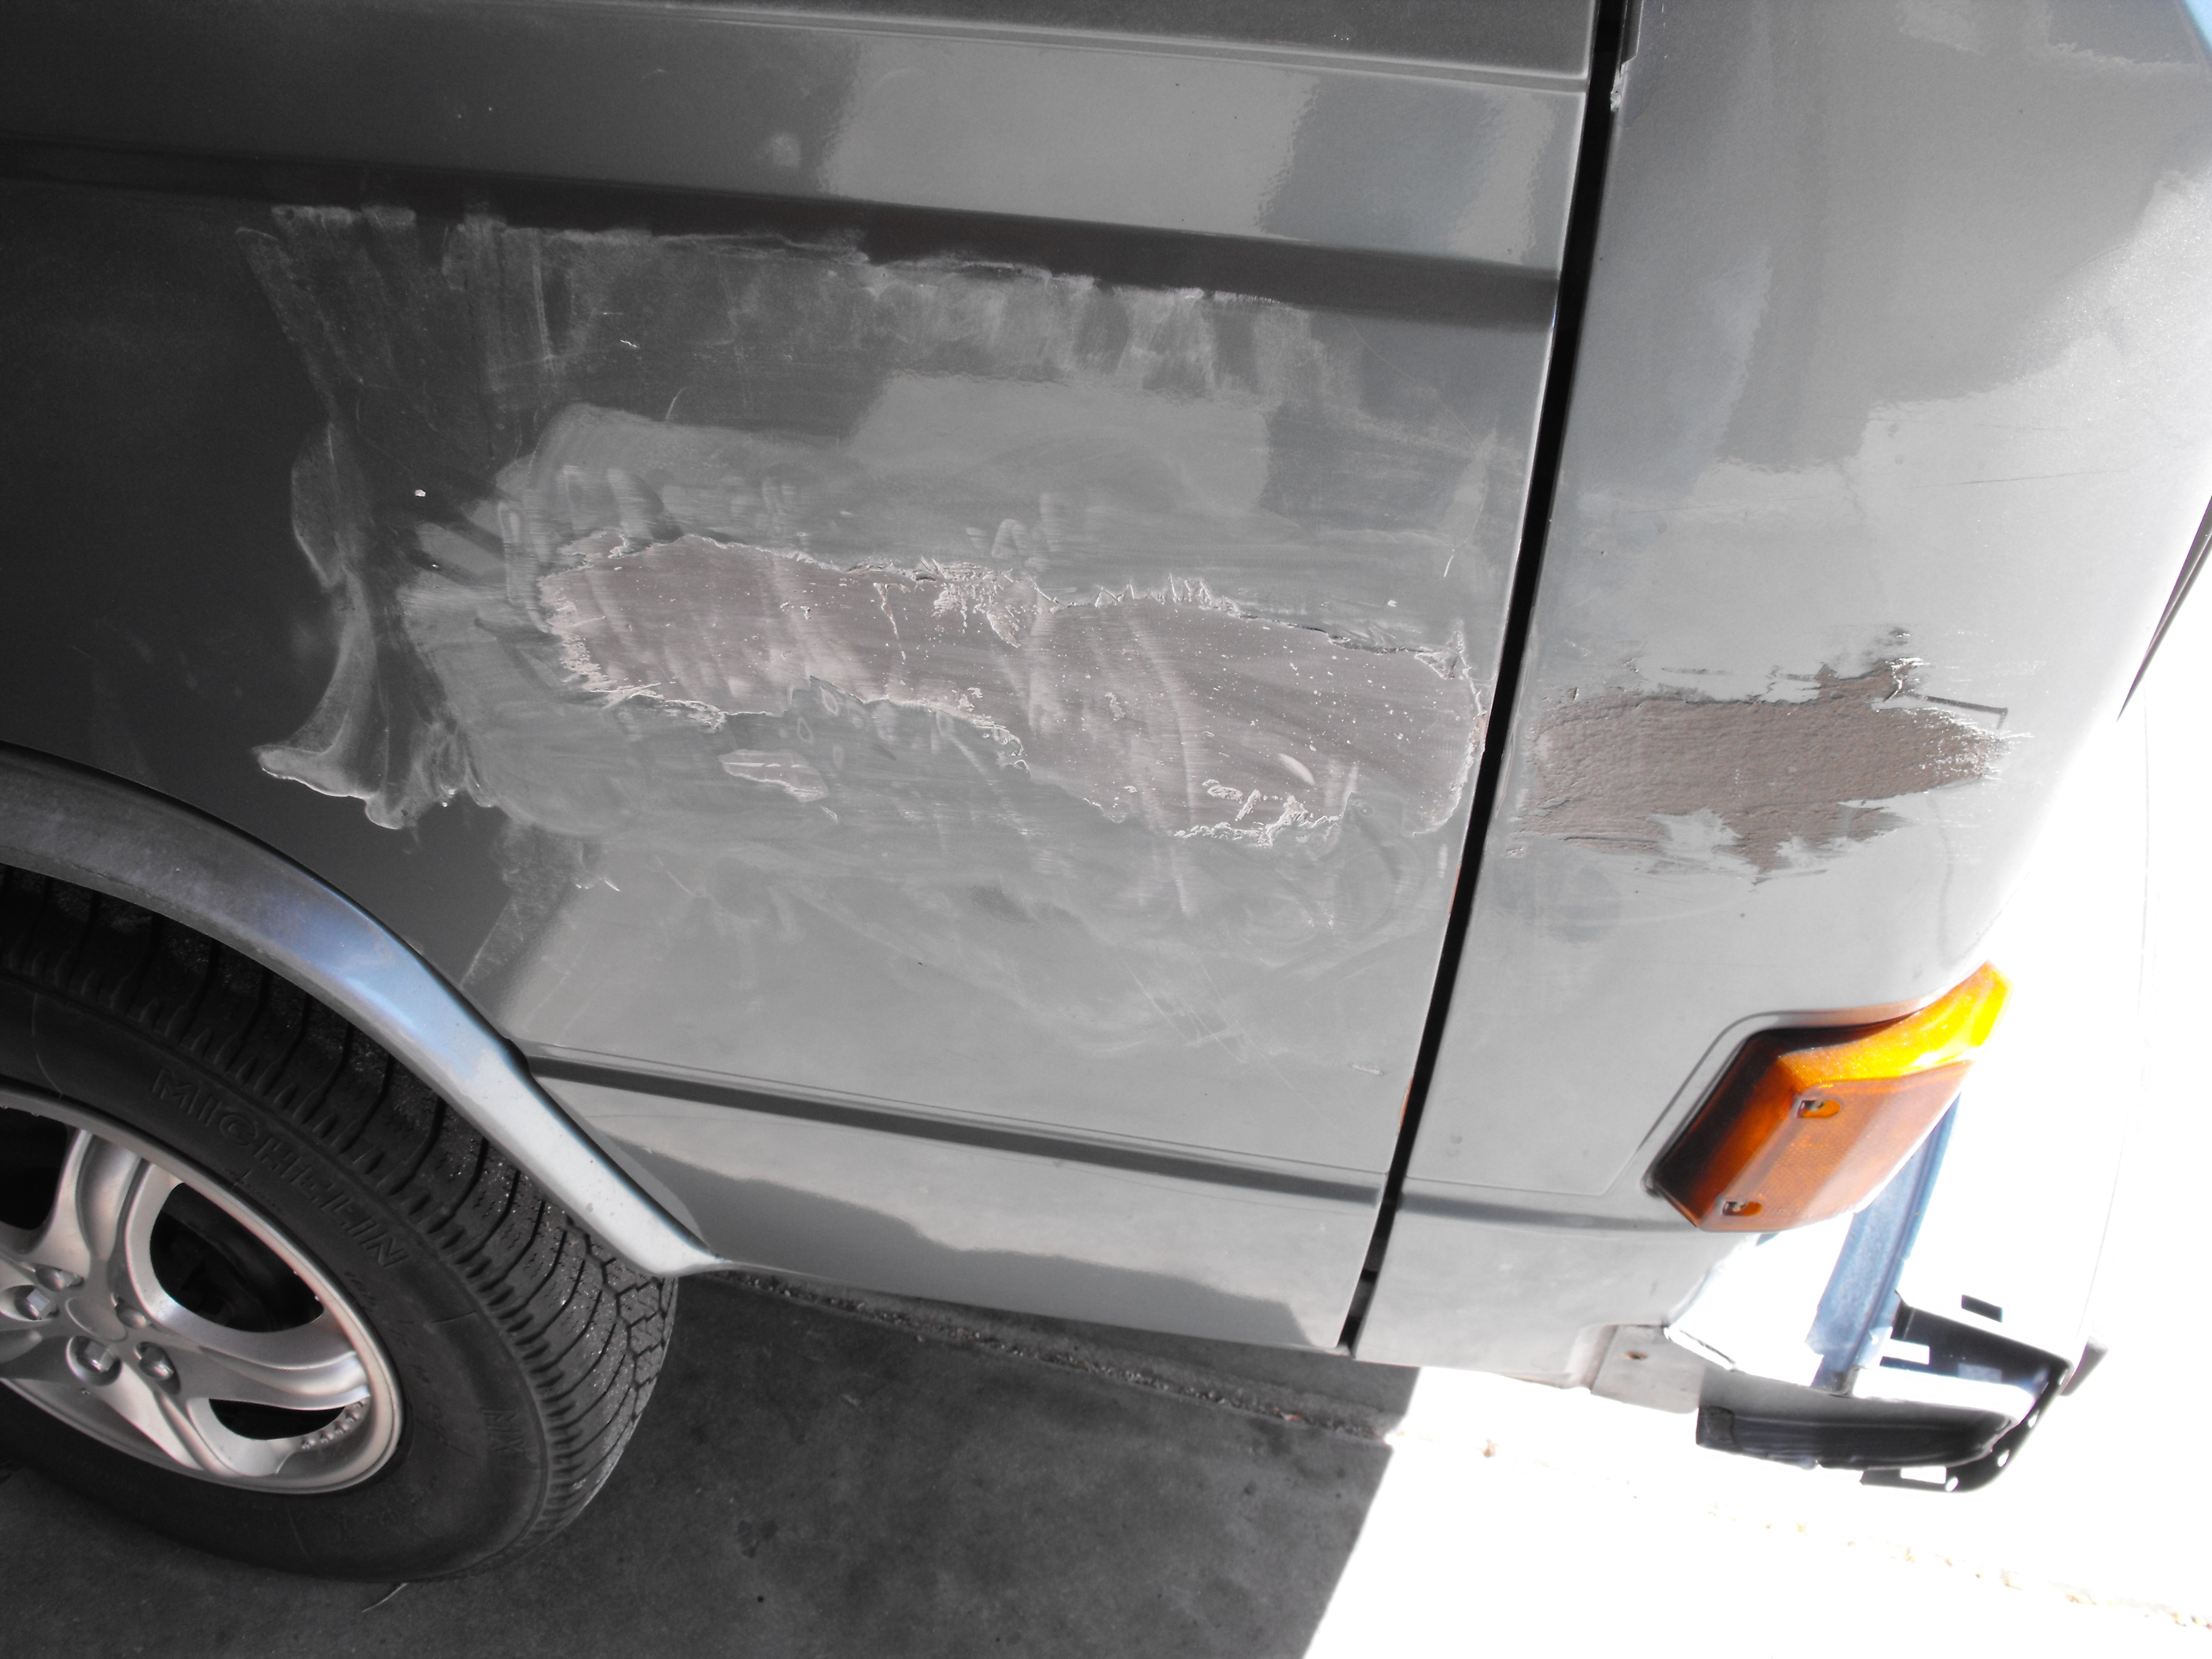
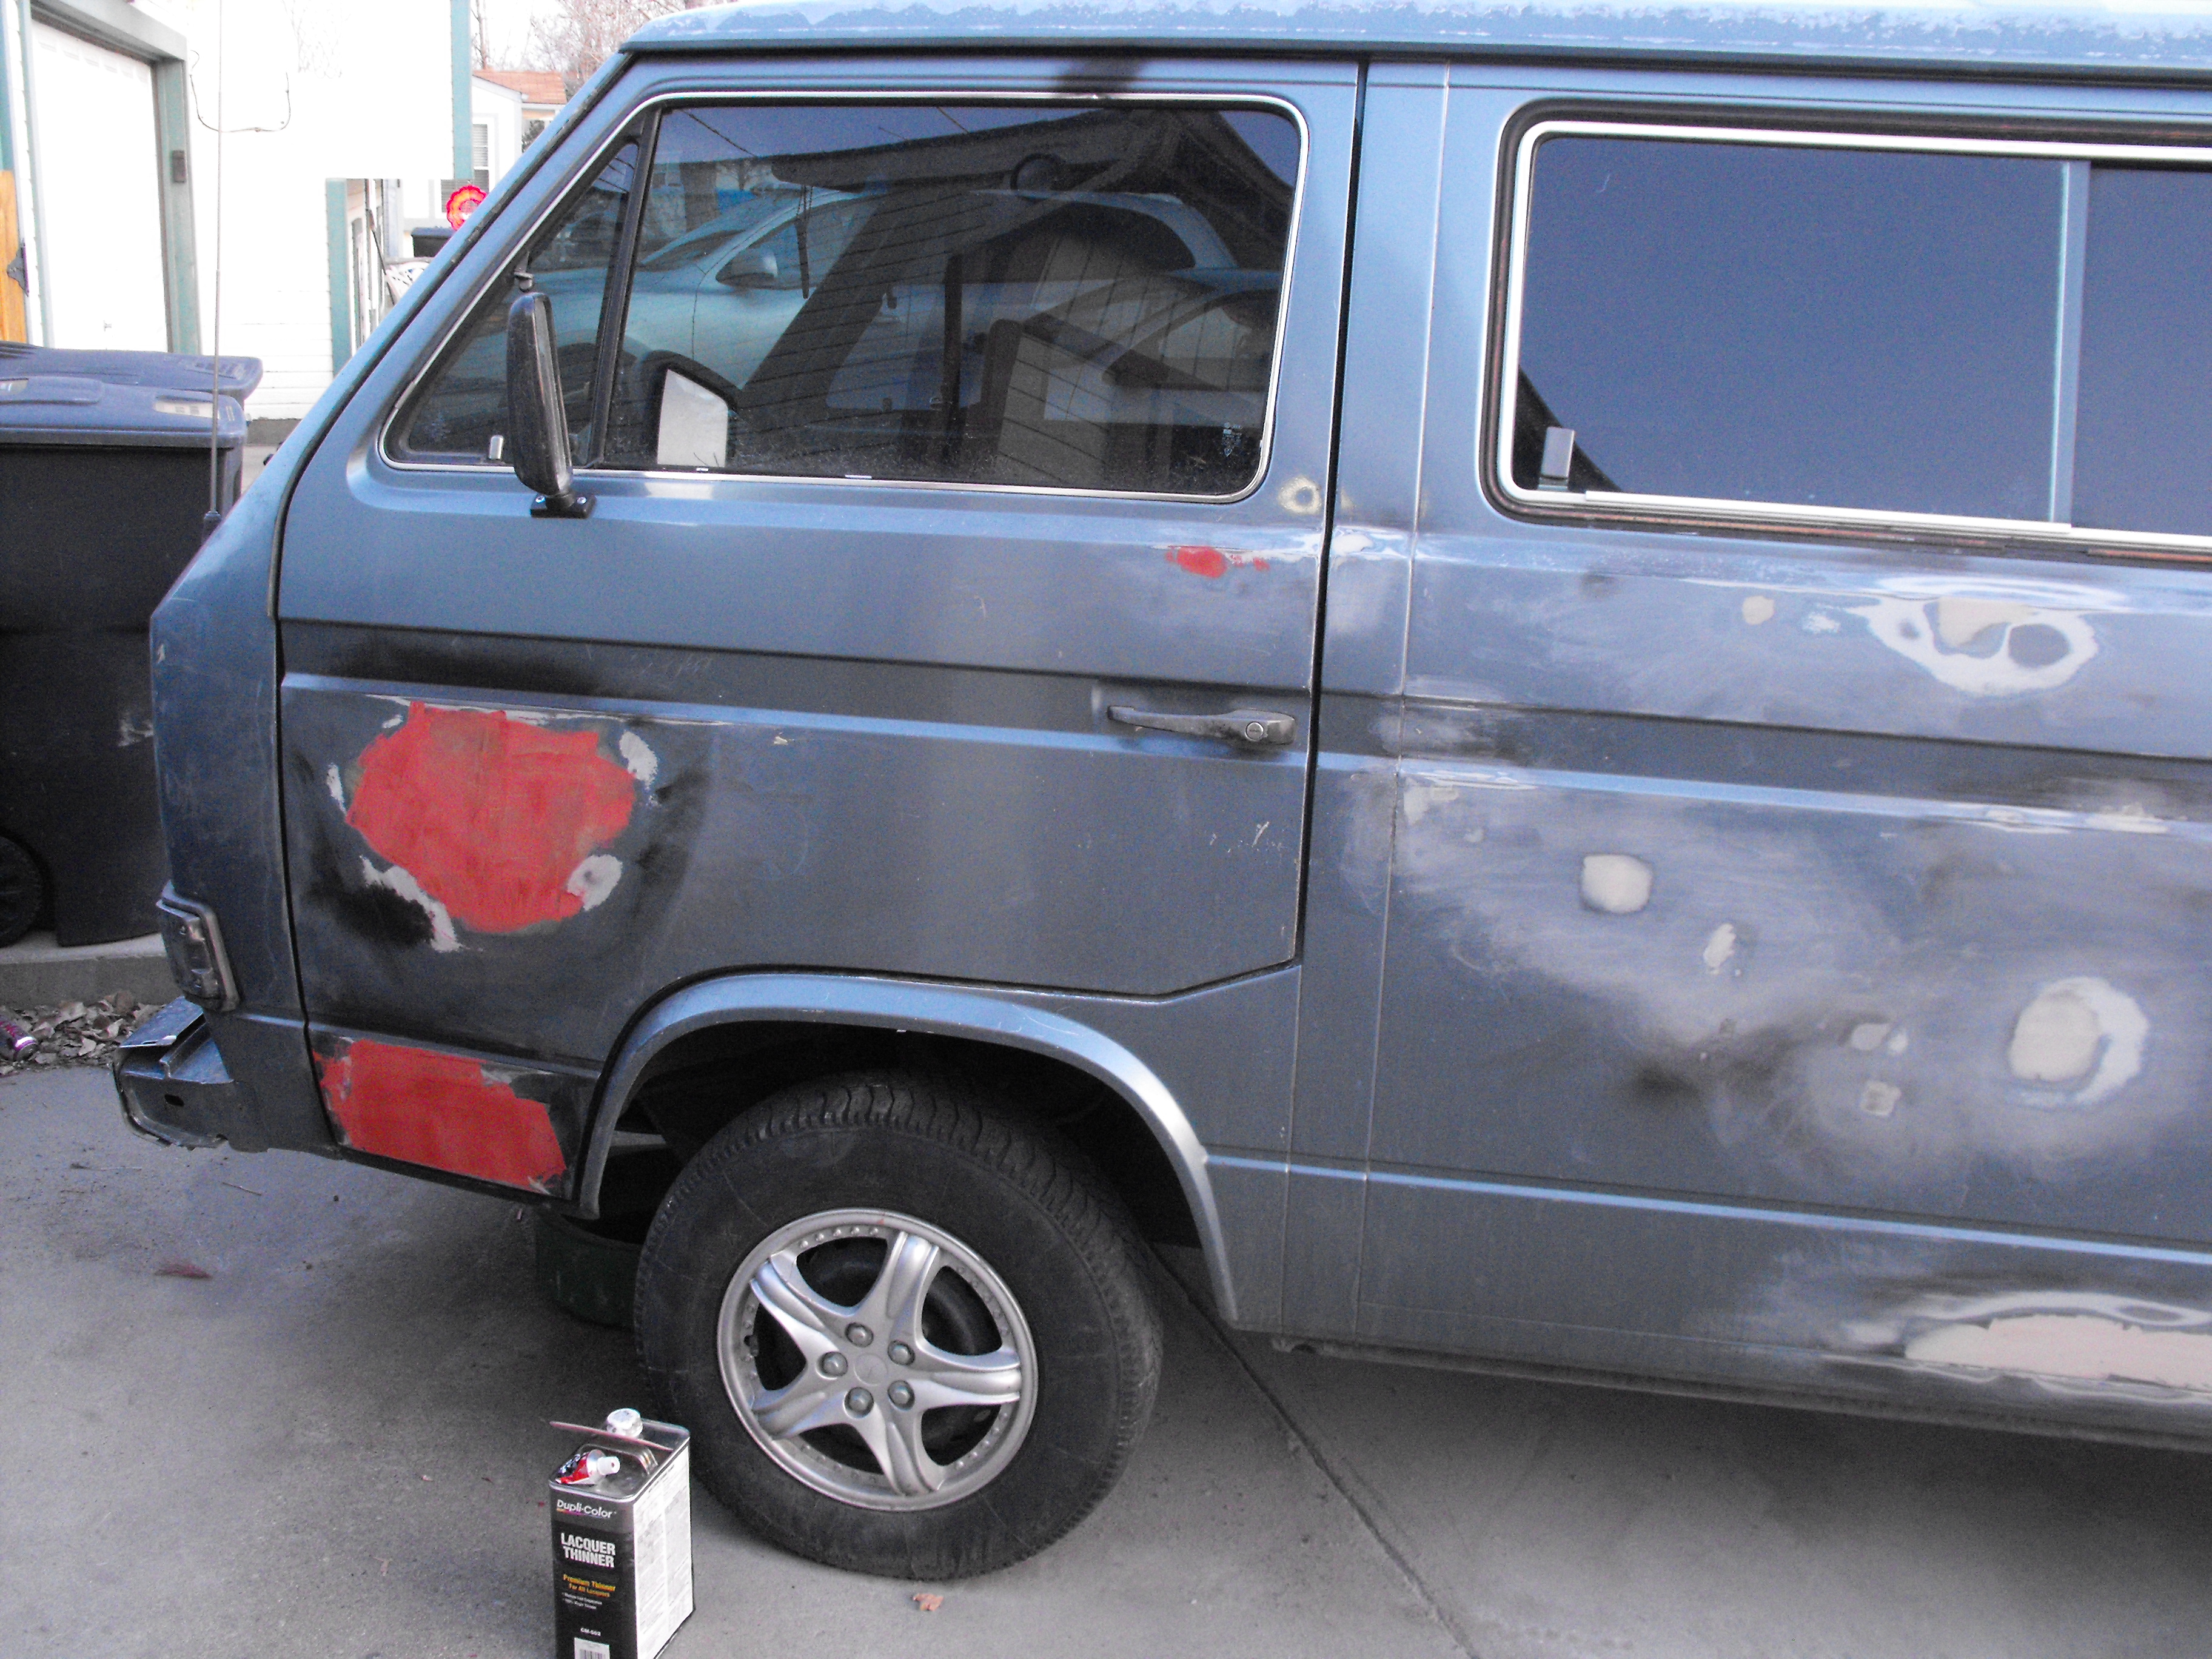
After sanding everything for an hour and a half I decided to throw in the towel for the evening, the end results were nice and flat:

When I resume my project after leaving it alone for a couple of days I always start by sanding into the paint used to protect the work from moisture, I noticed there were a couple of spots that I had actually forgotten and made a note to tend to those later on:

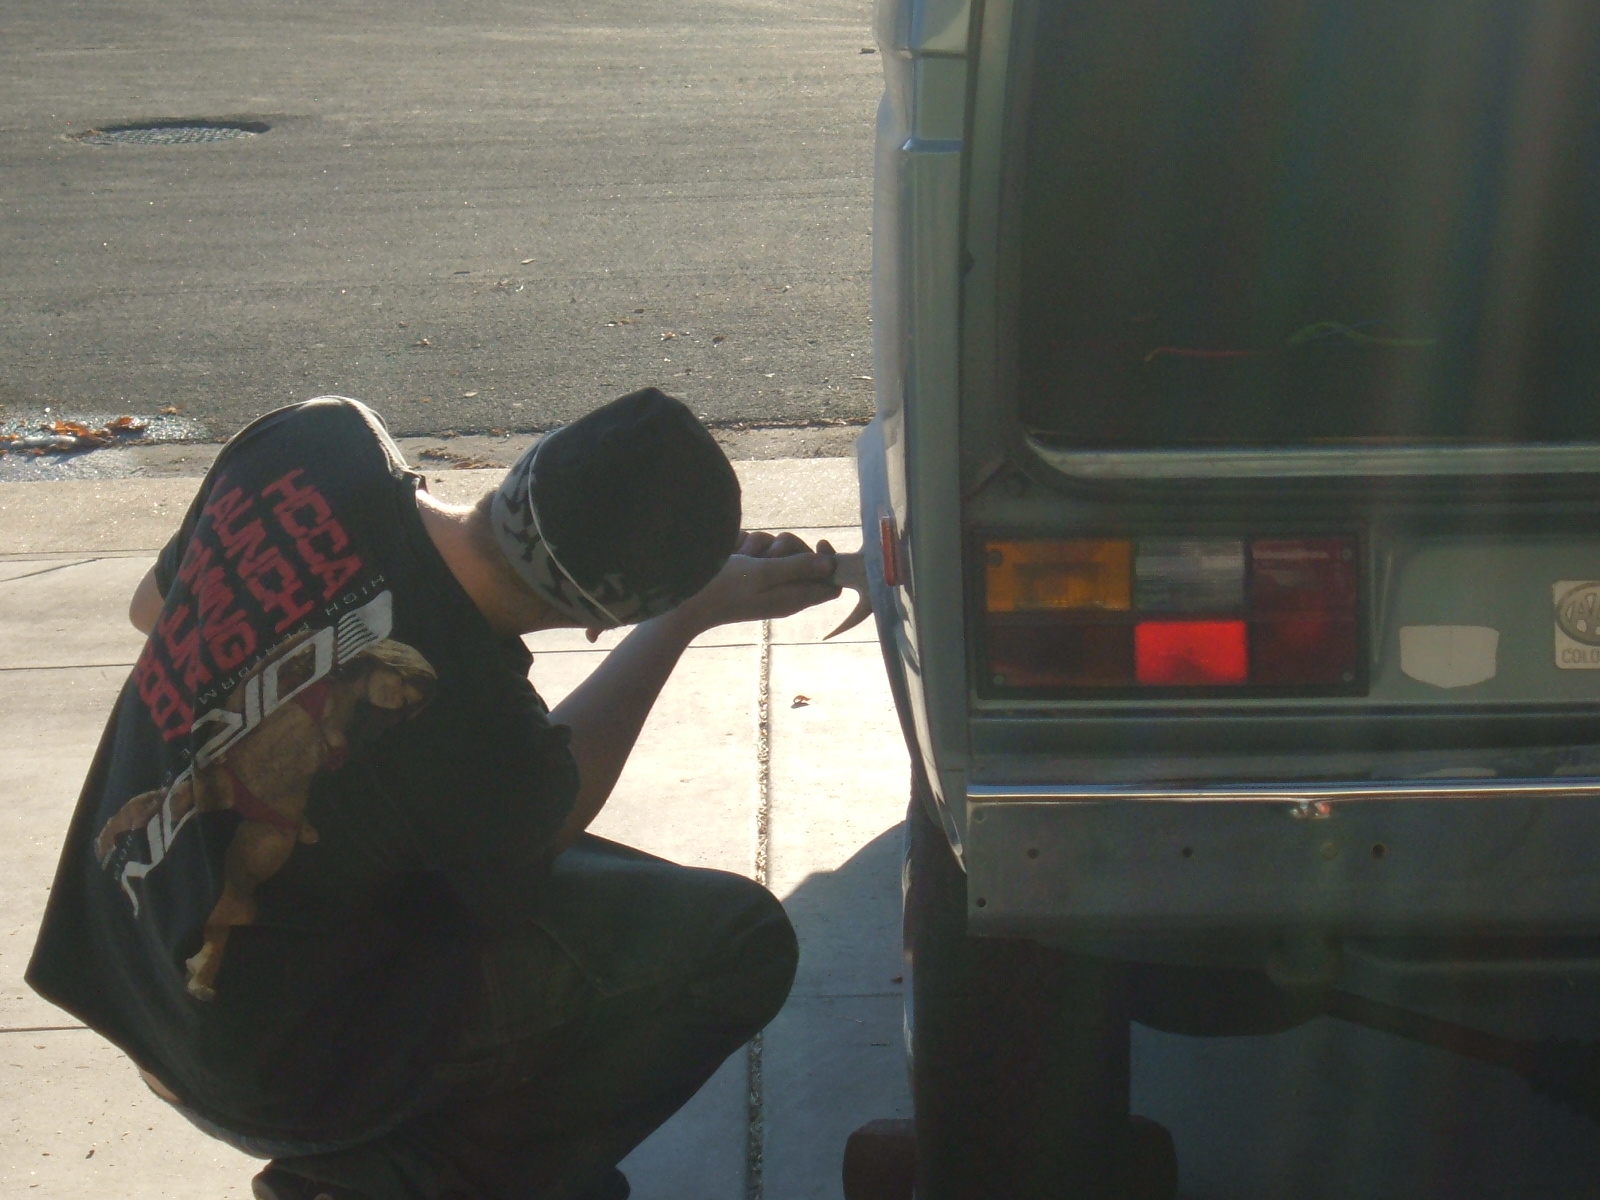
I needed some help with the sanding process, my good friend Calvin volunteered and did an excellent job with sanding and without his help the body wouldn’t be nearly as ready as it is now:
We made it through the first day putting on filler and sanding, by sunset it was painted up again as the weather forecast called for some precipitation the next day:
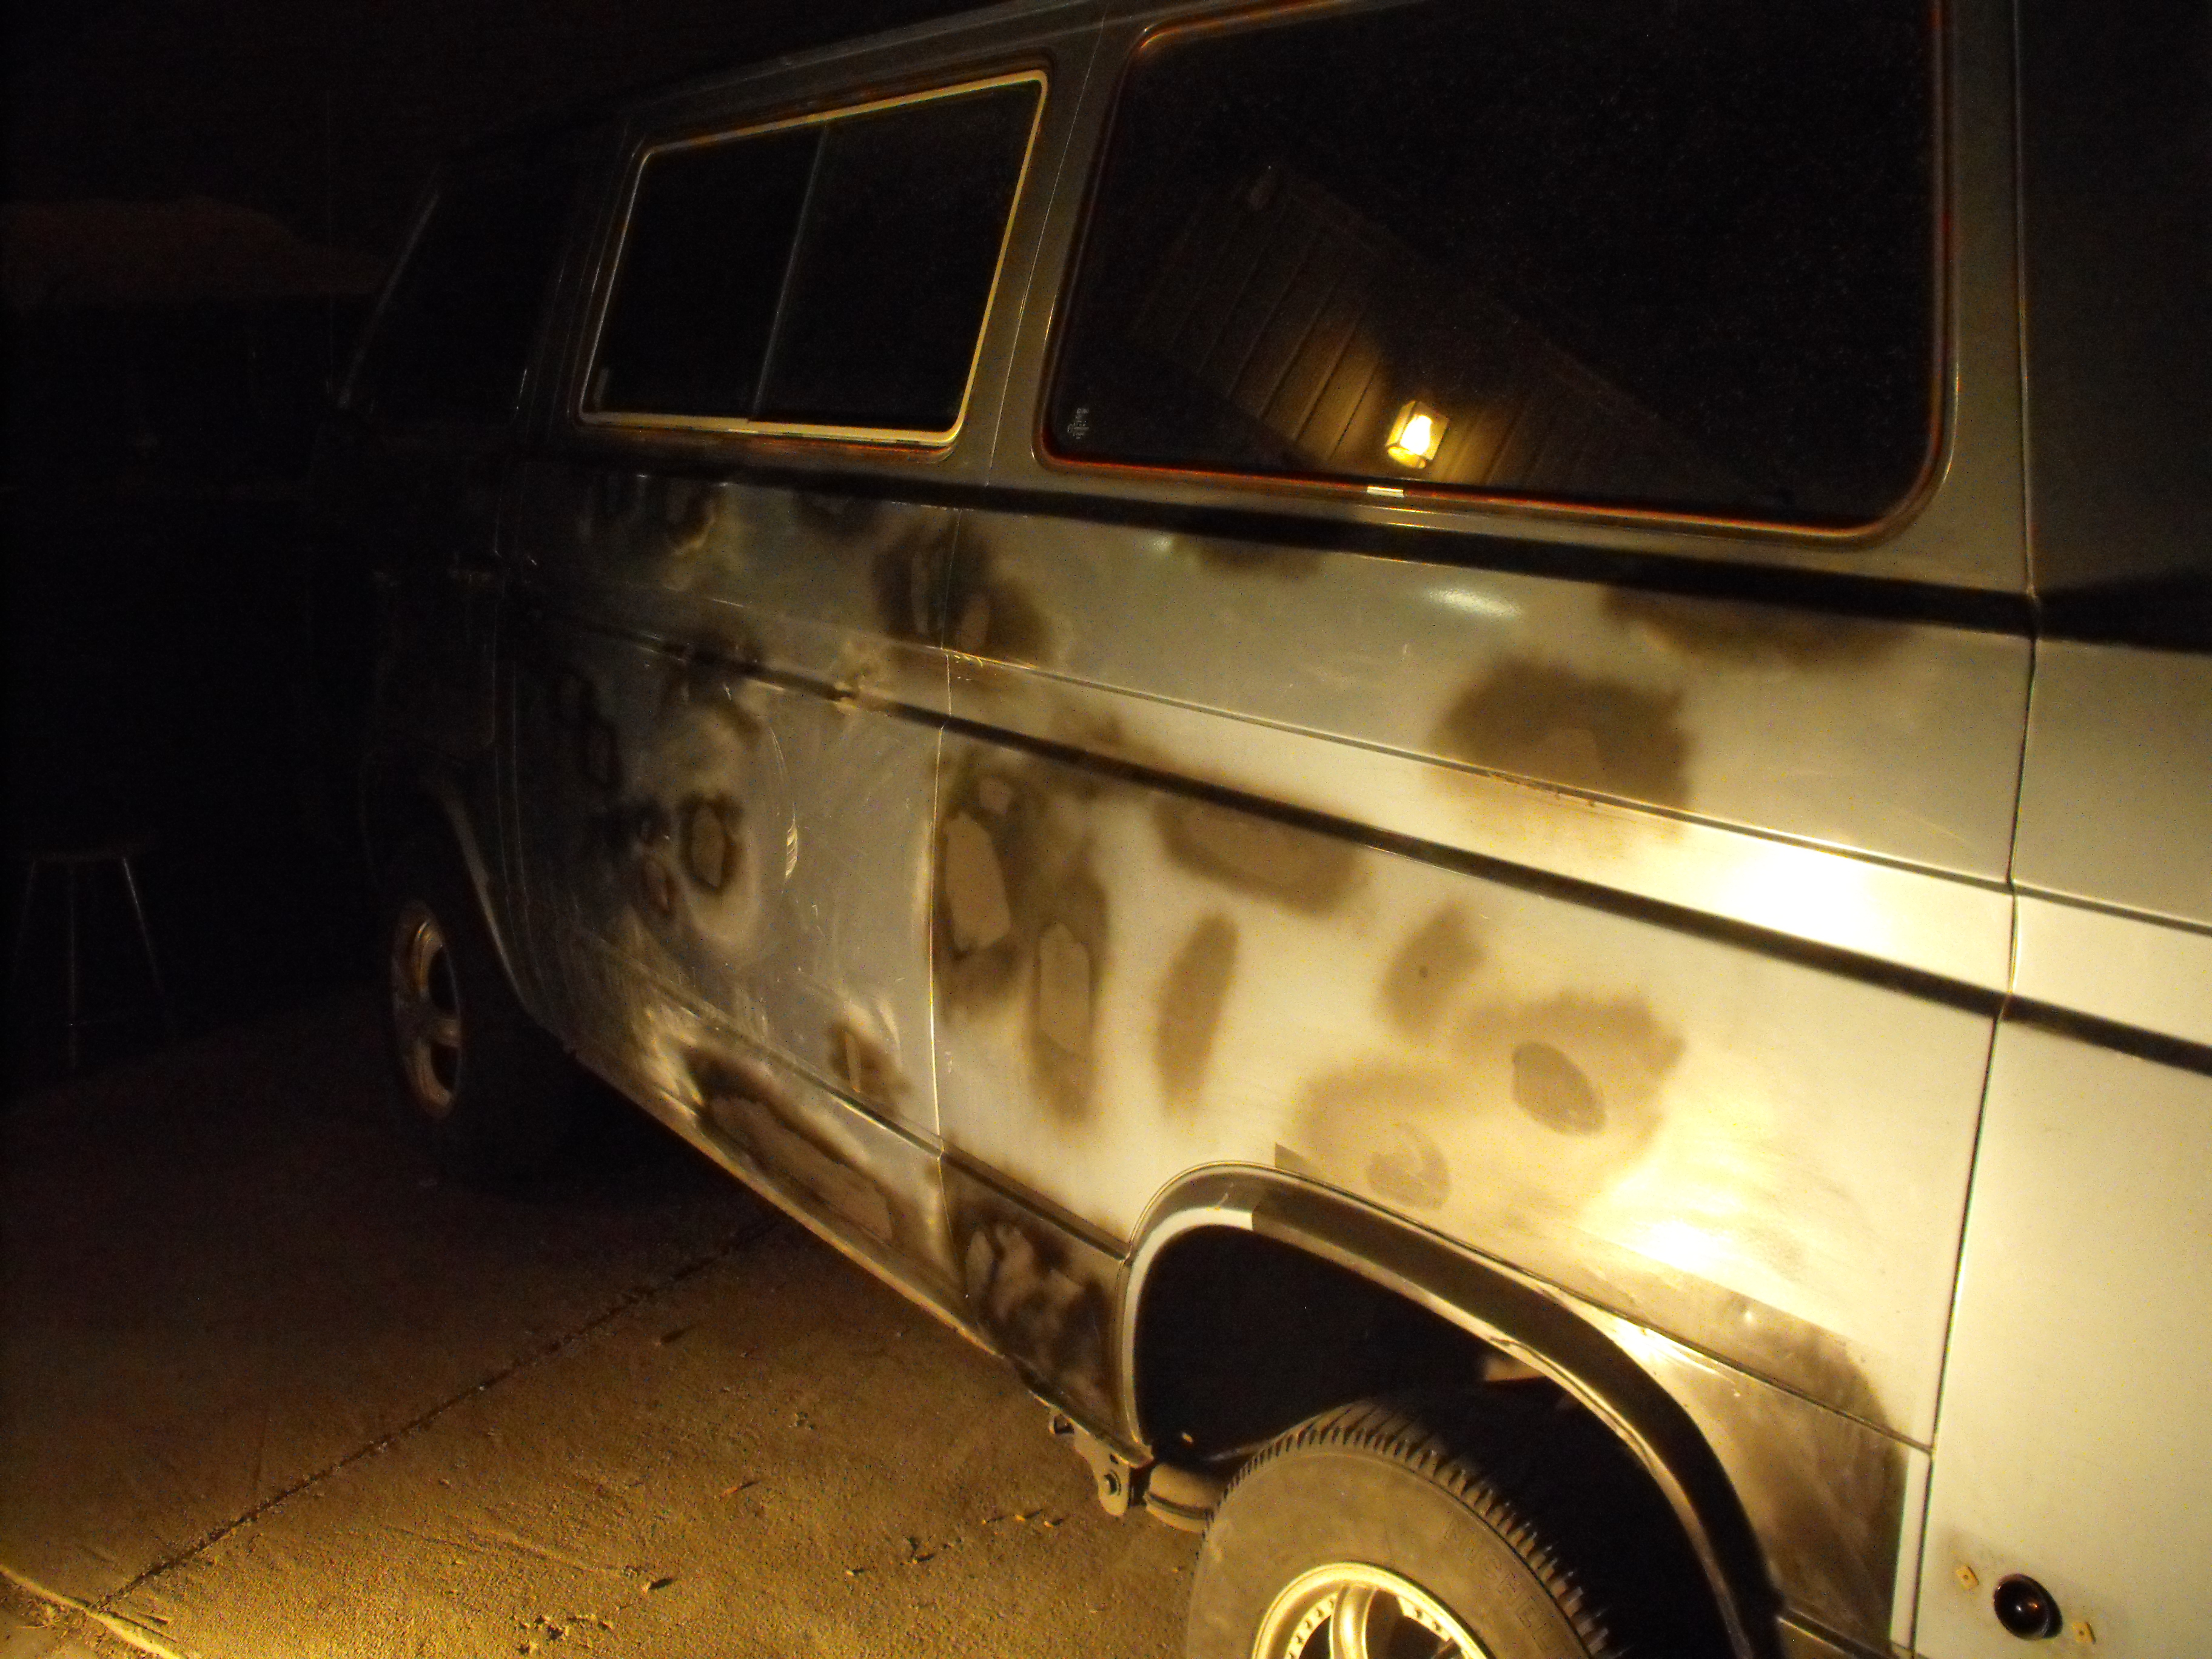
After the weather had come and gone I sanded off the top layer and put down the glaze, I opted not to sand it but instead just paint over for protection, leaving the finishing sanding for after the glass is removed and i’m hours from paint:
Once I had 20 or so small spots to work with it got confusing which ones needed work so I painted over the completed leaving what was left, which really was only the spot down by the rocker panel. It’s the only one left that needs sanded:
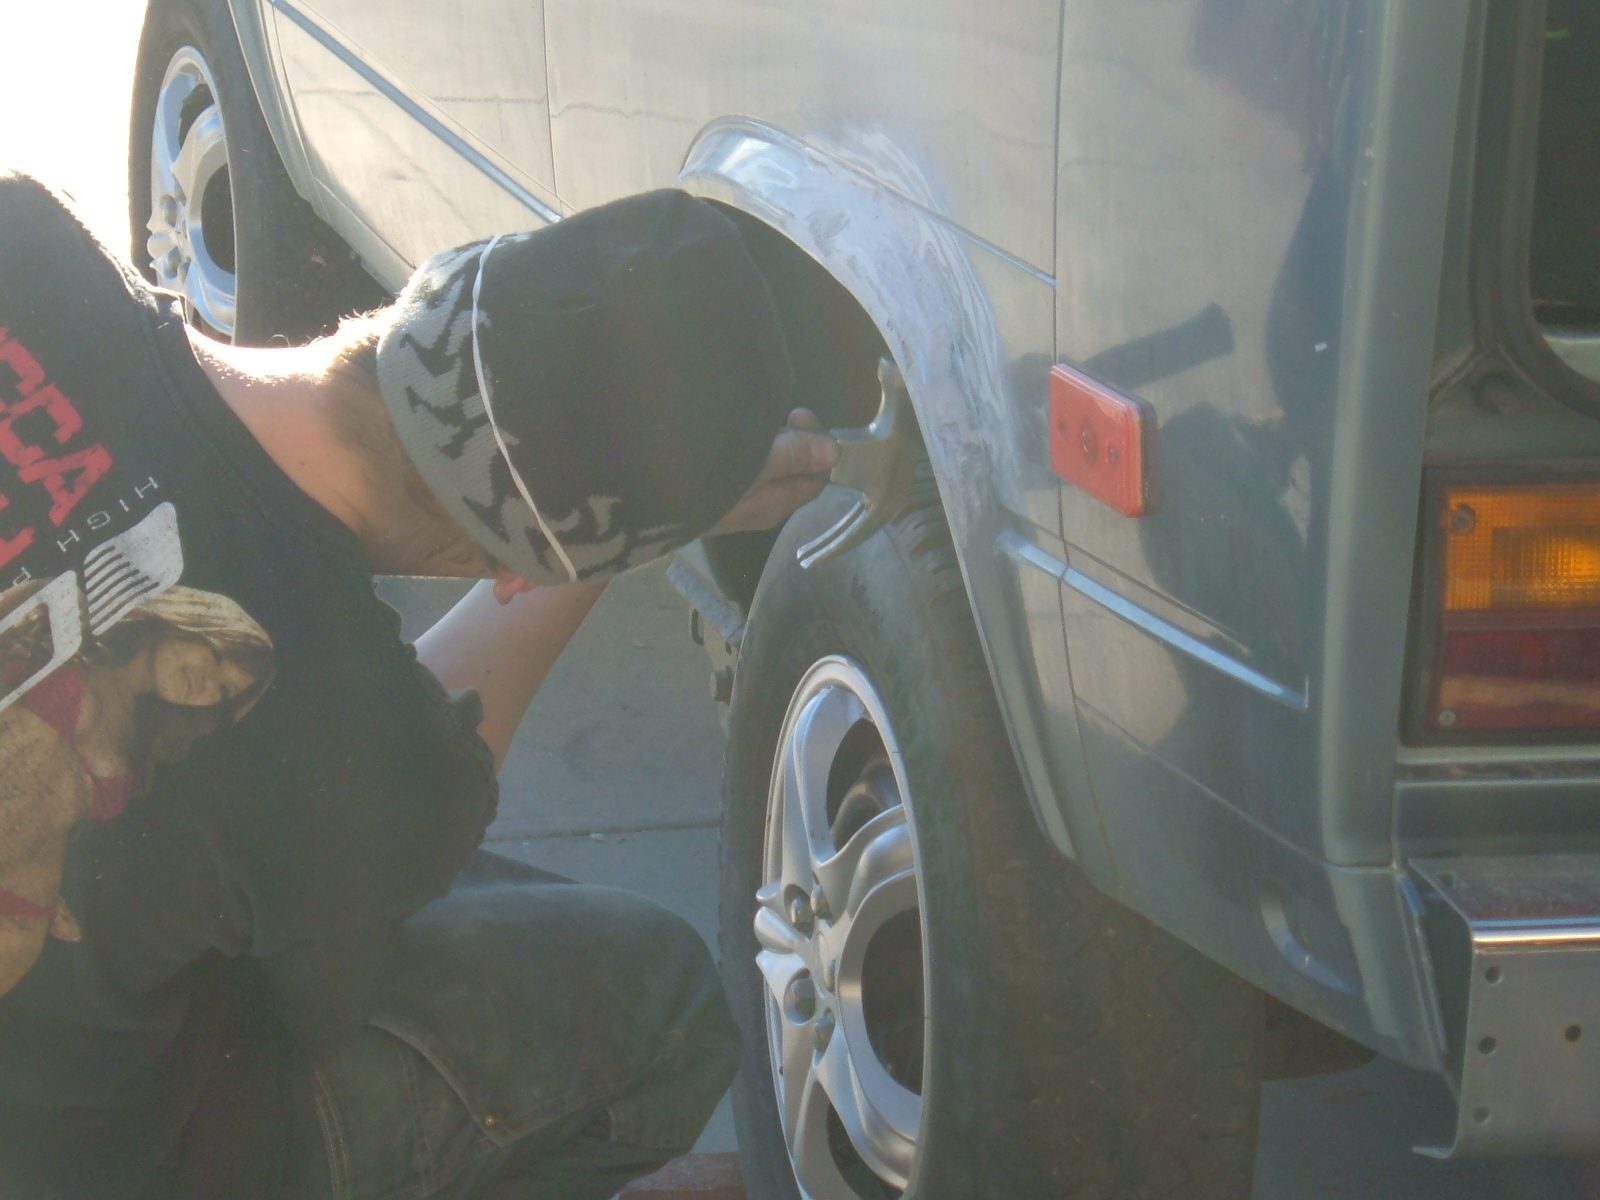
Driver’s wheel arch re-repair
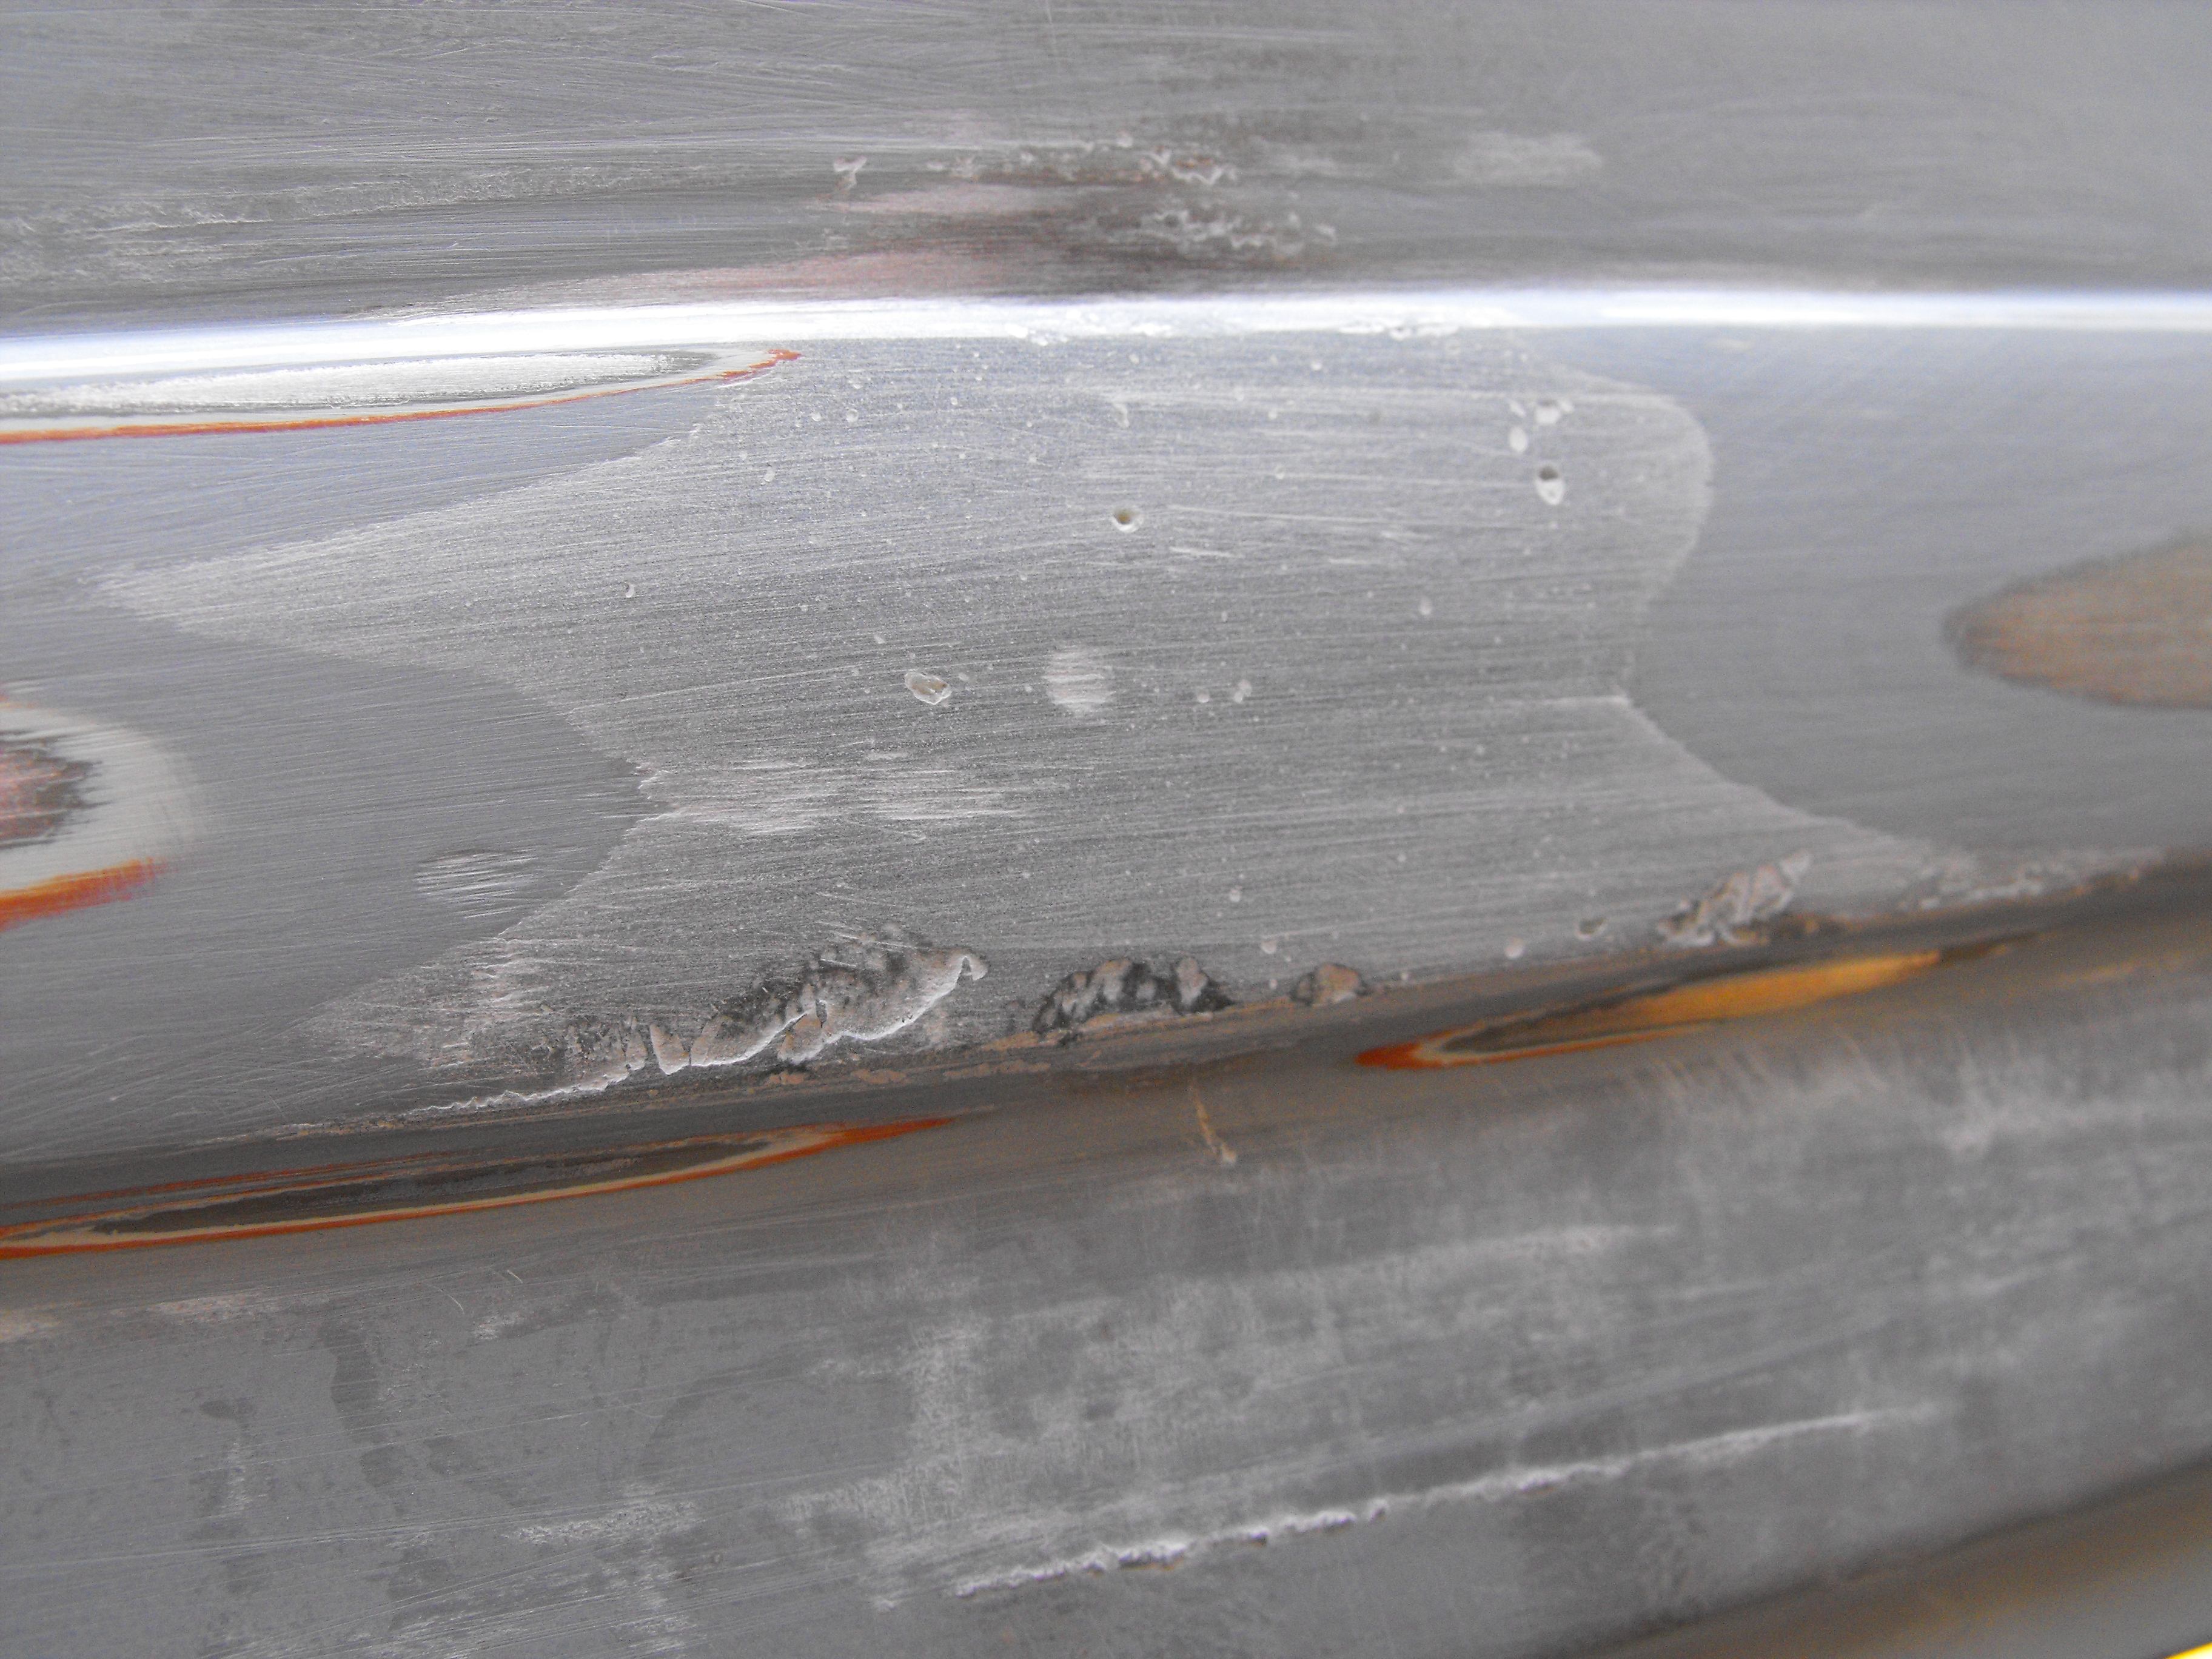
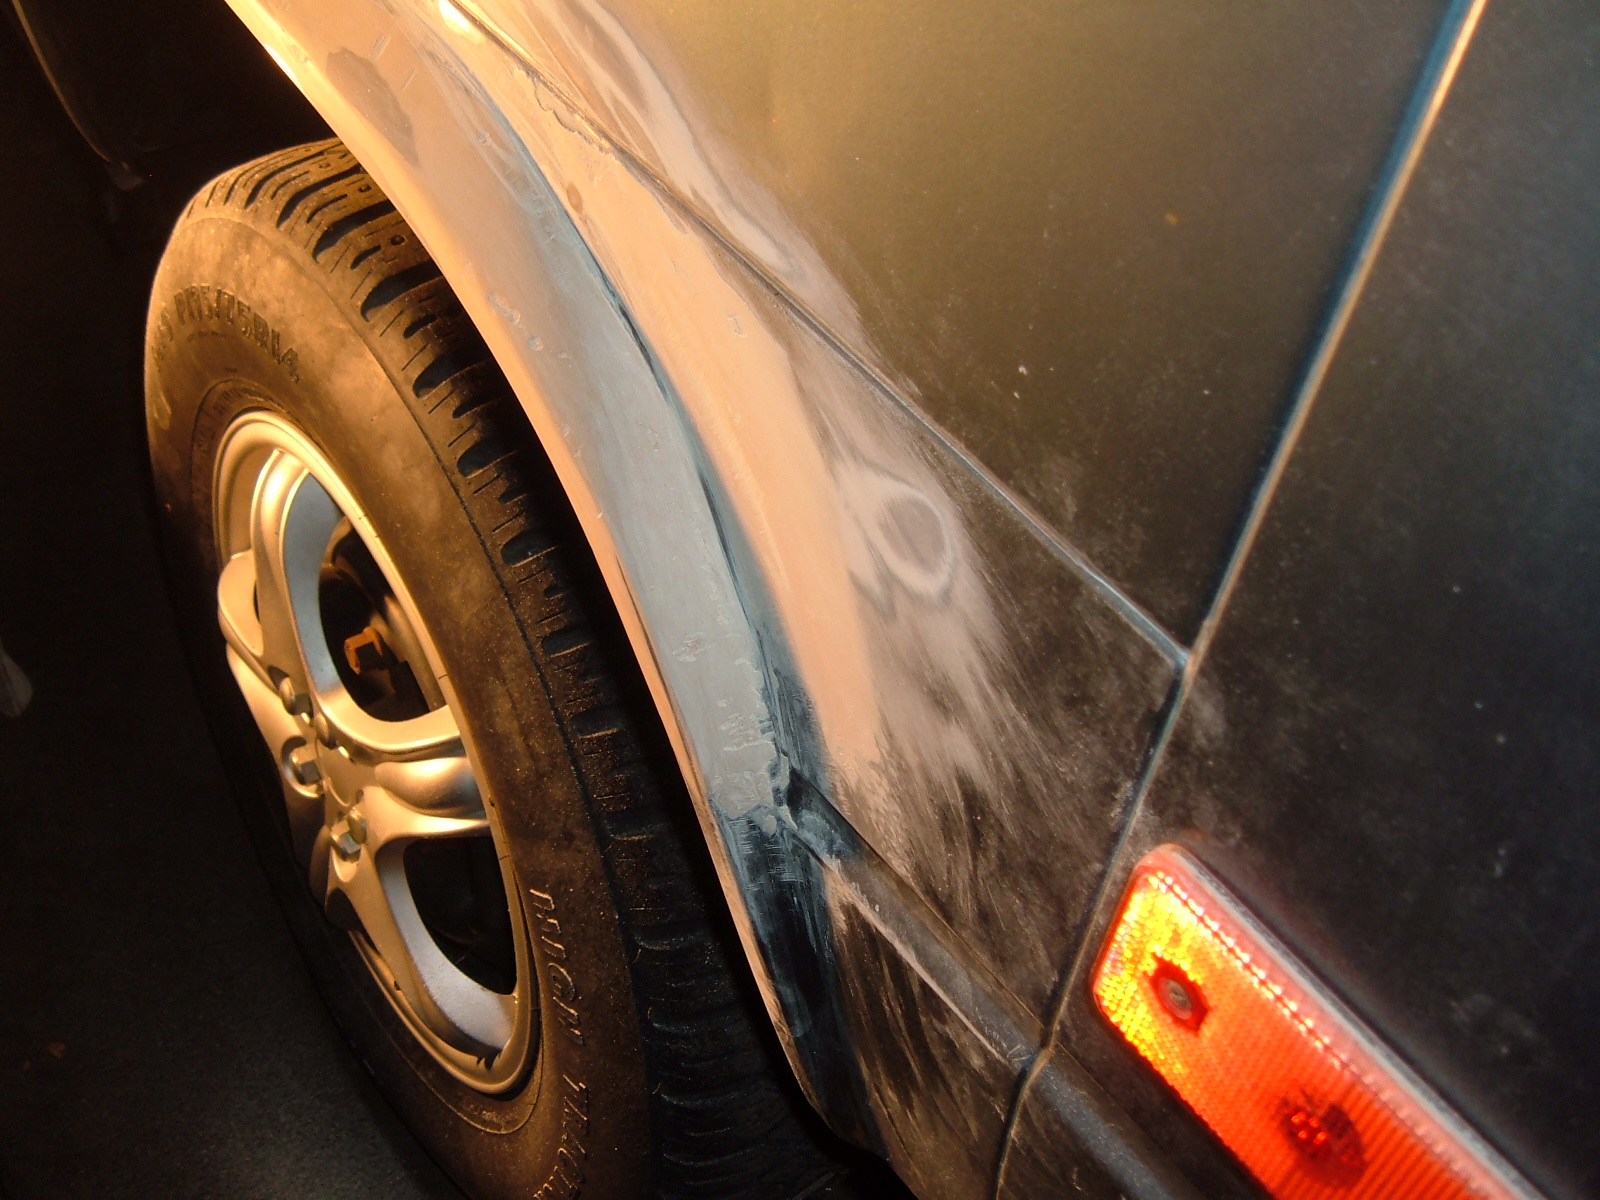
One thing I noticed in the recent weeks is the rear quarter work I had done 9 months to a year ago has cracked out a little bit. The reason for this is that the metal that makes up the lip of the wheel arch was left somewhat exposed and ended up rusting, this rust actually traveled underneath where my filler was. This was very upsetting and I felt something had to be done, I started to dig the body work back out and found an inch wide strip of rust underneath. After an hour of digging things out I had not only a completely rust free work surface once again but I was able to break out the hammer and metal shaping tools for some additional shaping. In particular the inside of the wheel arch, the lip needed to be shaped the most.

This picture shows the metal after I have cleaned the infected area off completely, at this point we are ready for the new change to the body work:

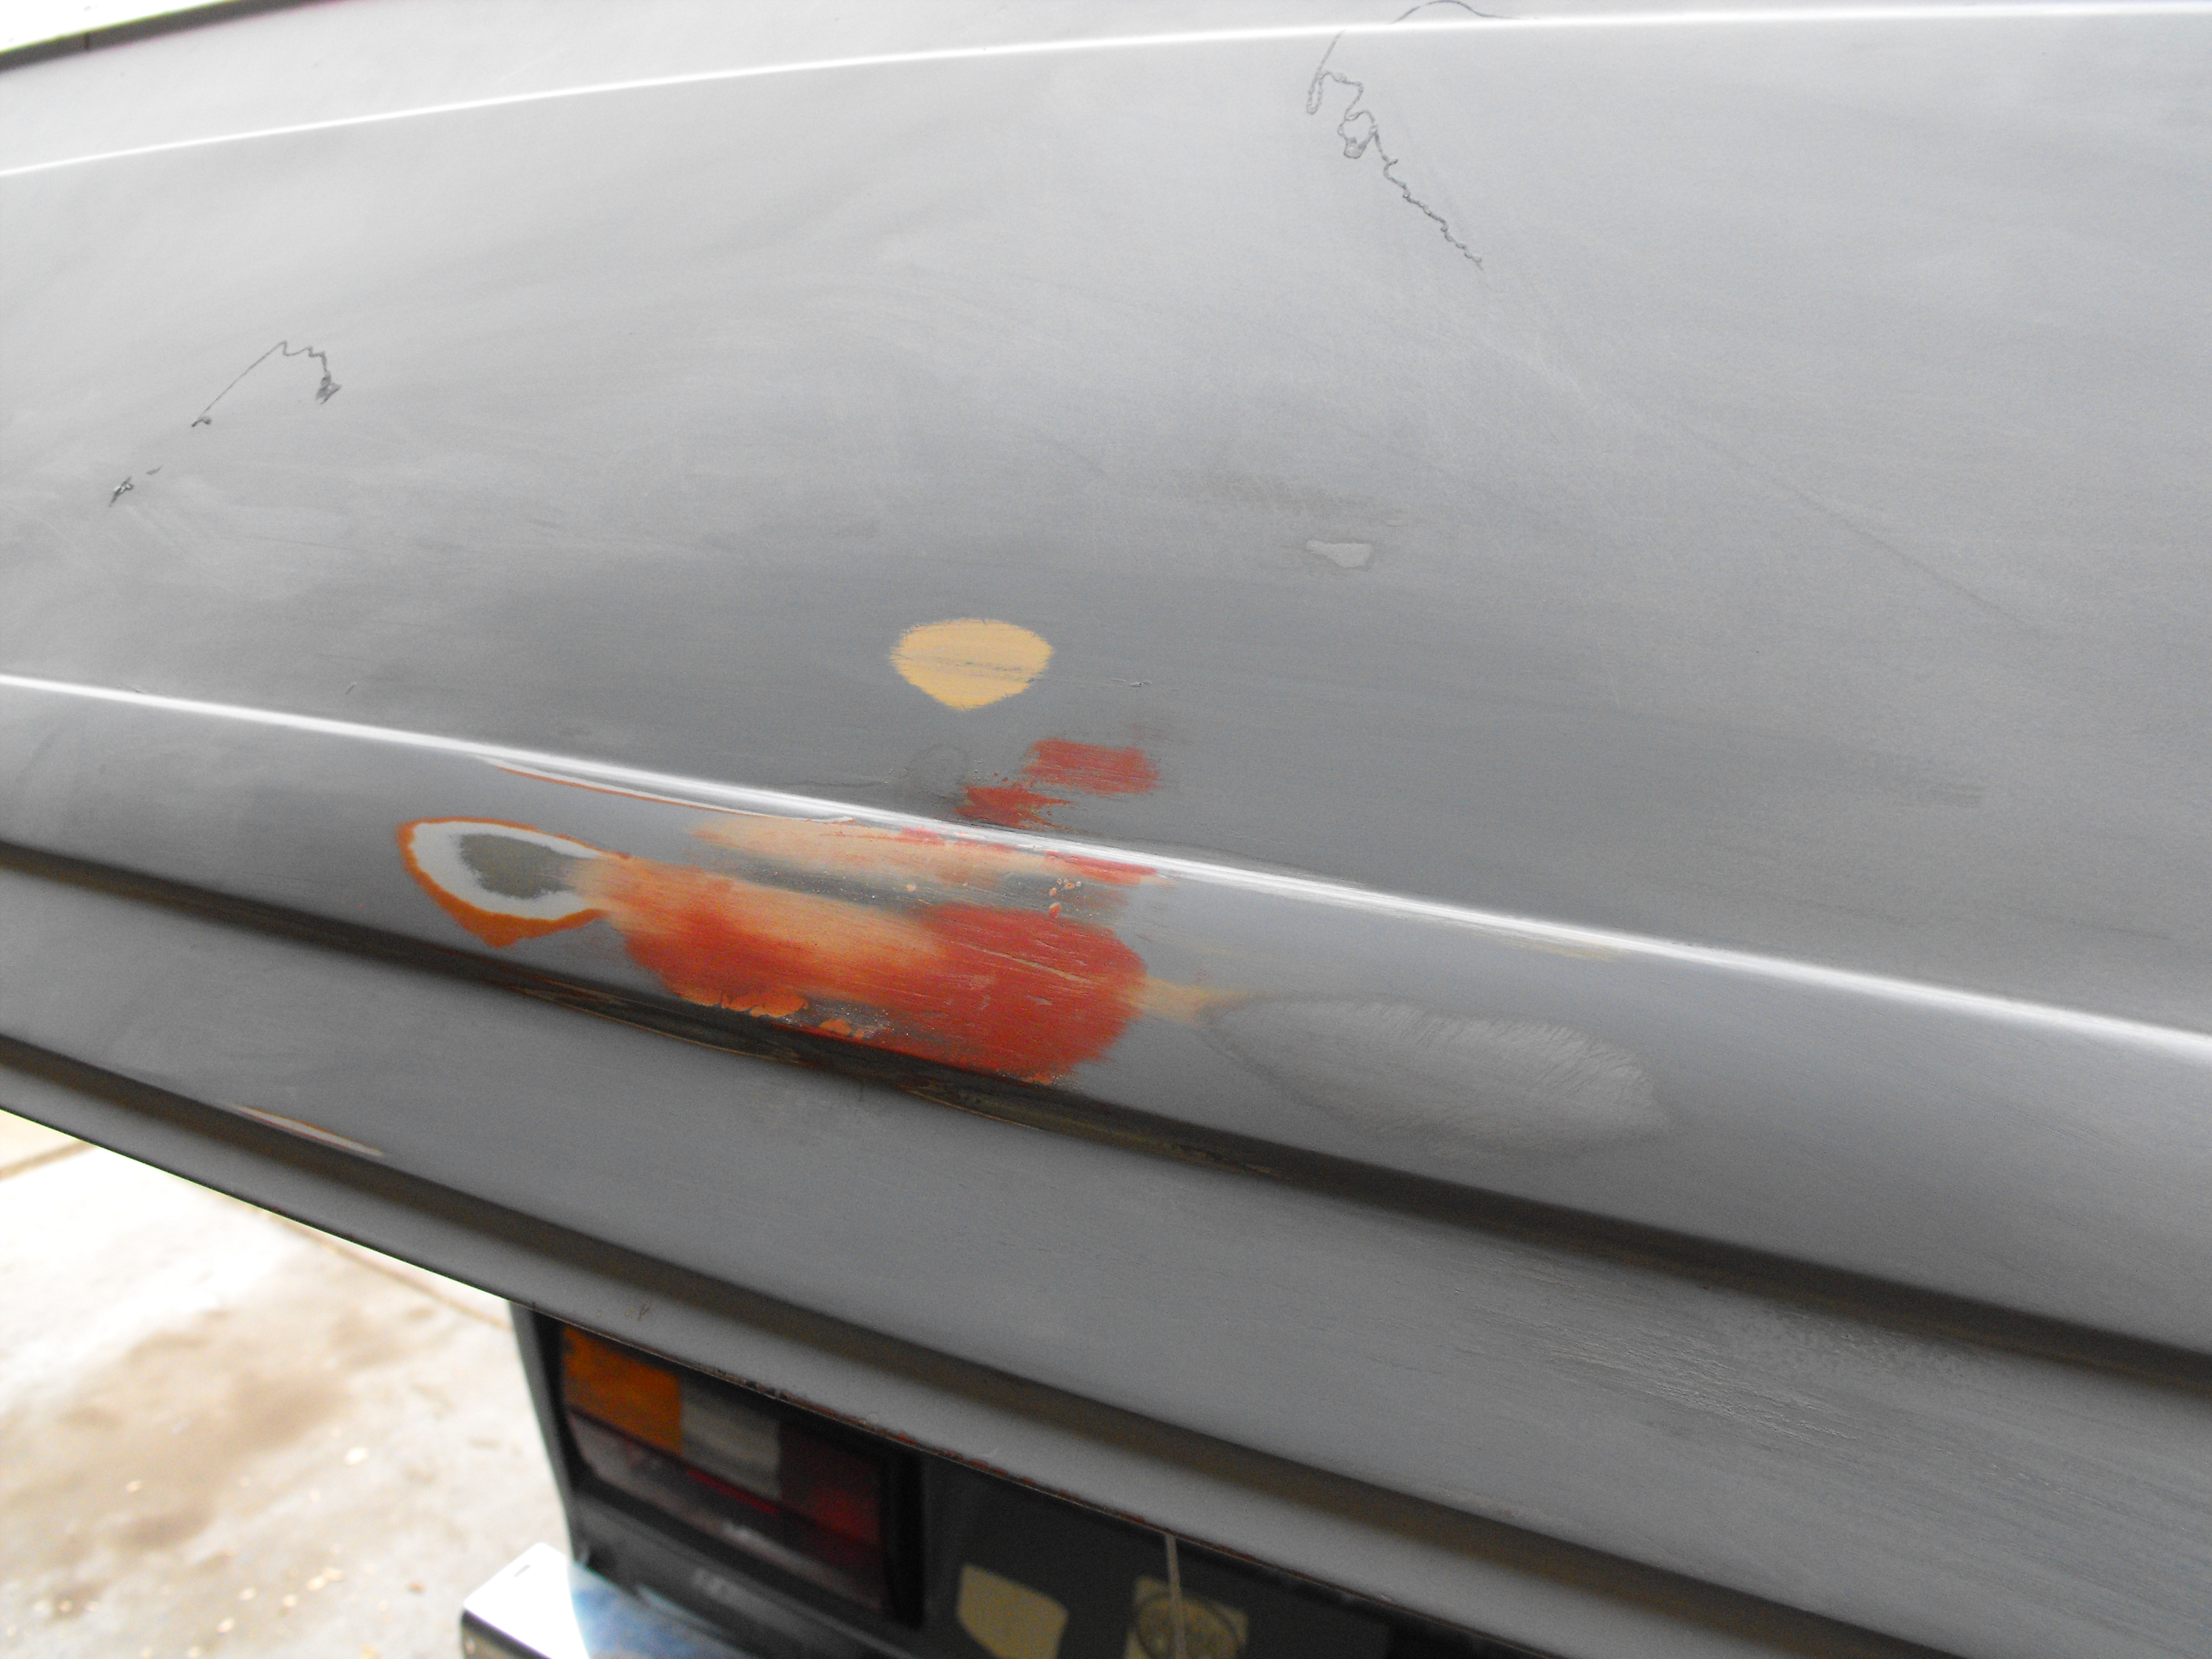
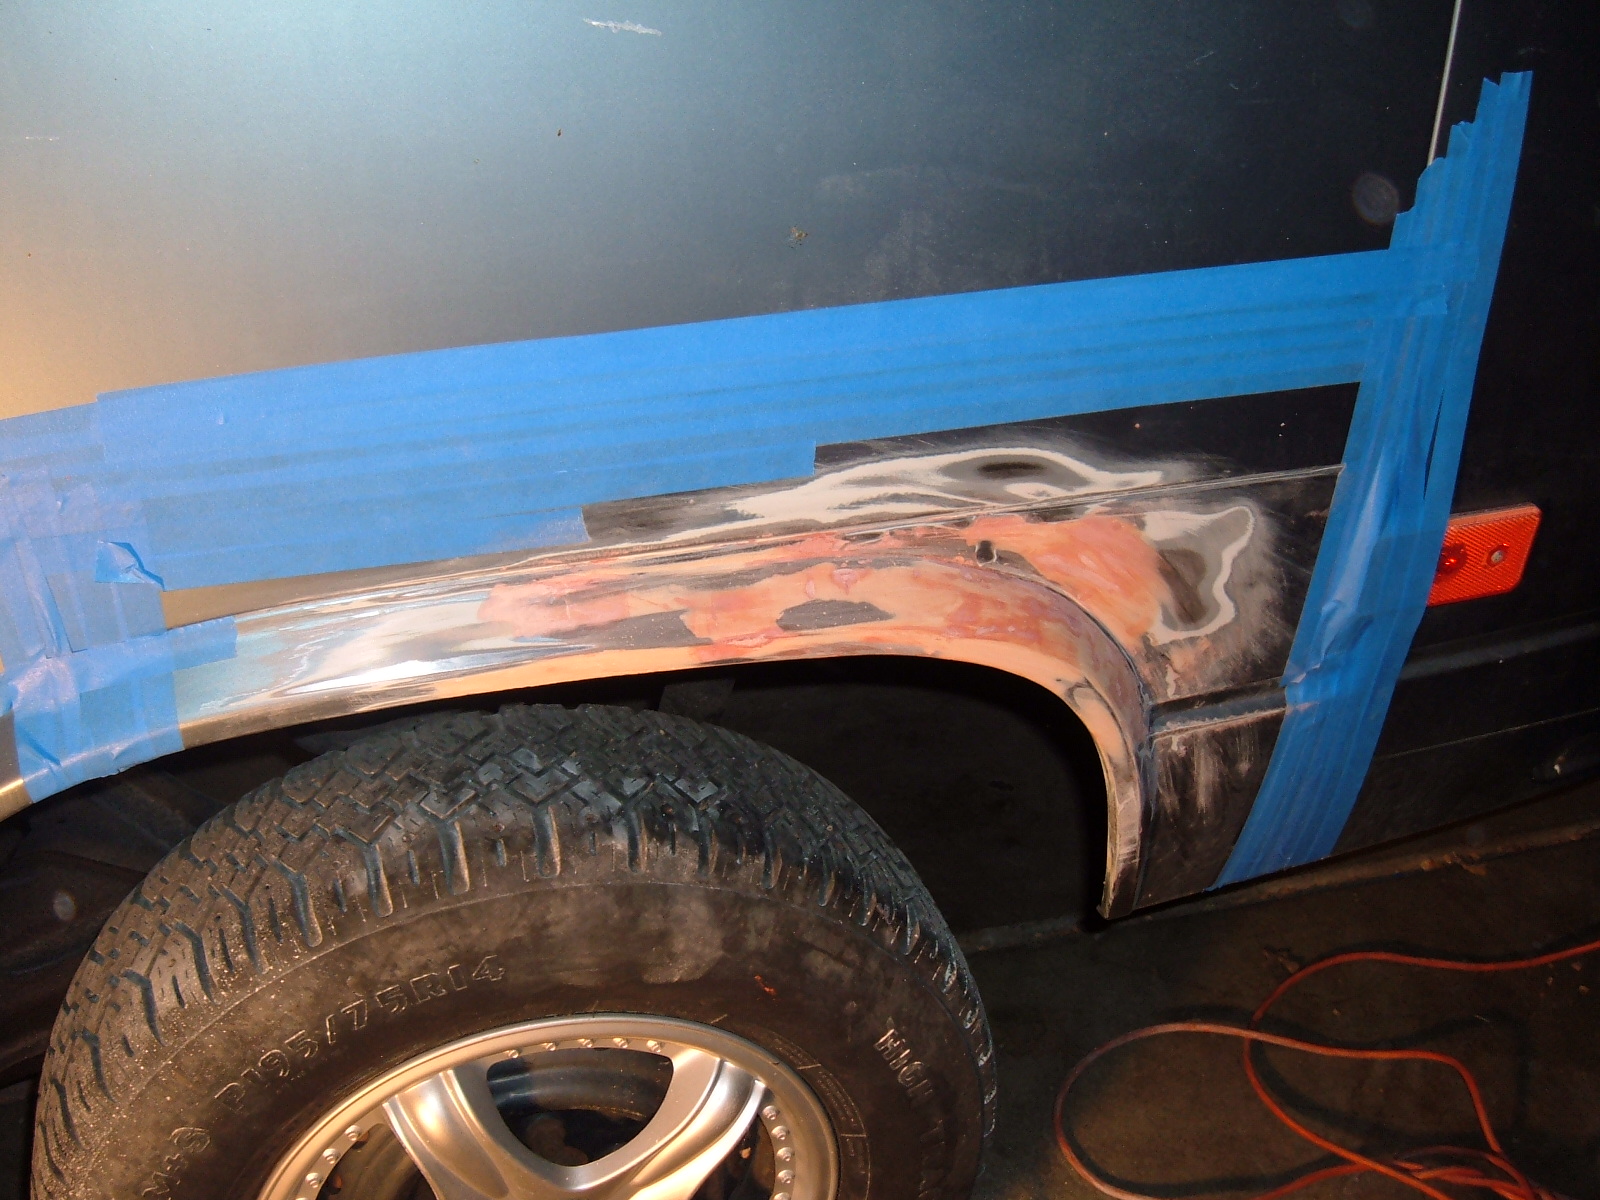
That change is using actual fiberglass instead of a filler merely containing fibers:
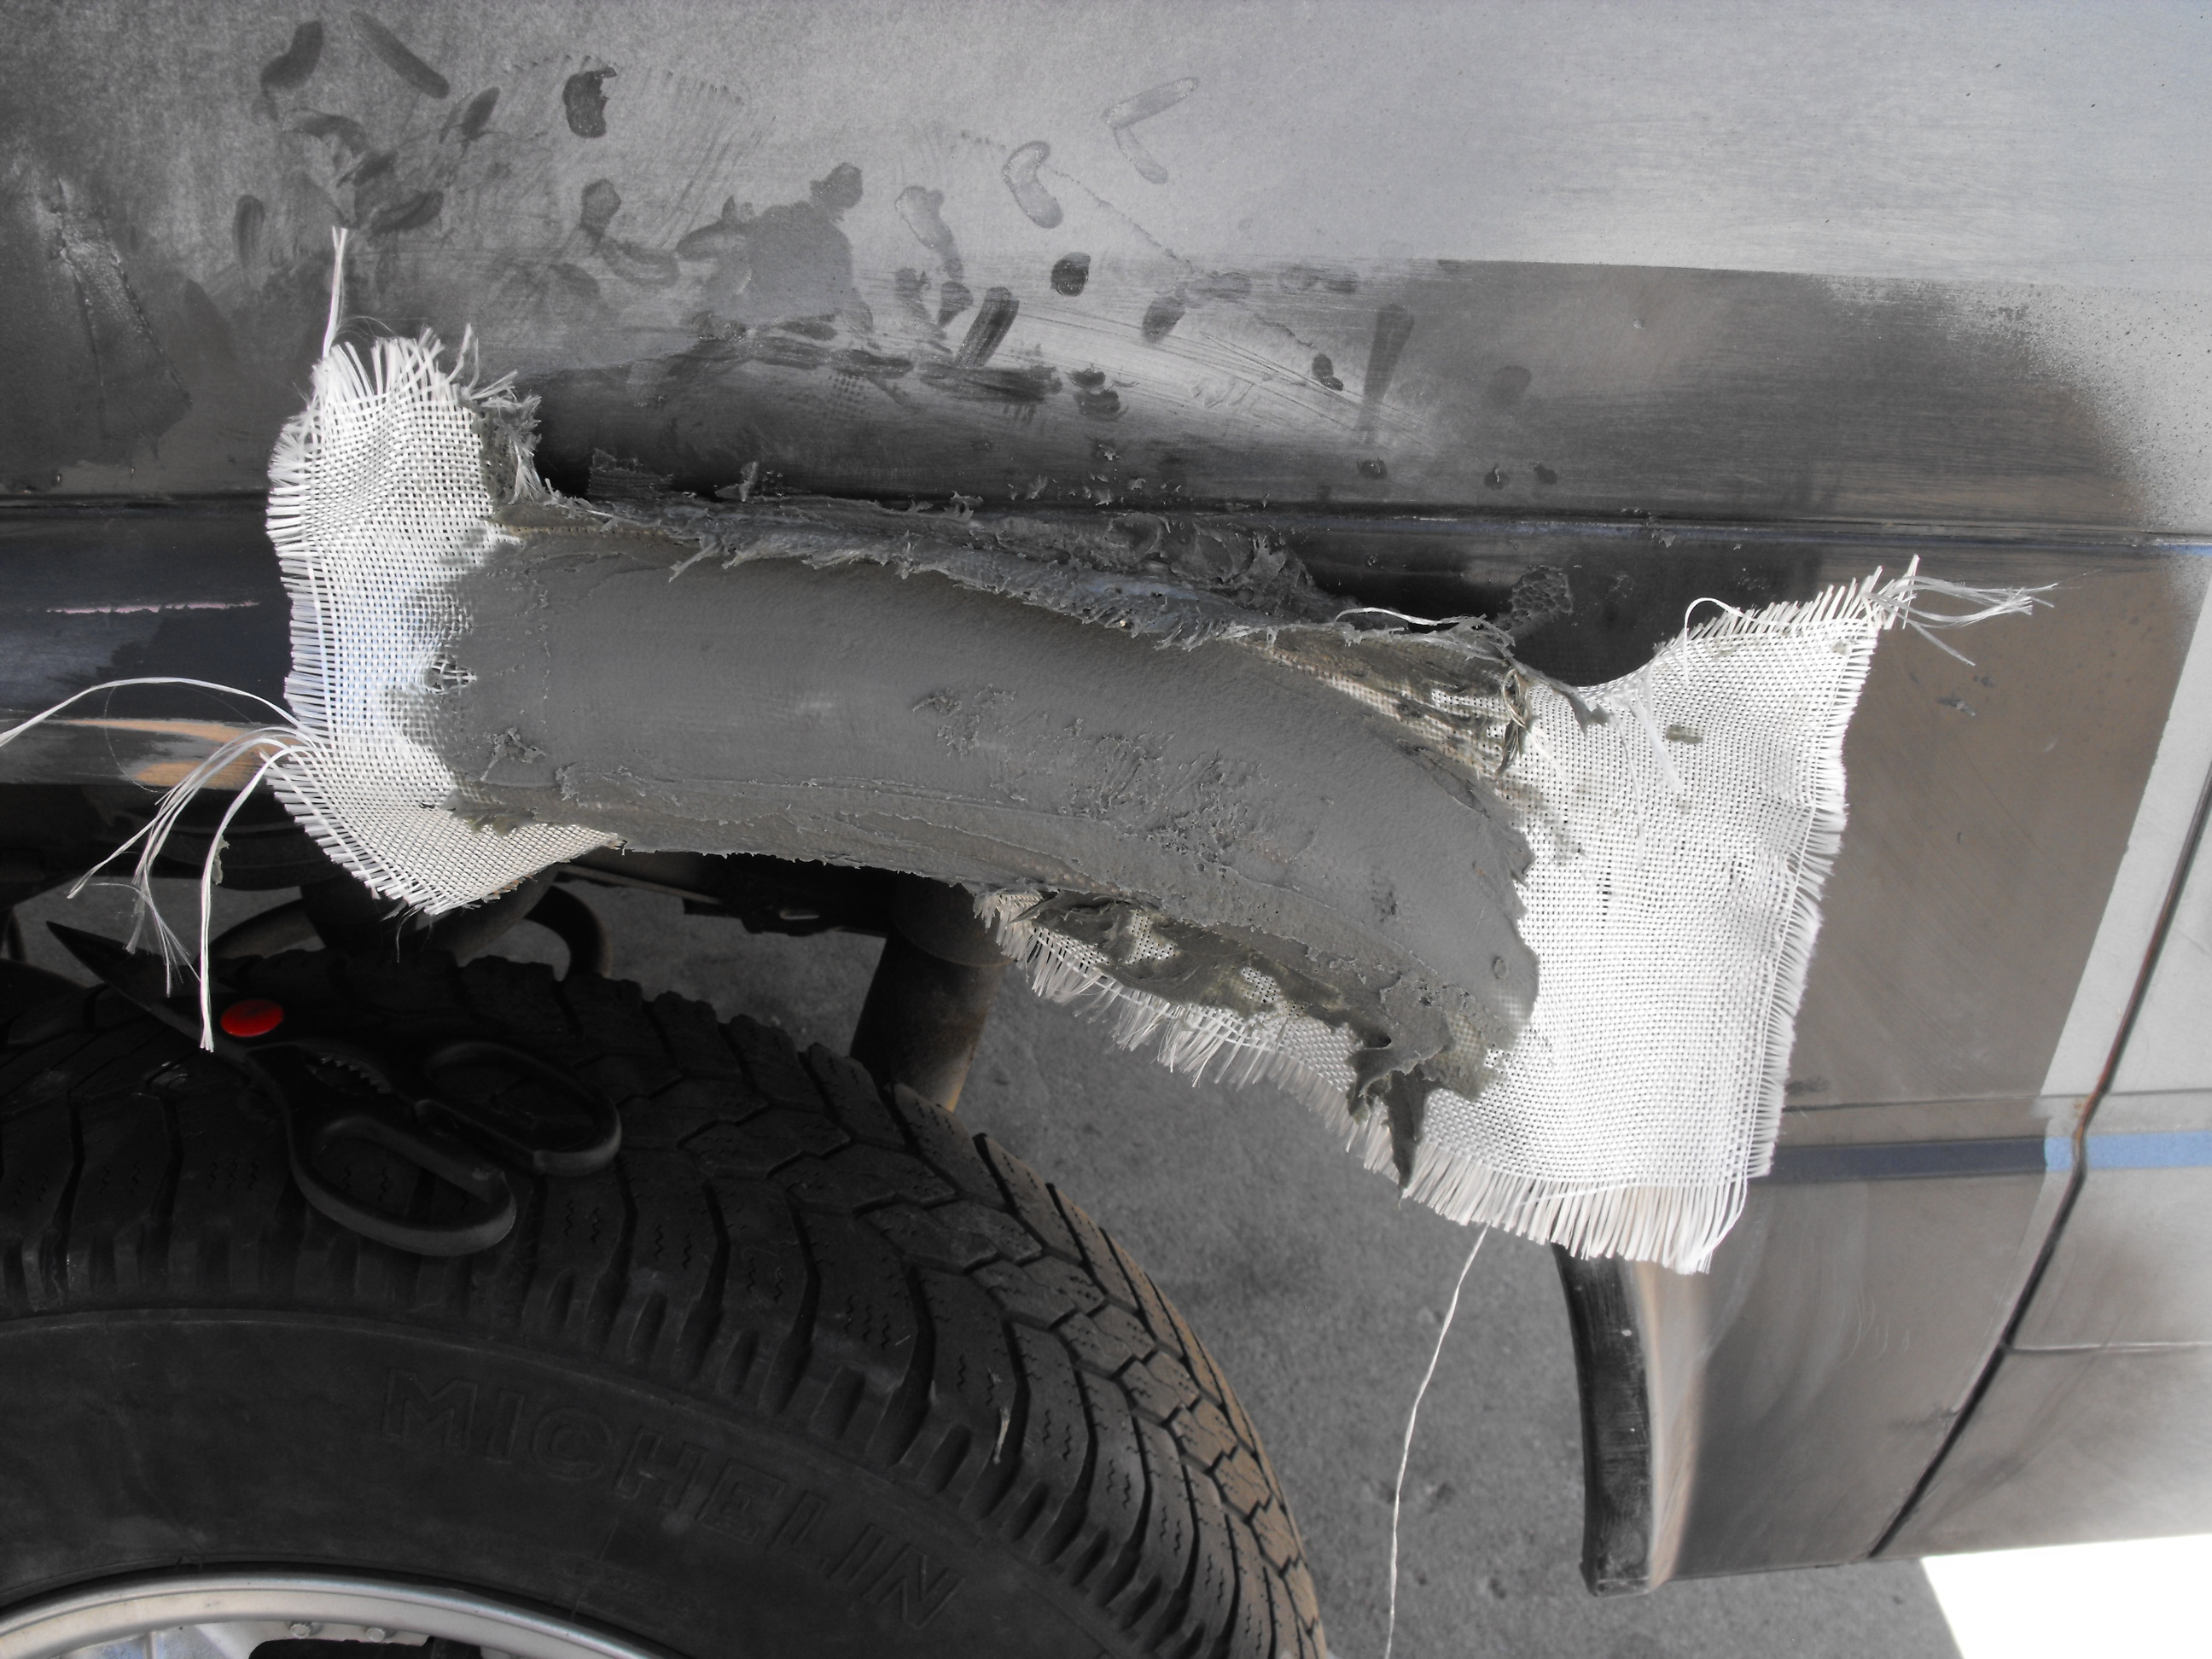
This is the finished rough shape after trimming off the excess mat, this is where I left off for the day as I had to goto work:
