Setting up the RSC Console
Some sun servers include what’s called an RSC Card. RSC stands for “Remote System Control” and provides a way to “white switch” a server without actually having to be at the facility it’s located at. The RSC Card is basically a self contained computer containing serial ports, ethernet, and a modem. One serial port is linked to the system directly, and allows access to the openboot prom, as well as redirecting main system console output to the RSC Card.

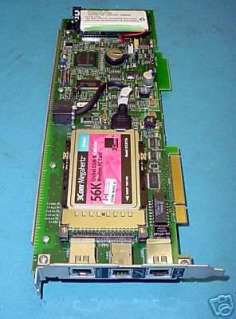
The Card pictured on the left is placed in its own special slot which looks like a backwards PCI slot but is brown in color. There are no options for that slot other than the RSC Card itself. Looking at the card on the left you’ll notice a PCMCIA 56K Modem which I haven’t seen anywhere since around 2000. There is also an RTC Battery to keep the time, date and config. There is a larger backup battery that will actually keep power to the whole card for 30 minutes after the server loses power allowing one to check the status of the server even if the operating system / hardware is completely offline. This card can be incredibly handy when working remote, especially when the system reboots or hangs during maintenance.
This page will contain some setup pointers so you can get your RSC working in your 280, 480, or 880 server. I’m sure these commands will roughly apply to other Sun RSCs, but the software and documentation supplied here may vary.
I decided to create this page because another like it does not exist on the internet.
First off, here are some places online that you may have already found with some basic information:
http://docs.oracle.com/cd/E19713-01/816-3314-12/ucm_overview_chap.html
Files provided by DoogieLabs:
RSC howto ♦ RSC Notes ♦ RSC release notes ♦ RSC 2.2.3 Software Solaris Sparc
Installation:

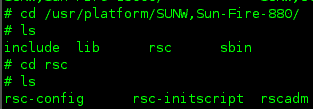
Unzip the RSC Software and then cd into that directory. Then use pkgadd -d to install, since all the languages are there it may be hard to pick the correct one, but SUNWrsc is the regular English one. After that you need to change into your appropriate platform directory:
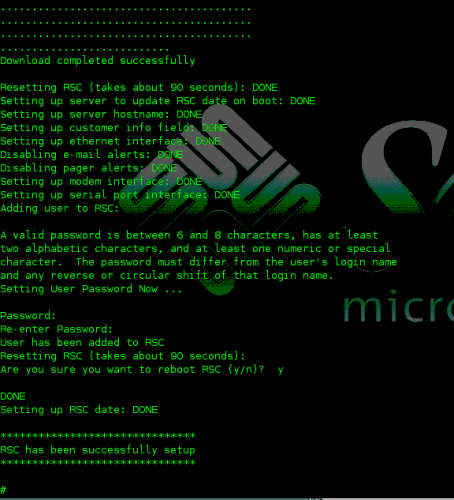
Use the rsc-config utility for your initial setup, the script is very straight forward on how to use it.

That’s it you’re done! If you have an Ethernet cable plugged into the back of your RSC card, you can use telnet to access it now. The default username is sunrsc, and the password will be what was setup during the setup script. Here is a short video of the RSC Console in action:
I hope y’all enjoyed! Don’t hesitate to leave comments, and rate it if you liked it!
