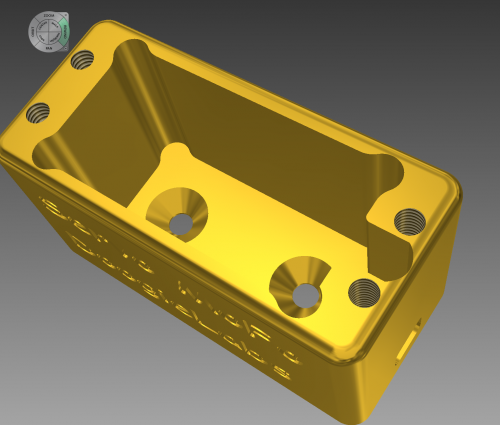
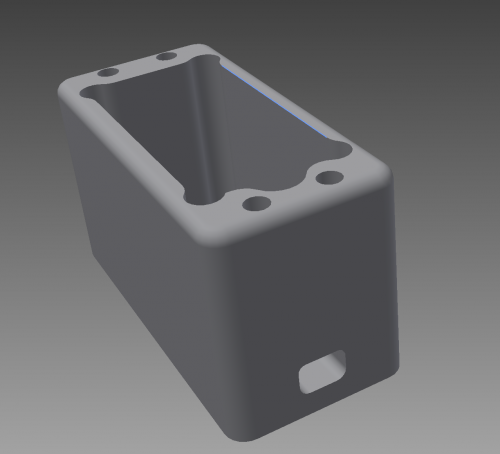
Progress has been continuing on the Corrado. Trying to get the heaterbox all finished up so I can get it back in the car. A couple years ago, I started to convert the heater box to electronically controllable flaps. I was looking at different ways to mount a servos onto the heater box. I ended up using Autodesk inventor and created a part to suit my needs:
This is a small aluminum mounting box for R/C servos. I decided to use them in my application because they are very strong and since I wont be moving them so much I imagine they are going to last a long time. They have more than enough oomph to actually move the doors around in the air handler so I expect this setup will actually work out really good. After the servos are fitted the heaterbox will be test fitted again to make sure that everything is okay. After that, we start adding in sensors.
 The picture above is after sitting with mike and putting together toolpaths for the first model. I learned things about how the mill leaves a radius on slight corners, etc. A few things to think of ahead of time while I am in the design phase. A few of these we applied in master cam, so I set out and learned how to do that same things in Autodesk inventor. I must say, I’m really impressed with inventor because having never used it I sat down and in about 30 minutes I had a rough model on the screen that I could actually export G Code for and machine it out.
Check it out in action here in the blog video:


