Things have slowed down here a bit, I have received the remainder of my test equipment back so I can start some real experimentation with my electronics projects. I haven’t done any other work on the Van other than driving it and even though it burns oil it bas been doing great. The consumption has decreased to around a quart a week. Not bad when compared to a quart every three days.
I have some other stuff that’s not related that I messed around with. A while back I did a fridge project and purchased several peltier style coolers. I used one in the fridge and I had two extras so I decided to experiment with them.
For those unfamiliar with pelts these things basically are a device that gets hot on one side and cold on the other. There is upto a 40 degree F temperature difference usually, however that temperature difference can be increased by stacking these little devices on top one another in a cascade style configuration. The trick is that you have to go sequentially smaller in wattage ratings in order for the effect to be most efficient. Not much really happens if you take pelts of the same wattage and stack them on one another, actually they just get hot. The main purpose of this exercise is I had scrapped 6 power transistors from an old stereo receiver attached to a nice heatsink. Using my PIC16f micro-controller I was able to build a circuit to regulate the current of the bottom pelt allowing me not only to use two of the same wattage but make it 100% adjustable for maximum efficiency.
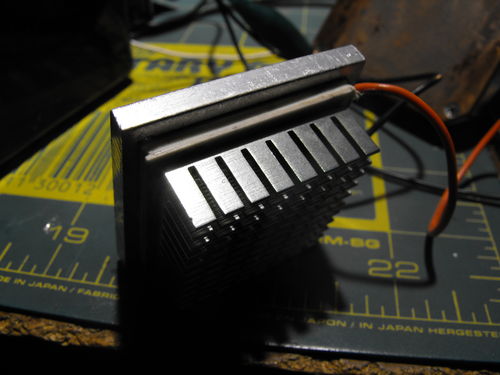
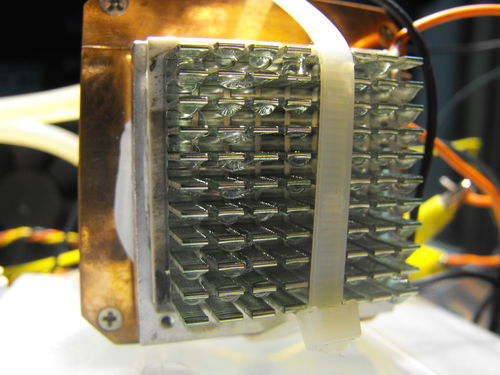
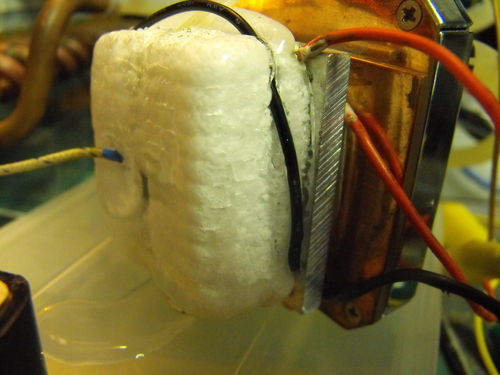
We’ll start with the actual cooling unit itself, in this picture the heat-sink / fins represents the coolest side of the pelt and the aluminum block on the back connects to the next pelt up. You need this space in between the two coolers, or you would need this space between your pelt and your processor. This acts as a buffer to allow the heat to be exchanged, as well as a safety point in the event of failure you may be able to catch your computer in time before a meltdown occurs:
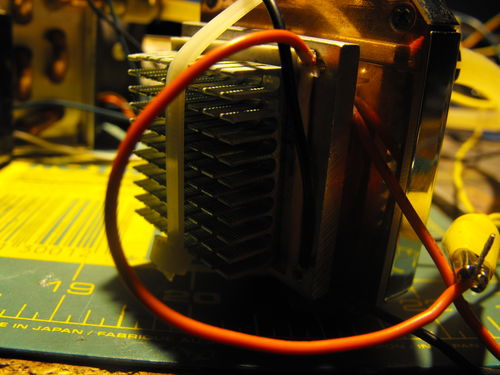
This next image shows the water block attached to the backside complete with the other cooler attached. I had a water cooling kit from an old computer that I had come across from an old friend. I never actually installed it into a compute because when I got it the pump was seized, I managed to get the pump working again after splitting the tank open, fishing it out and cleaning it up. I get this setup out and find something for it to cool every couple of months and every time I get it out it takes extra effort getting the pump back to life. Thank goodness for the pump alarm lol. So here is the cooler ready to rock:
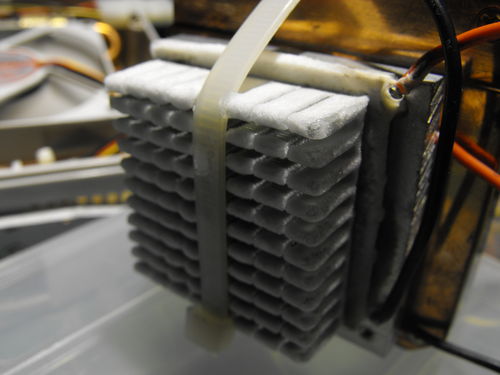
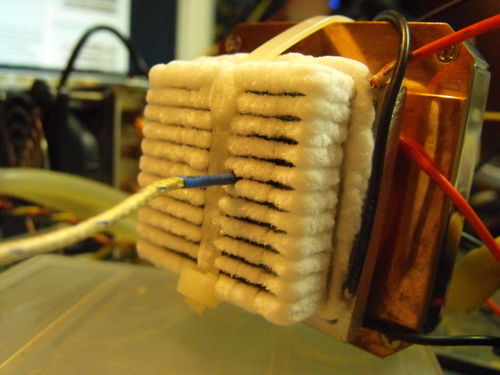
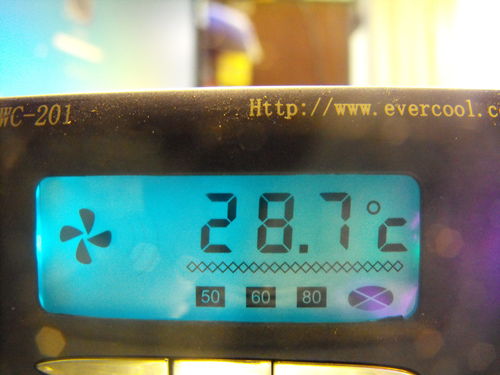
After powering it up and fine tuning the micro-controller after about 5 minutes of runtime I got the cold side to look like this:
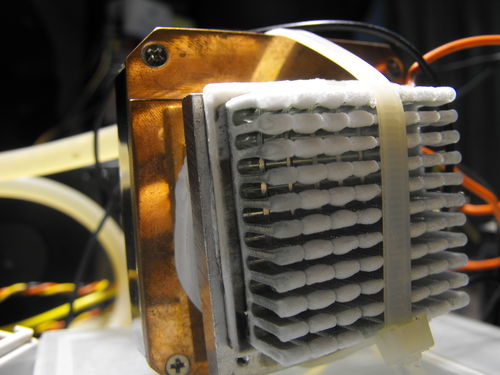
Here it what it looked like after about 15 minutes:
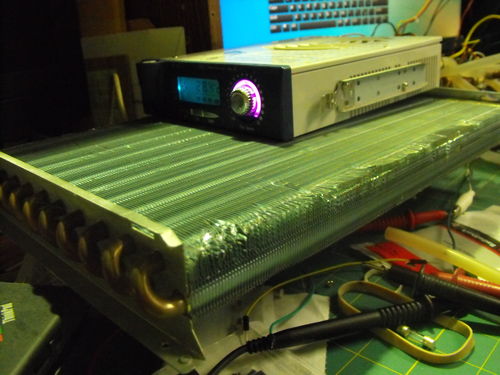
Right about that time I decided to sut down the setup and make some improvements to the water cooling system. I actually had some condenser / evaporator coils that I had scrapped out of an old window air conditioner unit. I took the evap side and washed it out nicely and then tied the lines in with the rest of my water cooling system:
Then it was throttles up on the power with the new cooling setup and the results were about the same actually. I figured out you can accomplish subzero temps more quickly by powering up the upper pelt first and then wait 3 minutes or so to do the bottom one. Waiting as long as 10 minutes before cycling on may yield some interesting results:
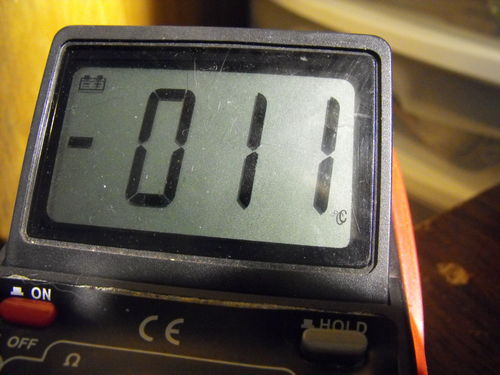
So I left it overnight, and when I woke up this morning it was -11 C (around 14 degrees F)
Here is the added evap coil into the setup:
Heat exchanger fan air outlet temperature (approx 94* F)
It turned into a nice ice block!
I found oil in the tank after running the system because I didn’t clean the coils good enough, I am working on cleaning the system now and will have more fun experimentation to come. Expect more to be posted over the next couple days!

