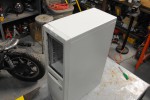
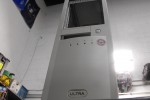
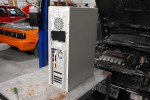
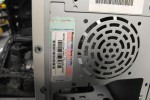
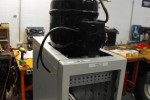
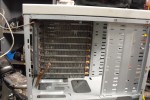
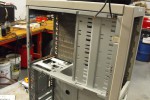
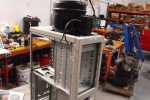
It has always been a bit of tradition that when I have a halfway decent computer I must build an appropriate case for it. When I was working out purchasing my brothers Corei7 machine from him it took me a while to pay it off, so I never built a case for it. Now that I have moved to Grand Rapids, and am finally starting to get into a pattern of sorts, I can finally start on that project. Thanks to the available resources here, I can build a case to the standard that I want. Down in surplus, I found a full tower ATX case that was perfect for the project. All of my projects start as plain computer cases. I think the most creativity and gratification comes from computer cases that start as nothing more than a beige box. It will definitely be far from that by the finish, and so starts the transformation.
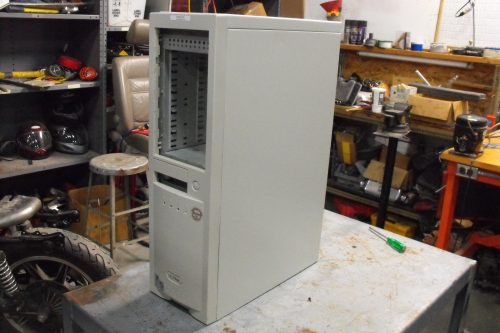
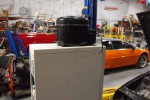
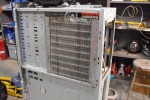
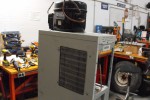
Here are a few other shots of the case before starting work. In the past I haven’t been getting these pictures of what the damn thing looked like when I started, as I always just kind of dive right in…
Here is the video blog from the first night of this project, the more intimate details, and pictures are down below:
Placement of the compressor was tricky, the compressor itself was actually quite large, it would fit inside the case in certain spaces, I thought about the drive cage but even that turned out to bulge the sides just a little bit. I was on the fence at first about placing the compressor outside the case, and then decided that it would work with the overall theme. I have never done a full industrial themed case, and I decided to do this one up as a refinery. This works well, because there can be pipes running around the lot and they will all be functional. The compressor is a bubbly shape and has that “storage tank” type of look to it. The tricky part about this case is that the top cover must be removed to be able to remove the side panel, so things had to be cut and modified appropriately for smooth operation.
Since I had a complete refrigeration loop out of a drinking fountain to start with, I had all the major components and they were appropriately sized with each other to make an efficient refrigeration loop. The capillary tube is a certain length depending on the refrigerant being used. In our case that would be R134a because one can obtain that from the auto parts store with the appropriate oil. Because of how critical this is, I carefully separated the condenser and cap tube from the suction line and evaporator coil. The evaporator coil will be replaced with cooling blocks that have paths CNC machined into them for the refrigerant to flow through. The condenser was then tried and test fitted to a couple different places in the case, and I found a place that it was just meant for such a thing 🙂
The power supply location is still undecided. I have been toying with the idea of mounting the power supply vertically instead of horizontally in the location that it was in before. Next time I work on the case, we’ll have a final decision on the power supply mounting setup, as well as a preliminary look at where the fans are going to be located, and what parts of the case are going to be sealed off.
I hope you enjoyed the first installment of my Phase change project. We’ll have to give this project a name eventually. I hope to get more work in on it sometime this week, but we’ll see.

