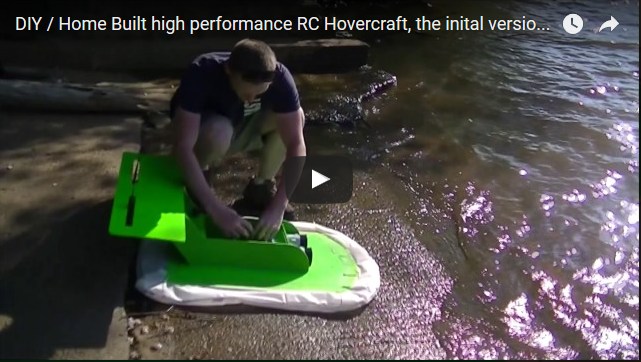
Lots of projects at the same time, for many of us is a reality. This time of year is no exception, I tend to want to play more in the summer time, so I save a much of the electronics and computer stuff for a time when you’re forced indoors. Trading off between indoor and outdoor hobbies is great.
In the continuation of what the bootdisk was for, I have experimented more with my extra thin client. Over the last week I have been trying various operating systems like SuSE Studio, and even Android to see how they work in various environments. Android actually failed to boot altogether on my VIA EPIA Motherboard, I have been looking at the porting pages considering whether such a task is worth investing my time. I need a new operating system for my car and I am looking for the “best fit”, I need something lightweight, can handle any media format, and at least in the case of android connectivity with devices like phones, or even integrating phone hardware itself is easier than it would be on a standard run of the mill Linux distro.
I have a 512MB ATA Flash disk in this case, I would love to use it for the Android OS on the final carputer, and stick with the external disk for music storage. It seems to work great in the van, I have had little issues:

I ended up hooking up a CD drive to load, my U3 Cruzer Micro USB disks wouldn’t boot the OS, go figure. I have heard many people have had issues with the sandisk USB drives, so out came the trusty old CD:

Shot of the 1Ghz Fanless VIA EPIA motherboard used in this WYSE Thin client: (this particular model only has 256mb of ram installed)

Here it is running the minimal x windows system with firefox using a build from SuSE Studio:

SuSE Studio is nice, I like how fast I can create custom installations. What I don’t like about it is how the disk size is misleading. They don’t tel you what the image uncompressed will be right off hand, which is important when installing into a contained space. When its 250mb compressed, but 700mb not, it won’t fit on my flash drive. I would like it to be on a flash drive for the sake of read only dependable software on something without moving parts. In the case of the Corrado I expect to run the cars instrument cluster, climate control, and other systems from the main computer system via a touch screen interface. This software and hardware needs to always work, and hard drives as we know them don’t always work in that extreme of a situation.(although a 15 inch sub-woofer next to one for the last few years without it failing has been impressive)
Android works great on my X31 Thinkpad, and I want to try it on my X61T I’ve just been using it too much :p
Work has resumed on my micro-controller development and self education, this includes making circuit boards again as well. Since moving in I have not attempted any further boards, but I have had a couple that I wanted to get done. Between working on software and thinking up hardware I came up with a few things…

I designed a board for easier PIC development, when using these chips every time they are programed they must be put into a burner, there is circuitry available to program them in whatever they are designed into, but when prototyping I would have to build the circuit on the breadboard if I wanted that each time, as well as the Crystal and supporting components needed if I wanted a 20MHz clock. This is the same for my TTL / RS232 converter. So I whipped up a breadboard pluggable board with everything on it, including extra holes for pins for my logic analyzer:

I lost the chuck key for the drill press so it will be a few days before I will be able to make this bad boy, I have learned much about the technique with the previous boards. I did try a small one out today that I have been wanting to try for while, converting my SMT ram chip into a breadboardable package for experimentation (Remember this post? ) I printed it and etched it, and it worked perfect on the 1st try, almost no touch-up with a marker was required. Using lines a minimum of .025″ in thickness is a must when using the toner transfer technique for making boards.
I have finally obtained a Holset HE351ve VGT Turbo for mockup and controller development. As it turns out, this turbo has a blown seal, but a rebuild kit is only $90. I was thinking about just buying a new one outright anyway when the time comes, but in the meantime I have everything I need to complete the rest of the kit. Since I have been working on lots of electronics lately the first step will most likely be the controller. (although the turbo manifold is going to come pretty fast.)

At 47lbs it is quite a beast, but it wasn’t as big as I was expecting it to be, so thats a plus:

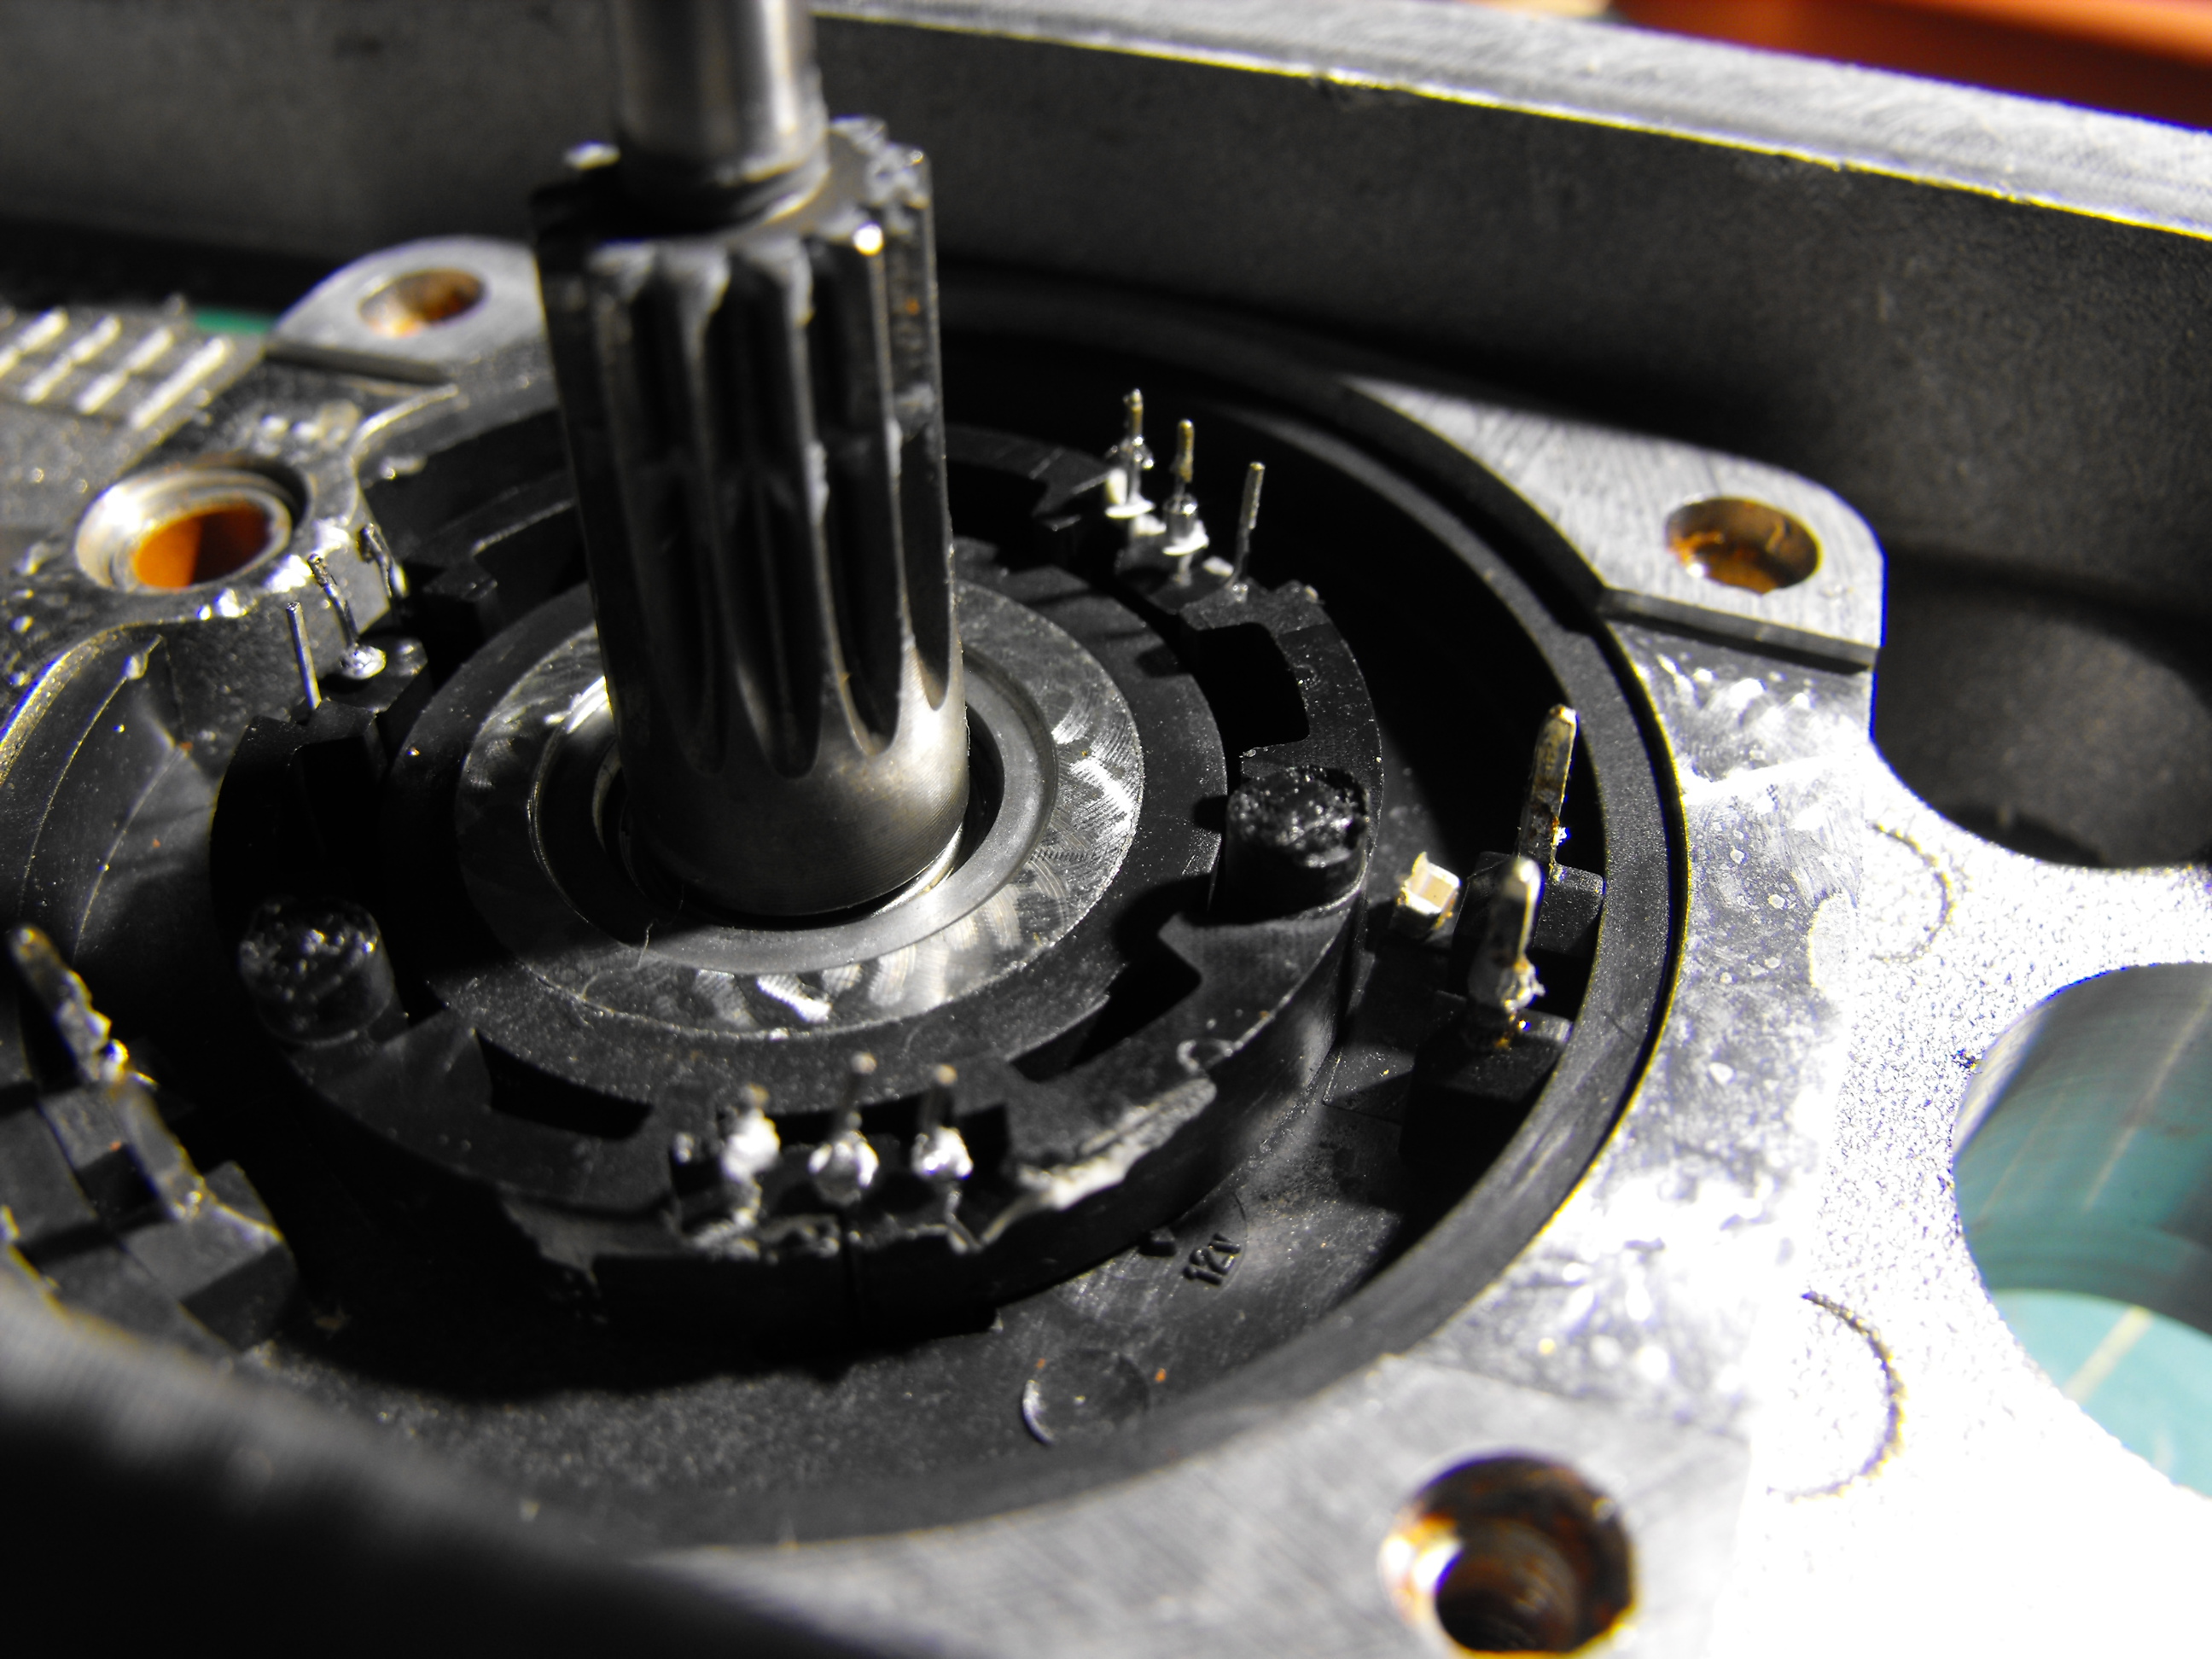
I promptly disassembled the turbo ECU that was bolted onto the side of the turbo, revealing the guts:

I gave it a good look over, there is actually an 8 pin unused header on one side it looks like it could be for programming the micro-controller, one or two traces goes directly back to the CPU but since I have been getting handy with PICS I decided to remove the board and start building mine from scratch:

After the board was removed I separated the hall sensor ring for use with my project, this allows the motor positioning to be precisely monitored:

Bare brushless motor without the hall sender ring, notice the slots the ring slides into:

Motor shot with ring in place:
I tested the hall and turbo shaft speed sensors with my oscilloscope an they work just fine, I also have a frequency counter on my multimeter and used a vacuum cleaner to spin up the turbo, and measured the RPMs from the shaft speed sensor that is built into these guys. (at one point it was 11,000 and yes I had pressurized lubrication to it) There will definitely be much more on this over the coming weeks.
A buddy of mine had been on the lookout for a good air storage tank for me so I can upgrade my air compressor, it just so happened that a scrap guy was at one of the jobs he was working at and had a large propane cylinder. After managing to snag it for only $10 he promptly called me with the great news, I had a tank!

It’s very close to if not more than twice the size of the tank on my air compressor now so I’m hoping for a little more than 60 gallons capacity. Thats not bad at all, and should satisfy most needs. I may decide to go with one more tank in an attempt to bring the capacity of the system to 100 gallons. Since my compressor is rated for a continuous duty cycle I don’t have to worry too much, when looking at the design of the cooling, the airflow across the head from the fan is really sub-par so I may come up with an alternative means to head cooling for more efficient runs.
Removing a valve on one of these tanks is a mofo, plan on having a LARGE pipe wrench, a large hammer, and a nice bar to slide through the handle to keep the tank from moving. After you get the valve out, YOU MUST VENT THE GAS INSIDE! Propane comes a wide variety of forms, make sure that you turn the cylinder upside down to let the residual propane liquid / oil (some have oils) run out. I am not held liable for you oversight, if you are sure that its recently had gas in it my recommendation would be to fill the entire thing with water, and then drain it out and blow it out with an air compressor. Although I am not sure as to what implications that would have on rust (I am not sure if the inside of the tank is coated.) I was told in most cases, blowing it out with the compressed air and letting it sit out upside down for a few days does the trick. Then you can weld on it or whatever.

I got pneumatic goodies for Christmas also. I got a self retracting 50 foot hose reel, these things are the bees knees, I am tired of rolling up the hose. This works MUCH faster, and there’s 50 feet!

I need fittings to adapt it, but for now at least its up on the wall:

I’ll get those fittings along with whats needed for the tank, the plan for now is to weld a drain into the side, and then lay the tank up in the rafters of the garage. (it doesn’t weight that much)
The only other thing I have done that I have pictures of for the moment is the baseboard heater box full of solidstate relays that I finished parting out:

I grabbed all the goodies on the inside but the real good catch here was these heatsinks:

Check out this paint stripper in action:

Removed and cleaned pair:

I plan on using these for a 3phase motor controller, for use in an electric car or kart. (most likely will start with a kart first) This is the next major project after the Corrado is finished, but some components will start coming together sooner than that.
Got lots more coming up, including the start of my custom turbo manifold!