Well I have been extremely busy, with everything whizzing around I only get 2 or 3 hours here and once in a while 4 hours there to get some port-work done. The machine shop that I go through still has me in limbo, haven’t actually gone over to talk to the guy to get an ETA and I plan on doing that sometime after I get through the weekend.
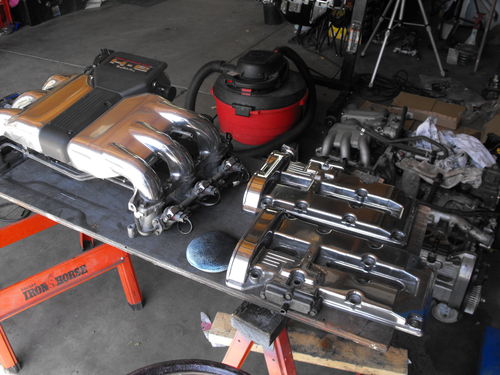
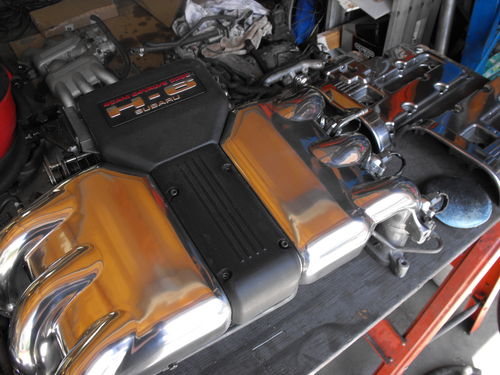
Lets back up a little bit, one of the things I tried out initially was the Mother’s aluminum polish I picked up from the auto parts store. It actually did shine up the metal a little more but more importantly there is an easy to clean protective finish that will reduce time at the carwash:
Its good to have the dress up kit completed, its one thing that everyone is going to initially notice so it counts :p
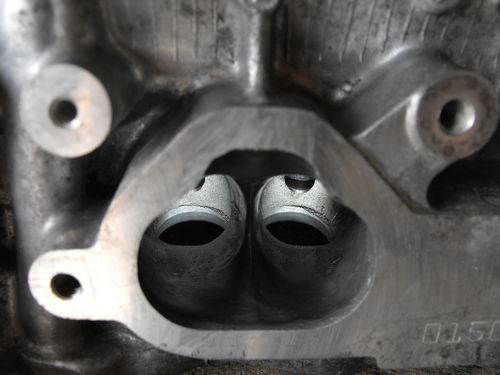
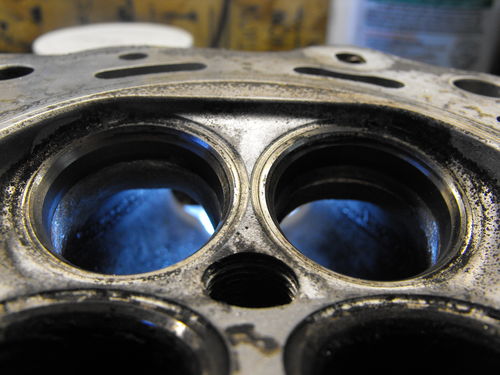
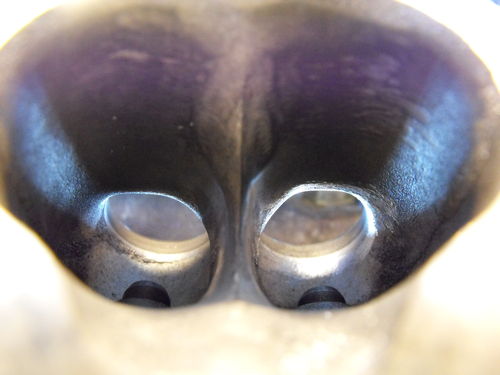
Actually, more importantly after laboring over the last days I have finished the port-work for each of the ports! That leaves much to be done in all actuality but its a great start. I would consider that the biggest bulk of the work, even though it was said to me I will spend more time sanding than I did porting with the die grinder. Check out the stock intake port below:
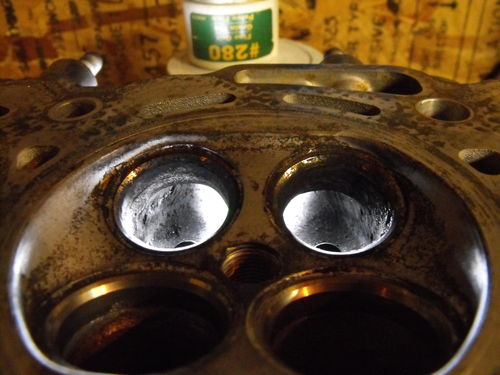
I actually am working on a writeup on how to do exactly what I did, for the sake of time and not re-writing the how-to guide.. In the picture below the left shows me starting to take on the inside radius and the right represents a stock port:
After working the port a little more here is what is looks like versus the stock in the same view:
Here is the first exhaust port I did on the first head, I actually went back after I took this picture and opened it up much more, its interesting after you get through one head and then you’re comfortable you can totally tell that you 2nd head blows away your work on the first head:
Actually, I went back and opened up all the ports more to “balance” them out. My buddy Dave was the one who taught me this wonderful gift of free HP (minus time). You will notice that I don’t touch anything else in the port other than this inside radius. That’s because of everything you can do in port-work this one spot makes up over 60% of all the gains seen on a flowbench. The other is valve unshrouding, all of the rest is just for looks and the gains are negligible. You don’t actually need to increase the overall port size and it should be noted that maintaining velocity is key especially with torque. When Dave was giving me instruction he said that it’s not uncommon for race engine builders to coat the port-floor in epoxy to “stand up” the port more. If this doesn’t make sense don’t worry the DIY Porting page will be up soon. So after starting on the 2nd head I had a great handle on things, here is what a finished intake port looks in comparison to stock, before sanding:
After doing all 24 ports, netting 6 more horsepower onto 240-250 didn’t seem all that unreasonable. It’s crazy what the size difference ends up being over stock and can only imagine what boost would do flowing through the same heads. There is no doubt in my mind this motor will breathe easy from now on when stretching its forged legs.
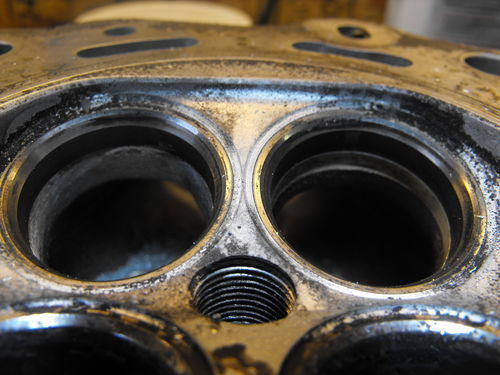
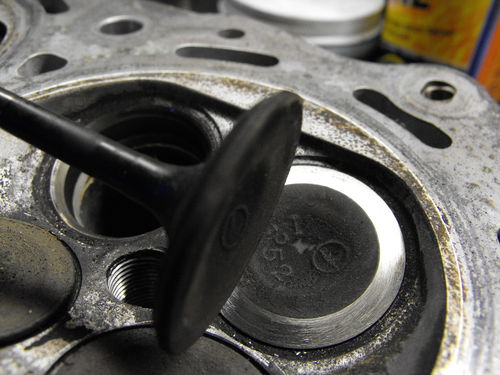
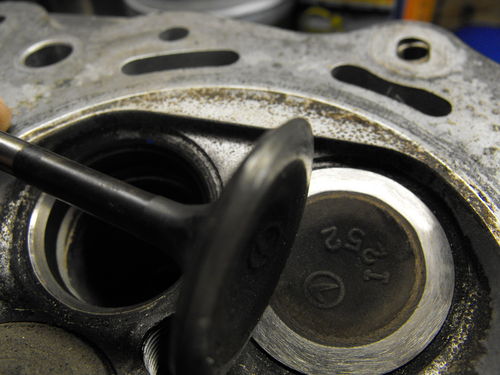
There was one minor setback in all of this however, while messing around with removing material in the combustion chamber I had no old valves to put in to protect the seats so I ended up touching one with the grinder. (DOH!) I will have to pay to have the seat fixed or replaced but in the meantime I posted an ad on craigslist and managed to snag some valves out of the 2.5 DOHC EJ motor. They are the same size as the SVX / EG33 valves but do look slightly different in design:
I put the valve in a drill and used a bench grinder to knock down the edge so it’s paper thin. This allows me to port around all the sharp casting marks around the seats in the combustion chamber. You’ll want to obtain an extra set of valves (enough to complete 1 cylinder) for your project should you decide to work in the combustion chamber, if you don’t and think your hot stuff then you’ll be like me and mess something up.. and then go and get a set of valves. Here is a view of the thin edge:
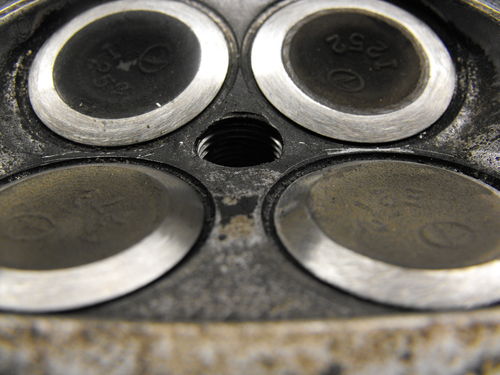
All 4 valves finished and ready to dig into those sharp edges:
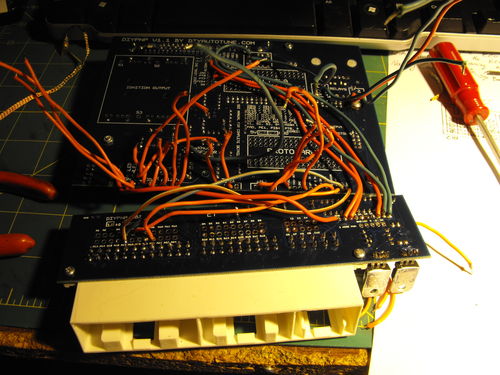
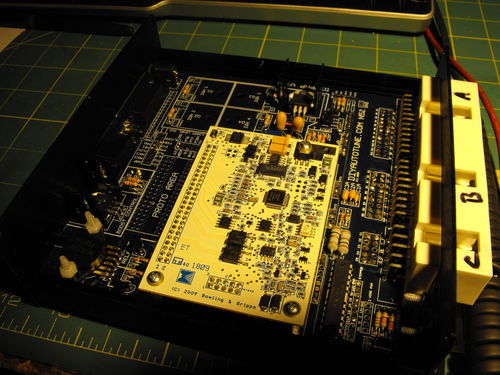
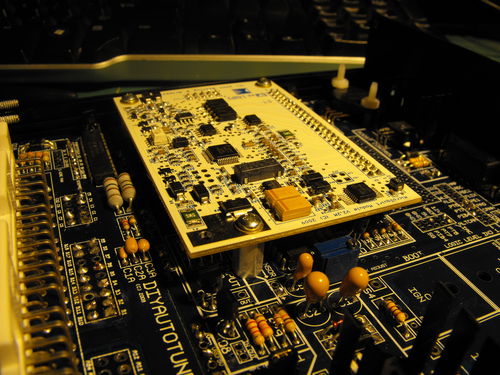
The only other thing that I was able to squeeze in was re-wiring this megasquirt, the wires ended up in the wrong spaces because the person who assembled it didn’t interpret the connector pinout diagram correctly. I don’t hold it against him there are 3 diagrams you translate across and after a couple hours of wiring everything was right as rain. Here is the ECU as its getting desoldered:
Here it is after I was all finished up:
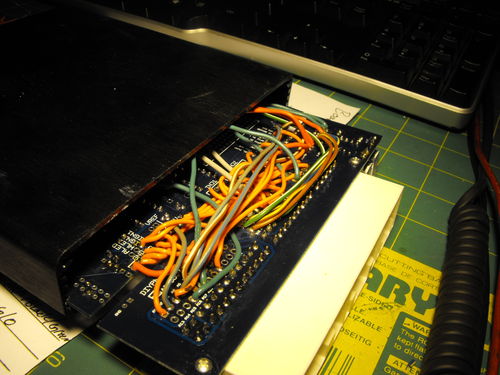
Here are a couple of board shots, it’s actually micro squirt with an appropriately designed adapter board:
So things are moving, this weekend was talked out of me, I am going to wrap-up a project with 2 12 hour days of work so I get f*cked out of doing any work on anything else until after the weekend. Then its slim pickings until my next weekend off in 2 weeks 🙁 Gotta battle to do what you want to do. The target date of the KBPI Carshow is pretty much out the window at this point, actually it looks like that is the week I will be taking off for the rest of the paint and body work. I’m really excited to get my Summer started and this was supposed to be the kick off… . I wonder now if i’m going to get a summer. Either way the direction out of this hole is just to keep on digging, and China is probably getting close.
Stay Tuned,
Doogie

