Whats up everyone!
PAINT IS HERE!
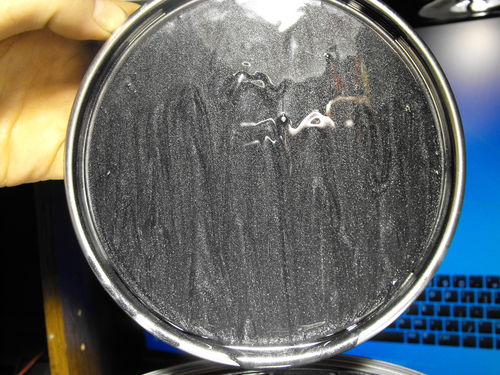
Very nice, it came in $100 under the budget, its multistage and is Magnetic Gray, a 2009-2010 Toyota/Scion color and pictures don’t do it any justice:
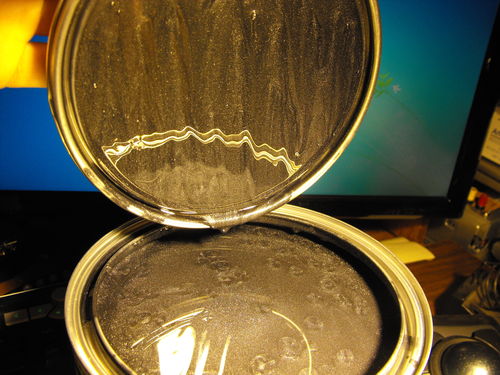
I really didn’t want to open the can, but I really really wanted to take a picture and at least give everyone an idea of what’s in store:
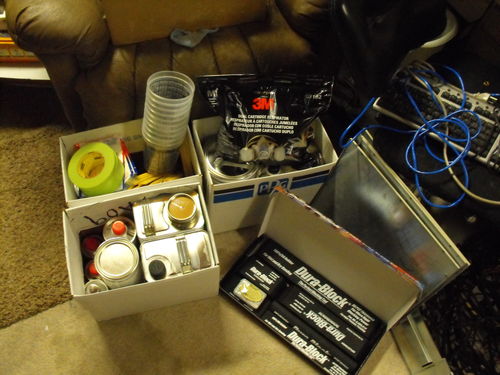
Here is the rest of the stuff:
I took the 15-20th off of work to complete the paint so expect me to be MIA that entire week! FINALLY
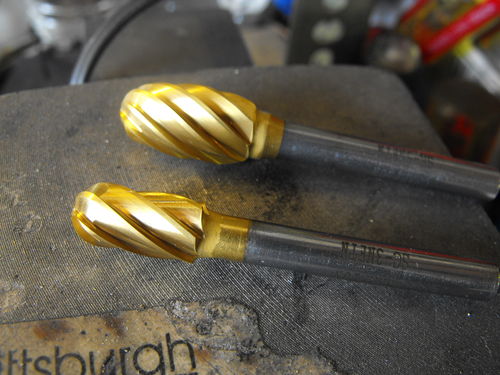
I have been very busy, kinda ran over my 5 day goal on posting on this site. Well at least I have stuff to show for it 😉 So lets start with the rest of the porting. I was given a limited number of bits and wanted the tooling to continue performance-prepping heads on any engine that I build in the future I decided to purchase some carbide bits for working aluminum heads:
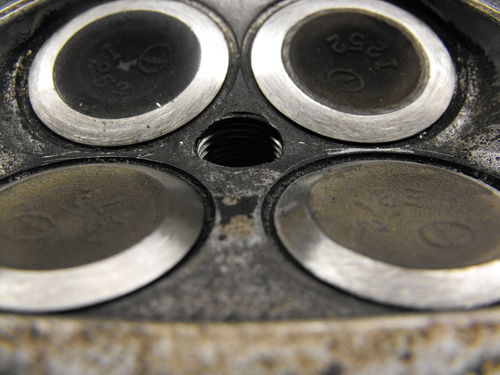
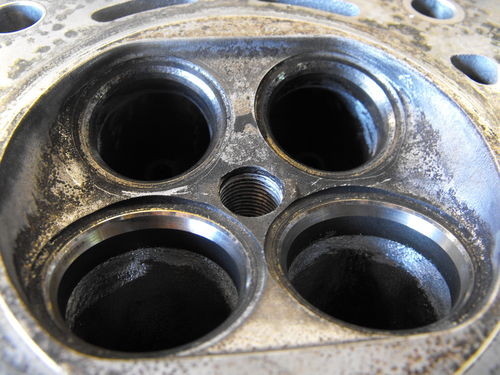
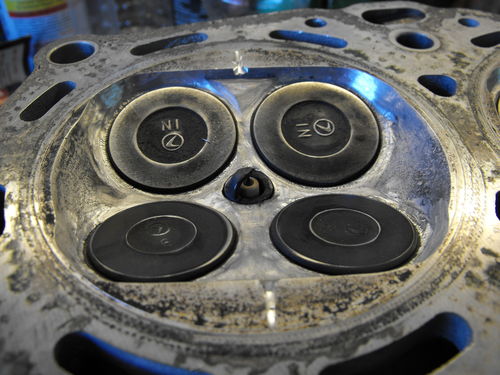
I eventually went back and got another bit that is more pointed at the end, this allowed me to start working the combustion chambers of the heads, this is a “before shot”:
This should be a slightly better view of how the edges shadow over the valves:
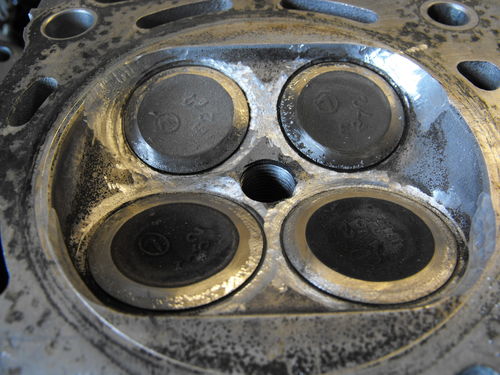
Here is just after starting, I start with unshrouding the outside:
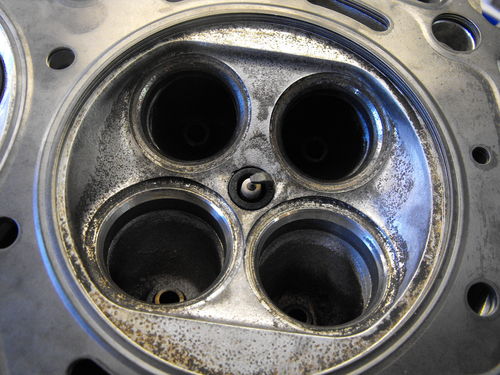
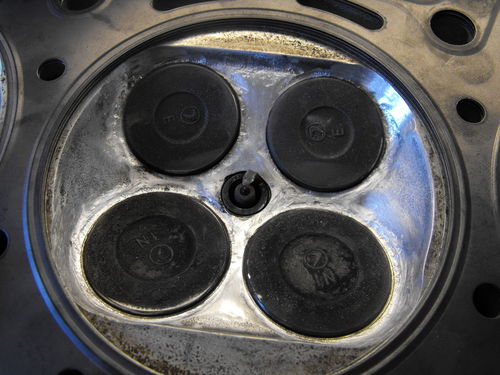
After combustion chamber porting, note how there are no longer any sharp edges:
To give you a better idea, here is what the head gasket looks like up against a stock and finished combustion chamber:
After, minus the “singh groove” this is a completed combustion chamber:
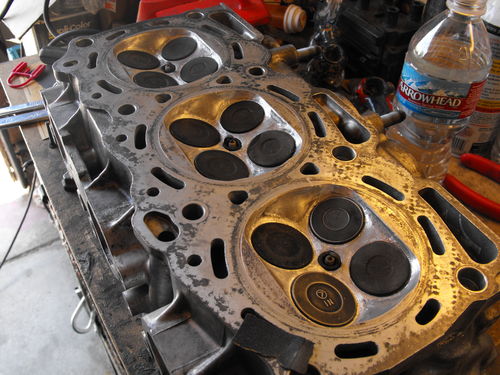
Here is a complete head, just before cutting the grooves:
Here is a closeup of a cylinder with singh grooves cut, I will go into this in great detail on the DIY porting page:
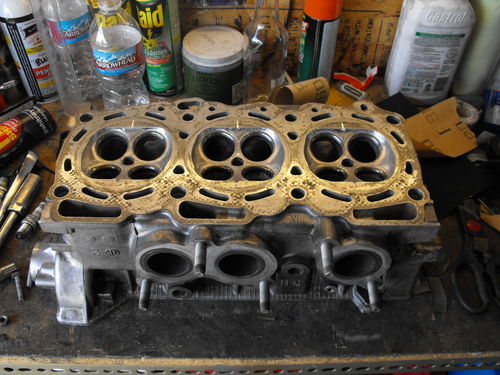
Completed head, I was a little on the shallow side cutting these I noticed the water jacket curves back in and I have seen some cross sections where they use the quench area to remove the bulk of the heat by placing the water jacket closer. So there ya go:
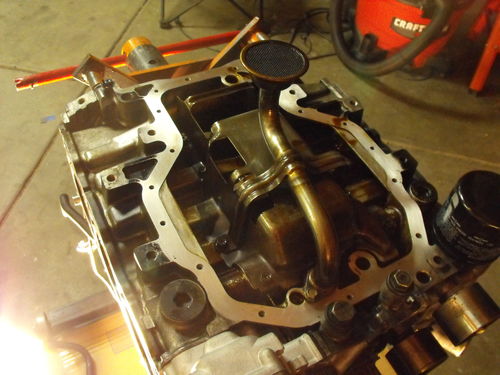
That wrapps up the headprep, they are now ready for the machine shop and since Smith Racing is closed or moving I am forced to seek another machinst. I am hoping to have that resolved before the weekend sets in but we’ll see what goes. I was able so more final assembly on the engine block. I have locked in the oil pan and brackets, started by cleaning the oil that had dripped into the prepped pan:
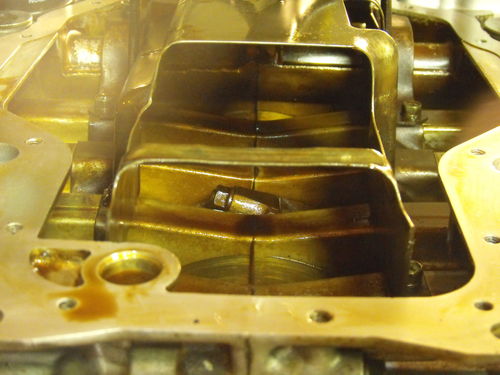
This picture shows an example of how far the rod hangs below the mains webbing, which is at least an inch above the oil pan gasket surface:
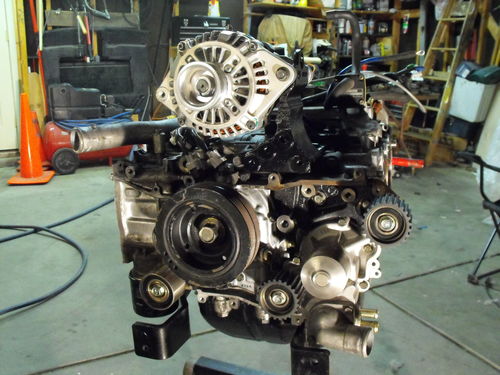
Pan and brackets in place:
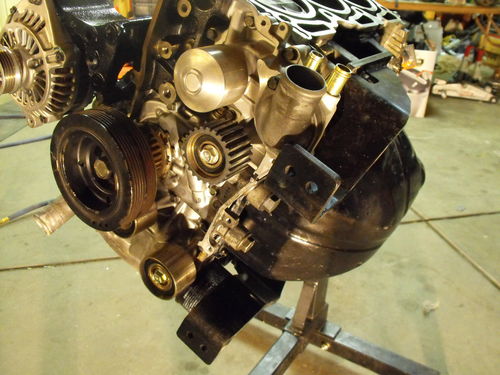
Side shot for a better view of the work that was actually done:
That wraps it up for this week. The weekend will most definitely bring more progress but with work and the list of stuff I can get done before the machine shop is small. It’s not going to be long at all before it’s ready to go!
Doogie

