
It has been a really long time since I’ve had a new desktop. Actually, because of the mobile nature of my life, being on the road and all; I have to use a laptop much of the time anyways. After being in North Carolina for an extended 2.5 year hiatus I returned to a workstation that wouldn’t boot until after the third or fifth attempt. Eventually after it got used to the idea of electricity flowing through things again, windows ran scandisk, and then about 50 updates or so that were missed over the last couple of years.. Ye olde computer ground to a start. The machine isn’t a bad one at all, a Core i7 950, on a Gigabyte 1366 motherboard. The machine performed most of all tasks well that I asked of it. I did soon find myself in a pickle though, between doing video editing and live streaming, and the doing those things at the same time. I started to run out of threads and RAM. (though mostly threads.)
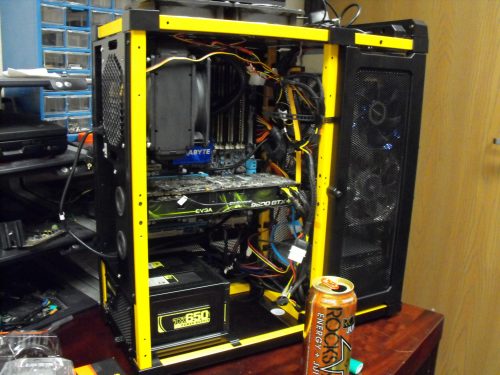
It seems that a 6 core upgrade would have been the sensible thing to do . Just throw in a 6 core Xeon CPU and reap the benefits. Of course that wasn’t good enough for me. I figured I could get away with spending a couple hundred bucks and get a lot more cores. With the release of new platforms yet again, the 1366 stuff ended up even less expensive. I could get more cores for cheap. I found a motherboard for $100 that came with a single CPU and 12GB of RAM. Pretty okay deal, I was planning on upgrading the CPU anyways and the RAM could always go to use in a server. I spent another $70 on a pair of 3GHz 6 core CPUs. I combined this with parts I already had, and this became the beginning of my new workstation. Since I retired the G5 Quad, I had the two Samsung 840 Pro SSD drives on the PCI-E card available for use. The motherboard didn’t have SATA III onboard but the SSD card did provide SATA III. Interestingly enough, it was not ever intended as a RAID card for use with a PC, so there is no hardware RAID on the card, and booting from software RAID 0 is not possible. This leaves me with a severe limitation on the primary OS disk speed. Disappointing. It seems that modern SSD disks are in the GIGABYTES per second. I’m barely able to obtain that.
Anyways with the hardware in hand, all I needed was a case. I didn’t have a case that was compatible with the motherboard that I had. I was going to have to modify something. After careful picking and consideration I landed on this computer that was given to me by a friend, a Sun Microsystems Ultra 20.
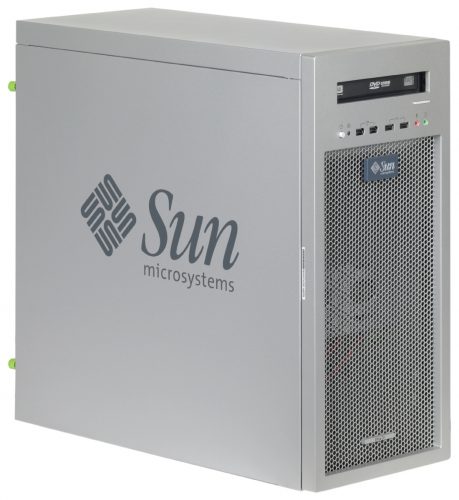
These machines were the first to roll out of Sun at the end of the SPARC workstation era. This chassis was actually still available with SPARC Processors (Dual 1.6.). I have seen some factory Sun Intel machines in these chassis as well, but when they first rolled out the Sun X86 workstations they had turned to AMD to aid in the transition. The machines were pretty well configured at the time, I thought that they were powerful workstations anyways. However, like everything else X86, Its usefulness is ultimately limited by newer, faster, more powerful machines. Since they are the mainstream architecture they are cast aside quickly for the next most powerful workstation. That’s sad really, because such effort in Aesthetic was made on various X86 machines over the years and examples of them do become rare because of how quickly they are cast aside, and then largely forgotten. I really didn’t want to use the LANBoy Air case that the machine was in before. All the hard drive bungees had rotted out and were falling apart, nor did I find the case really appealing at all. Half of the fans didn’t work anymore, and I was kind of tired of it filtering all the dust out of my room requiring constant dusting (Though I never escape this, more on that later.)
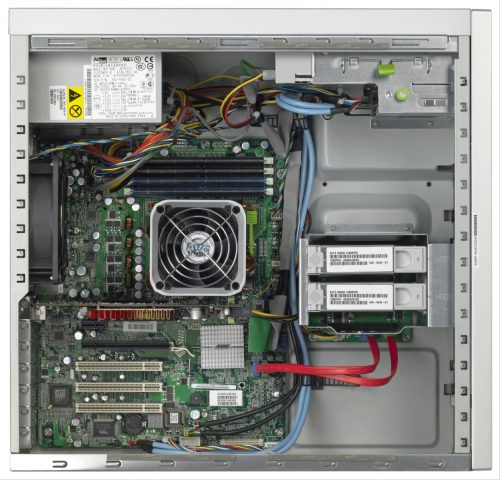
So I started out by stripping out the case. Since I was planning on having at least 4 hard drives in the machine, plus the SSD drives, there was no need to have the drive cage installed. I promptly removed that, as well as stripped out the rest of the guts and made a thorough examination of what there was to work with:


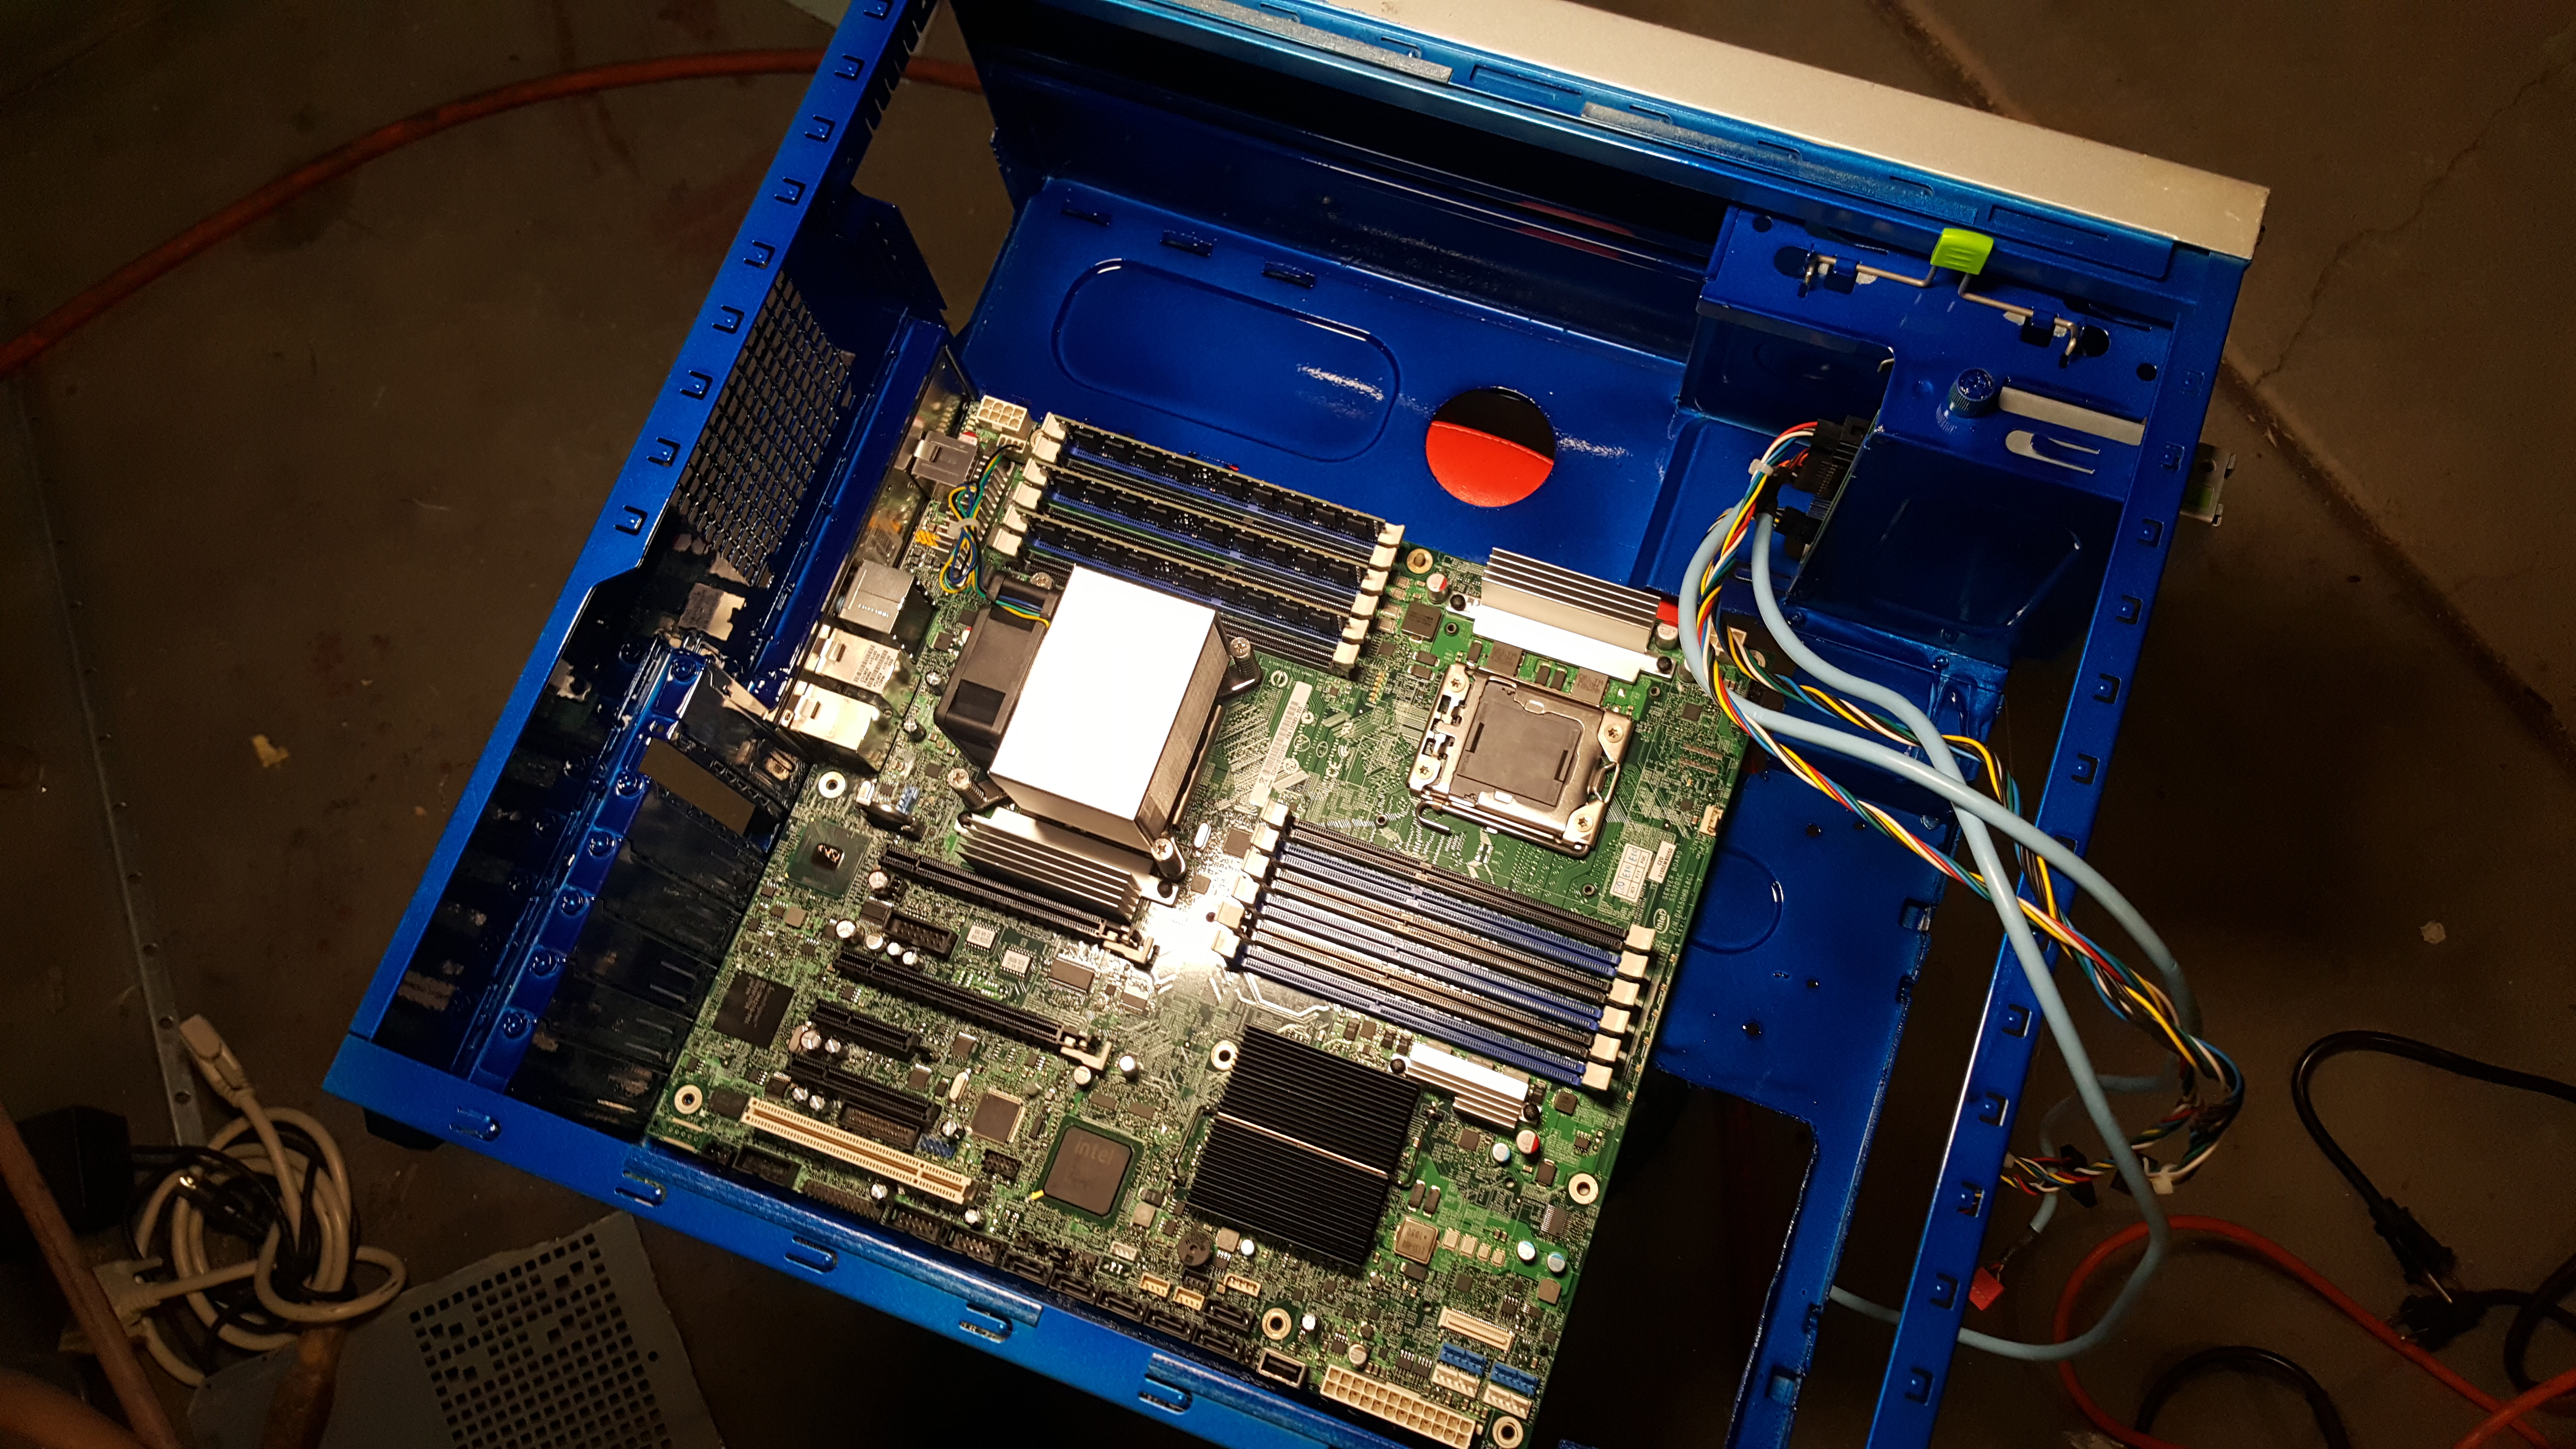
The first task was making sure the motherboard fit. In the picture above, you can see where there is marker outlining the spots that need to be cut out so there is a large enough flat area for the motherboard to fit within. I needed as much airflow and room up front as possible. Especially since I wanted to fit in 4 hard drives, so I cut out the entire front just behind the grill. (The part that is black in the picture just above.) I realized that with the way the mesh of the grill was laid out, and given the thickness / durability I could actually mount thinks to this mesh if I wanted. I didn’t realize it at first, but the front bezel is not plastic, it is in fact a die cast metal of some sort.

Things were starting to look good at this point. The extra inch of space gained by cutting out the front allowed me to fit in the hard drives that I wanted. The PSU still clears and I’m able to retain the optical and front panel goodies. I was kind of sad at this point, because I was hoping to have at least 1 hot swap bay where I could take customer hard drives and insert them for data recovery or maintenance. This is not a complete loss though as I can always use a USB 3.0 external drive adapter, or even a different machine altogether.

Since the board and drives fit, it was time to consider a fan and install the PSU. Turns out, the PSU that I was using with the old computer didn’t provide 2 EPS12 connectors for multiple socket boards. A quick trip over to Microcenter yielded instant results and I was able to continue the build without having to order something online. Then came the fan debacle. The fan pictured above was removed from a Compaq Proliant ML570, the original generation. These fans are POWERFUL. I was hoping to use a larger fan than that, and then figure out a good way to run the fan at a lower speed. I had some extra fans that I had obtained for my Sun V880 server; Including the primary CPU cabinet fans. These fans are large, something around or larger than 140mm. I figured it would be proper to use one of these, since it is out of a Sun system, and the case is from Sun. After some more cutting, and brain storming, I was able to come up with this:

The way the hard drives are was just another test to see which way I would ultimately use. Turns out vertical would be the way to go. I was however able to successfully fit the fan in there the way I was hoping I could. This was going to be awesome. No problems at all with getting airflow into the case. Now that all major components were sorted out, it was time to paint the case. I liked the silver that the case already was, and wanted something to contrast with it.


For this build, I decide to get in touch with my ricer boy days, and double down on The Duplicolor Metalcast Anodized Blue Metallic Spray paint. I figured the blue was a great contrast to the silver, and would work well with the fan color of the chosen CPU coolers. I give no shits about what anybody else thinks, i’m really digging the blue paint.


After barely letting the paint dry I eagerly reassembled the case components to get my first glance at something resembling the final product:

With the color done it was time to start bringing all the major components together and locking them into place. The contrast of the motherboard was striking against the blue. Adding the front panel in pre-assembled with the fans and drives really brought out the look and contrast even more. I could tell that this was going to be a great mashup:

It started to come together like the engine compartment of a Japanese car. Things are neat and orderly, but it’s 10Lbs of shit in a 5lb bag. The Mid-Tower sized powerhouse is heavy, I will have to weigh it next time I take it apart for a dusting. The fan barely cleared the drives, and the drives just fit inside the area next to the motherboard. With the way the back plate was cut out I could string the cables through the back side and have some decent cable management. Things will be reasonably hidden.

With that next I was ready to start doing some cabling. Getting the hard drives cabled up was the logical place to start. I started stringing things up and little by little it started to come together:

You can see in the photos above that the fan was setup to pull air from inside the case and spit it out the front. It never really made any difference to me which end of the case the HOT air came out of. I selected this configuration with the intent on maximizing the airflow past the hard drives. After running the system in that configuration, I learned that the PSU fan was actually running all the time, but working against the fan pulling air everywhere else. One of the changes that you’ll see me make over the course of this build is that eventually I will flip the fan around so it is blowing air into the case, and then I evacuate the air out the back via the PSU and exhaust fan. With this configuration, there is still enough extra air that the hard drives are still cooled sufficiently.

In the above image, you can see that one of the CPU coolers is rotated 90 degrees versus the other one. This is because the front fan is in that puller configuration instead of a pusher one. One of the other changes I make later on is I also rotate that CPU cooler to match the other one when I reconfigure the front fan so it sucks air in form the front of the case.

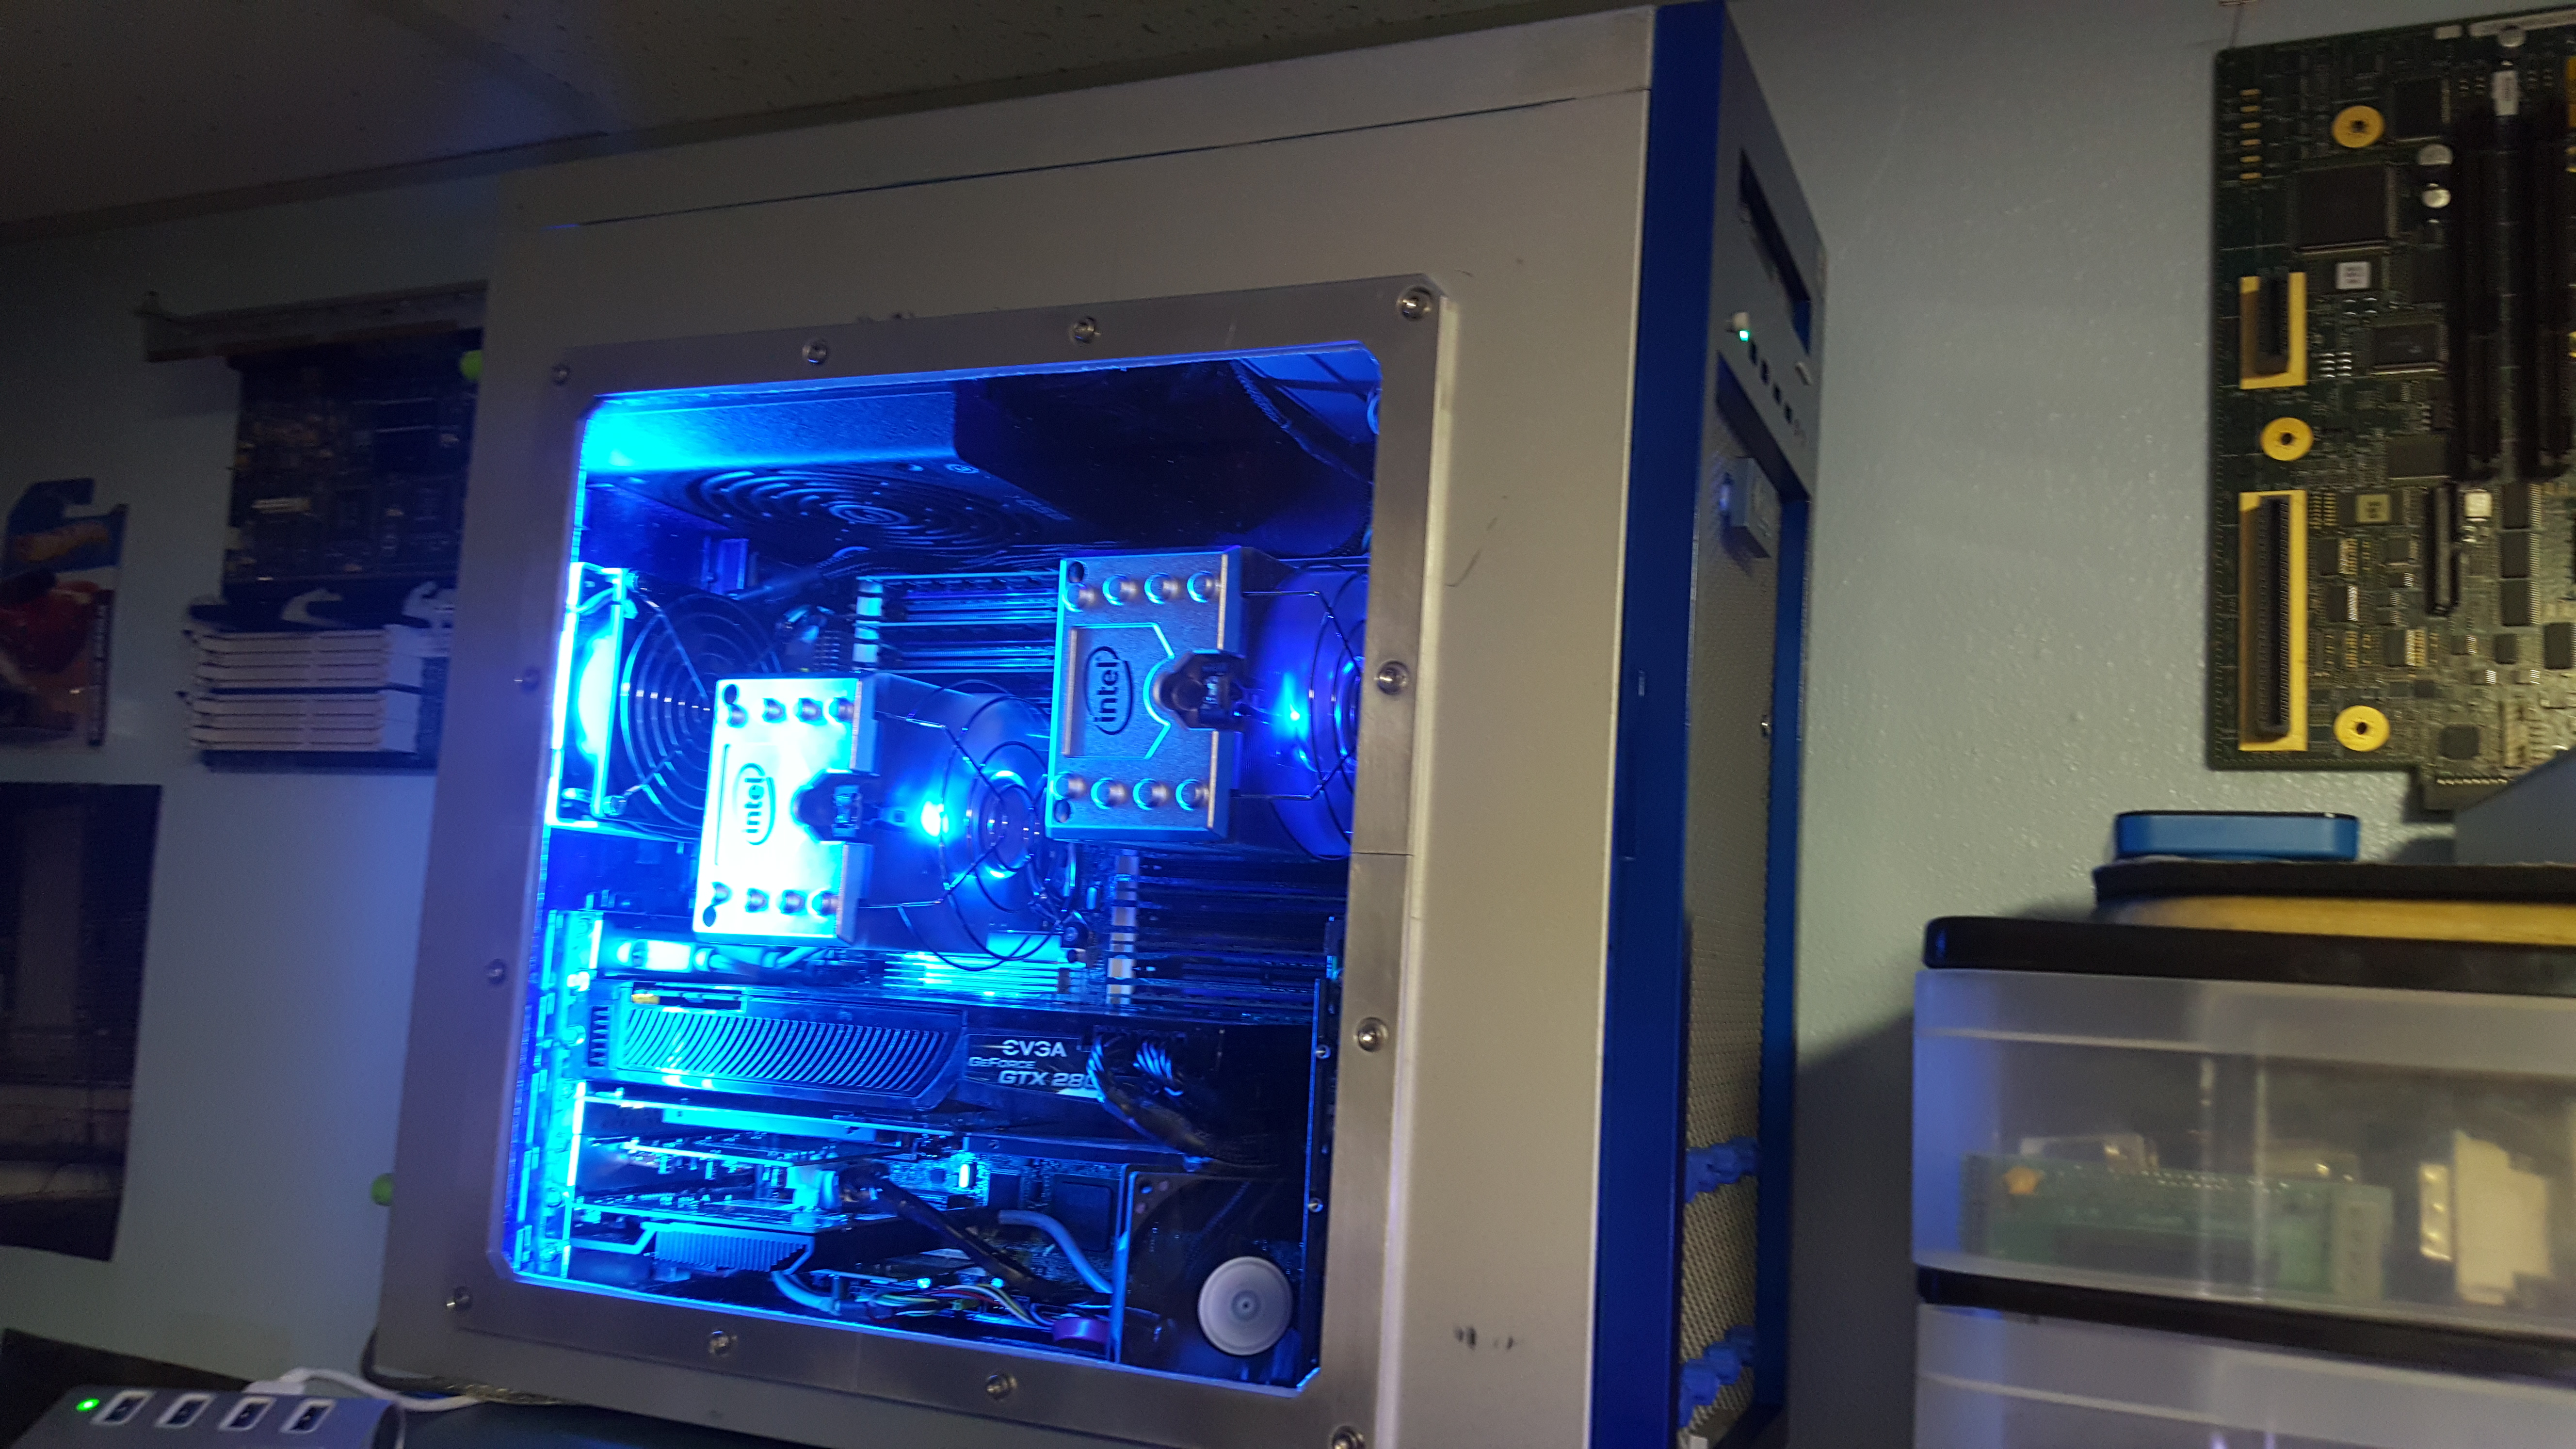
Now above we have the largely completed system, in Its initial configuration before I’ve made any changes.In the very bottom slot which is a standard PCI slot I have a video capture card that I use with hangouts and livestreams. In the next slot up I have a GeForce GT710, which I use to drive the two smaller monitors on my desk setup. I then purchased a Rosewill USB 3.0 Card and slotted it up above the smaller graphics card. Occupying the PCI-E x8 slot in my Dual SSD card which houses a pair of Samsung 840 Pro SSDs. Eventually that will be replaced with an interesting upgrade that I have in store real soon :-). Finally above that, we have the GTX280, a real crap space heater of a graphics card by today’s standards. That will be the final piece of my upgrade puzzle, where I actually invest a lot of hard earned cash into a high end GeForce card that will last me for years to come. Between that and the SSD upgrade, this system is pretty well stacked and should do okay in comparison to modern hardware. I just want another 5 maybe 6 years out of this computer before I move into more serious hardware.

With the rest of the system together, the only problem left to solve was how to present all of this wonderful hardware. I looked to my refrigerant PC case for the answer. I actually have plans to finish the build, but the refrigerant PC will be built with hardware from the Ryzen platform or something else in time. In the interim, I borrowed the case window kit from it and set to work:

It doesn’t take much work with the saw to zip out the panel. This case is made really well. Even the side panels are thicker than most other workstations which is nice, because it allows me to mod this thing to the max.

After running the system and examining the initial findings; I decided to change those couple of things around, and of course there’s accent lighting. In typical classic mod fashion, I went with a CCFL lamp in blue.

Stay tuned for the upgrades, and I reworked my desk something special to compliment this new setup. Moar coming soon! This system really rocks. All in all I’ve spent under $300 for the components to make this happen, thanks to what I had laying around. The large CFM of the front fan eats ALL THE DUST. At least it is fairly quiet, by my standards anyways.