My Prized 25″ Flatpanel monitor lost it’s back light about a month ago. As it turns out, one of the CCFL tubes ended up getting a short in one end. The short caused the panel to get really hot forcing me to run the display at reduced overall brightness, and then the problem got worse when it started to take multiple attempts to get the display to come online. The backlight would fire, then one of the tubes would drop out and then the backlight would shut off.
I have opened LCD Panels before and knew how they worked and was comfortable making the repair, so I went online and found replacement tubes for approximately $30.00 per tube. Since this monitor has 4 tubes in it that would have been $120.00 plus shipping, which is almost half way to the cost of another monitor of similar size anyway. I knew that LEDs were brighter as long as I could cram enough of them in there, and before too long I had come up with a little experiment..
I hunted around on eBay and it wasn’t too long before I found some white LED ropelight of sorts. After checking the dimensions it would be very close to fitting inside the CCFL holders themselves that fasten to the tops and bottoms of the LCD panel. I went ahead and ordered up a roll and a few days later I ended up with this:
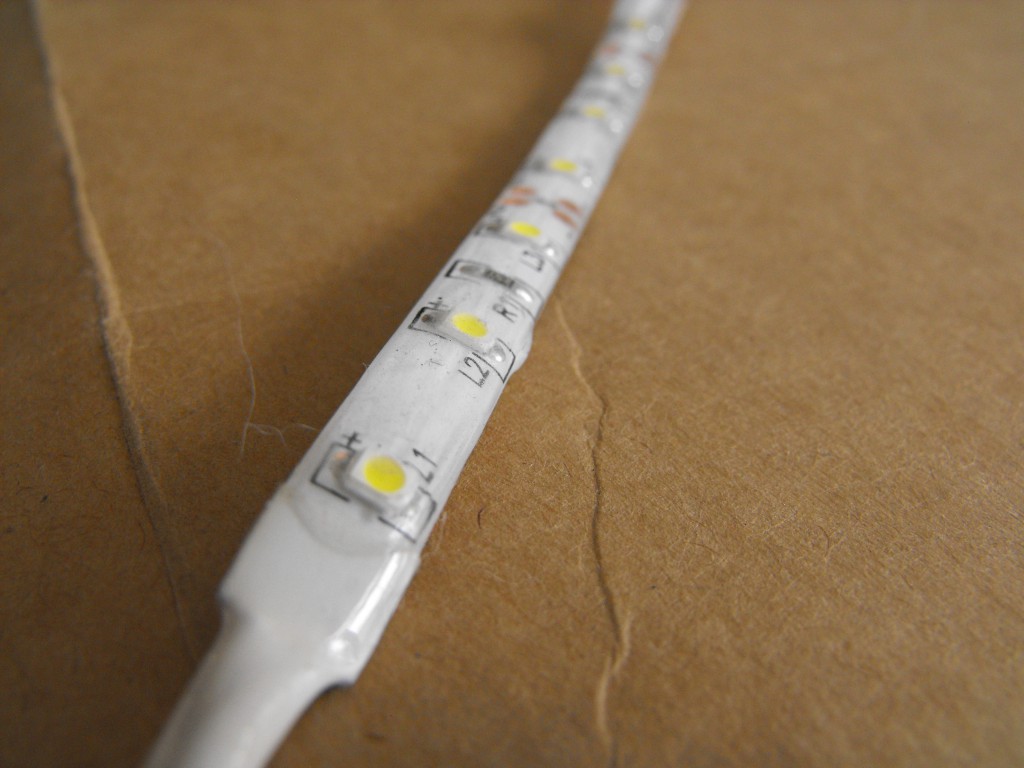
$17.00 Snagged me a roll of 5 Meters, or approximately 15 feet. I knew that this wasn’t the brightest you could buy in a strip like this, but because of the size constraints I felt I needed to be a little more modest in what I spent until I knew that it worked for sure. There is 3M adhesive tape on one side, and the top has some kind of clear coating which makes it water proof.
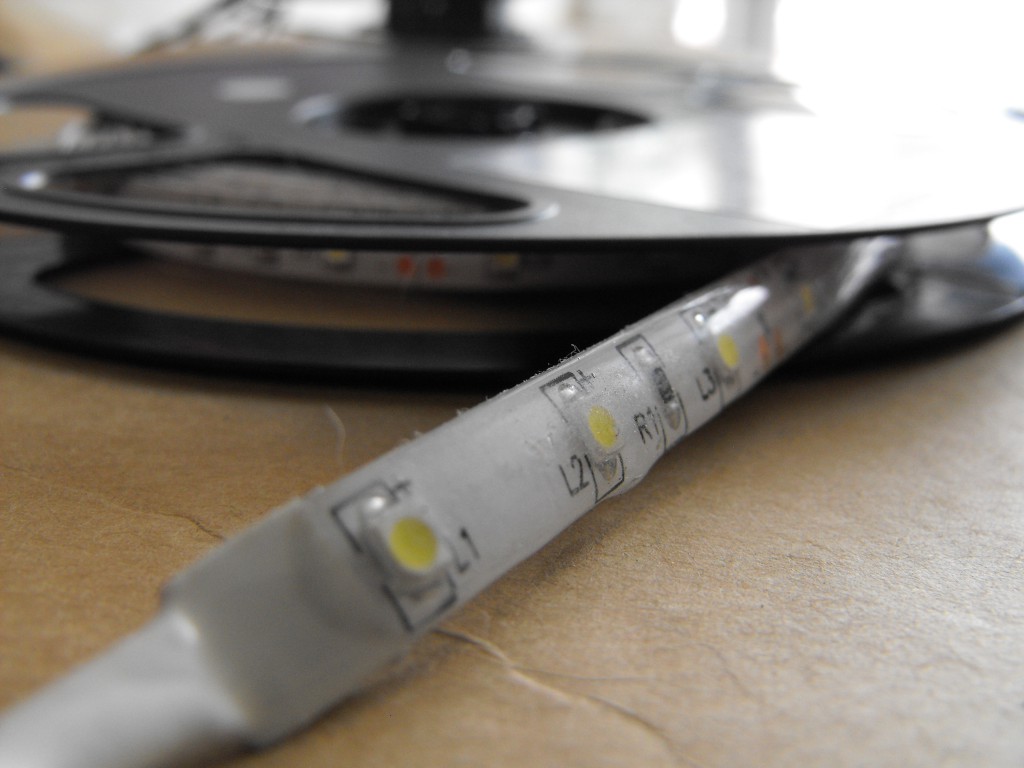
The circuit board is interesting, its the flexible style substrate, just like the flexible ribbon cables common in almost all of today electronics. I depended on this to be the key to my whole operation, because I knew that I would need to trim or creatively fold this strip into the channel that holds the CCFLs.
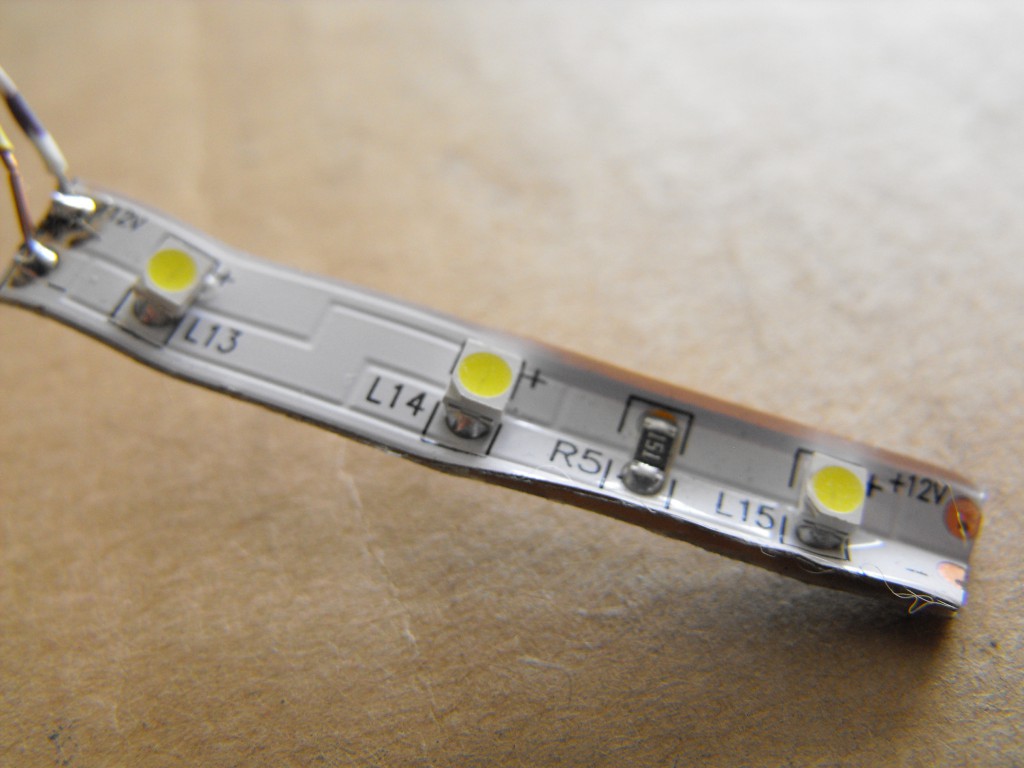
So what was the end result; well, I would say it was an overall success. I knew pretty much straight away that any spacing between the LEDs would cause a potential issue as far as backlighting brilliance was concerned. This however still made quite the impression!
The overall brilliance was not brighter than the CCFL at full brilliance, it was however brighter than the half setting I was forced to run the display at to keep the shorted CCFL from overheating.
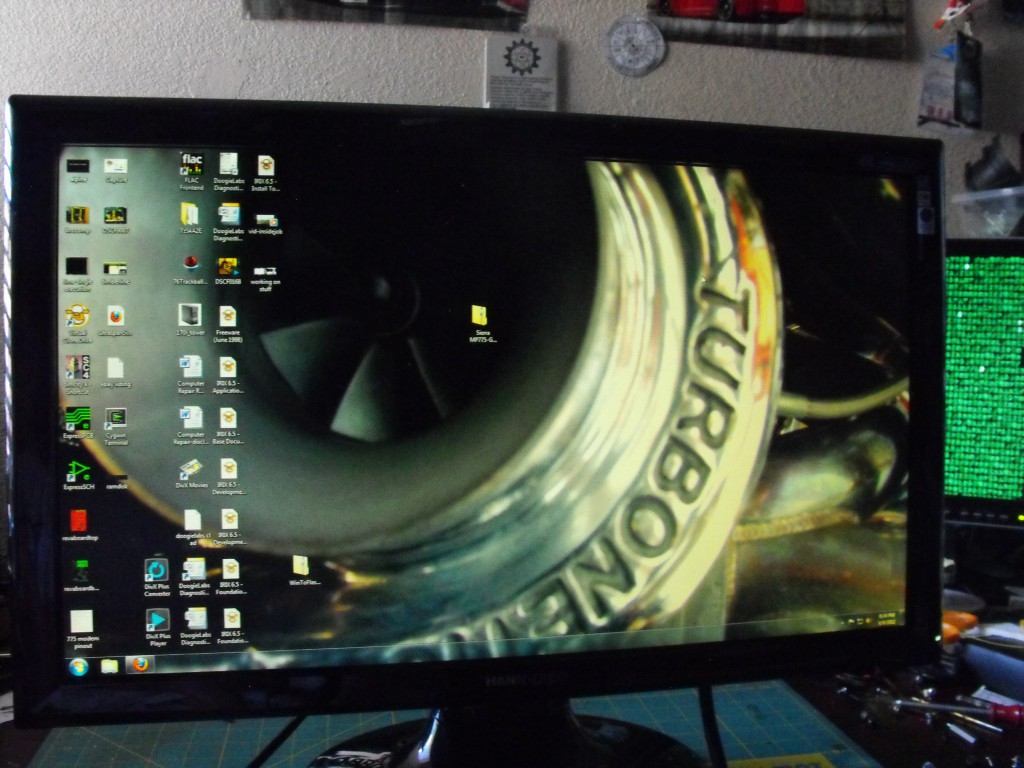
The tube itself by the end of the ordeal had actually gotten so hot that it broke!
The only down side to this whole thing was that you could actually see the spacing between the LEDs on all white screens. This is generally not a problem with me since I run mostly darker backgrounds on my computers anyway. I have learned to love it over the last couple of weeks, I guess you could say it gives the display character.
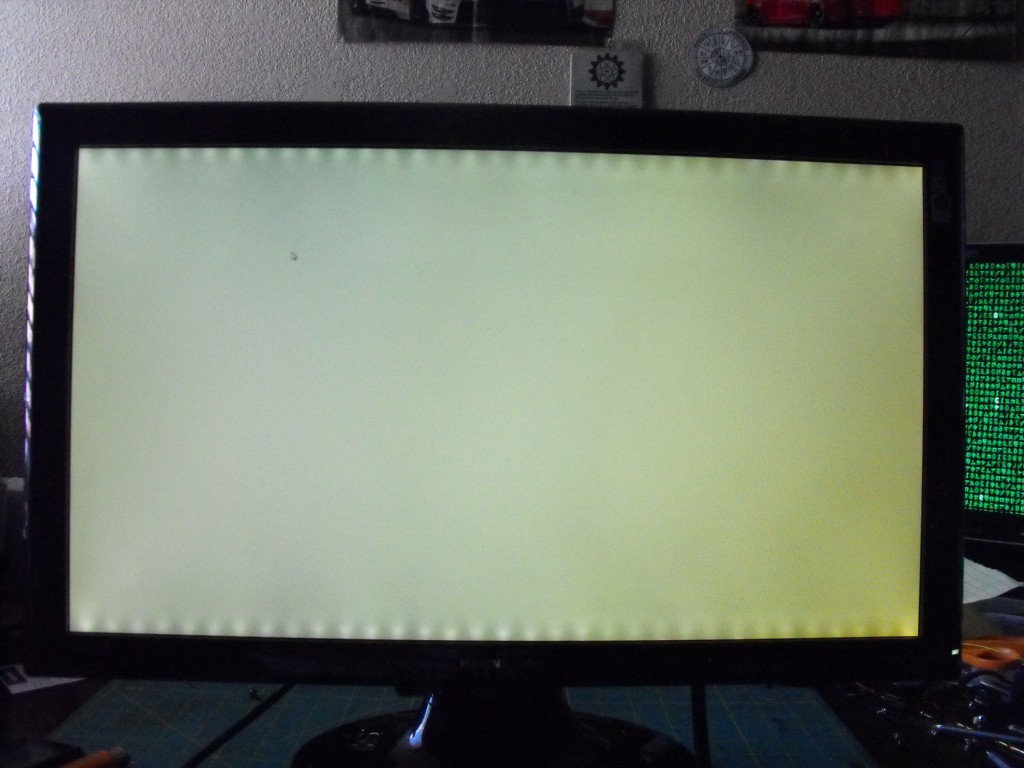
- All White test pattern on Hannspree LCD Monitor after being converted to LED backlight, with very light or all white backgrounds you can see the LED spacing at the top and bottom. Note the yellow tinge in the bottom right corner was actually caused by the faulty tube overheating and breaking. The discoloration itself is either the heat or the mercury / other gasses being released from tube. The LCD panel itself is not discolored, but instead the light filter sheets that spread the light evenly on the display.After the repairs were completed, the Hannspree made use of its LED conversion on my desk, on the left is a Dell 17″ monitor. On the right is a SunRay170. You can see the yellowish tinge and how the other displays do seem considerably brighter.
So there ya have it, I actually filmed this entire thing and was going to post it up but I ended up losing the video when attempting to edit the footage, and I had already erased the original tape I was using to film. (Doh!) I am satisfied overall, I spent $17 instead of $120 or $300, and kept a nice display out of the landfill. I won’t be surprised if it outlasts any other flat panel display that I have now ha.

